Preschool Activities, Uncategorized

April Showers

April in the Midwest means one thing – rain. But you know what they say… April showers bring May flowers! Trying to stay positive during these dreary days – it’s only a matter of weeks until the sun will be shining, our garden will be growing, and we will be exploring the summer wilderness ✨🌿

This was our first time melting crayons with a hair dryer and honestly it was a lot messier than anticipated! However I will say the best part was making predictions about what would happen to the crayons and then watching the boys giggle with delight as they first started to melt.

What you need:

  • Crayons
  • Hot glue gun
  • Canvas
  • Hair Dryer
  • Table cover/Drop cloth
  • Small sticks or picture of umbrella
  • Photo

What to do:

  1. Glue the crayons along the top of the canvas.
  2. If you are making an umbrella find some small sticks and glue them into place on the canvas. If using a picture, glue the photo onto the canvas.
  3. Tape a small piece of plastic over the photo to protect it from the dripping wax.
  4. Lay drop cloth under canvas where you plan melting. Take it from me – the wax may fly in unanticipated directions so unless you want to scrape wax off of your table (like I did) cover it!
  5. Turn the hair dryer on high heat and hold a few inches away from the crayons. You will need to keep it in the same spot for a minute or so until the crayon begins to melt.
  6. Continue across the canvas with all of the crayons until you are satisfied with the amount of “rain.”
  7. Remove plastic and let dry.
Standard
Preschool Activities, Uncategorized

Growing Grass on Water Beads

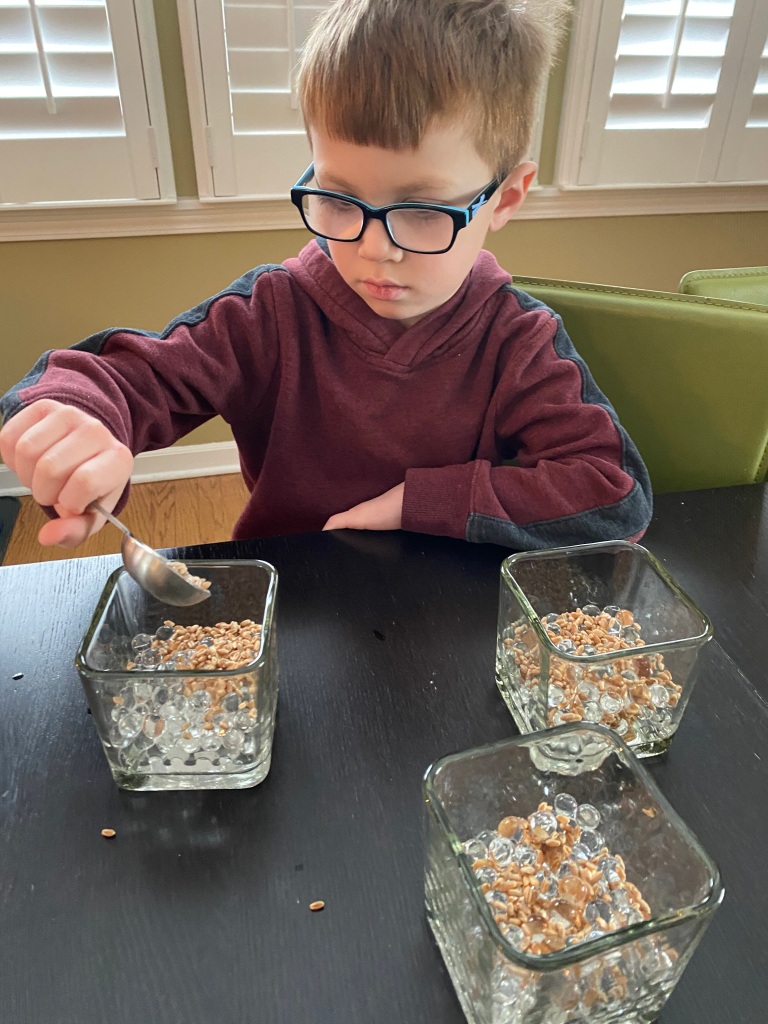
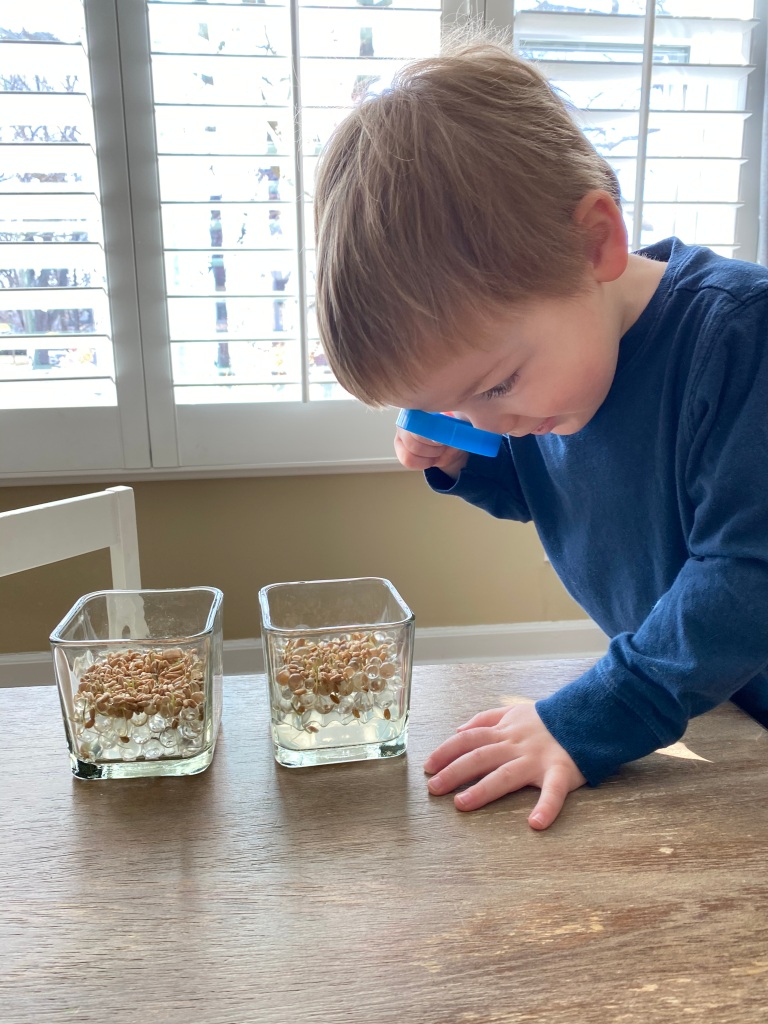
Spring brings light, new growth, and this year more than ever, it feels like a new beginning… to celebrate we embarked on a new seed sprouting experiment – growing wheat grass on water beads 🌱

Over the course of the past week we watched the wheat grass seeds sprout, grow roots, and thrive in the sunlight ✨

What you need:

  • Water Beads
  • Wheat grass seeds
  • Clear container

What to do:

  1. Soak water beads so that they absorb all the water.
  2. Place water beads into container, about 2/3 full.
  3. Sprinkle some wheat grass seeds on top.
  4. Wait, observe, predict, measure, document!
Standard
Uncategorized

Stars in a Jar

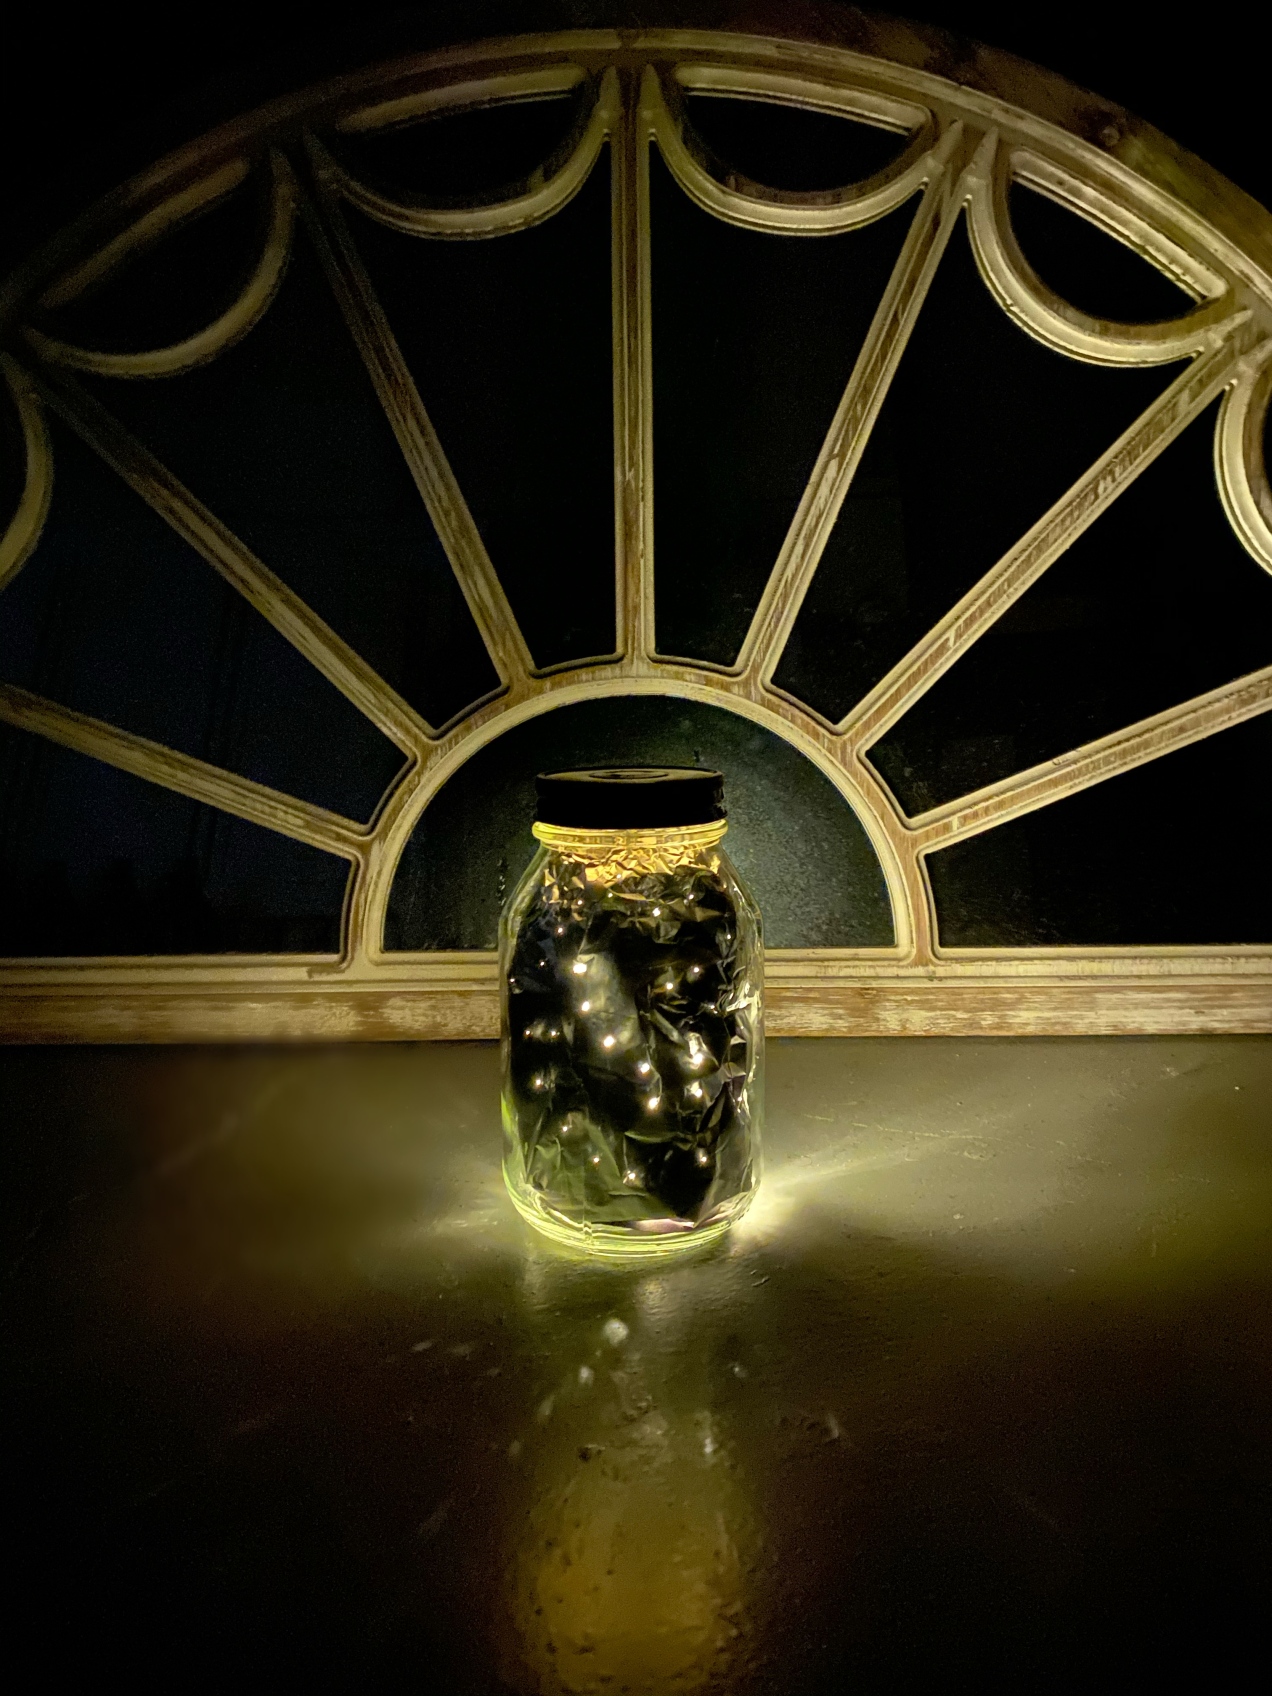
If you’ve followed along on our journey you know that I love a good mason jar craft… so naturally we had to make one to help expand our moon study to the rest of the sky! 

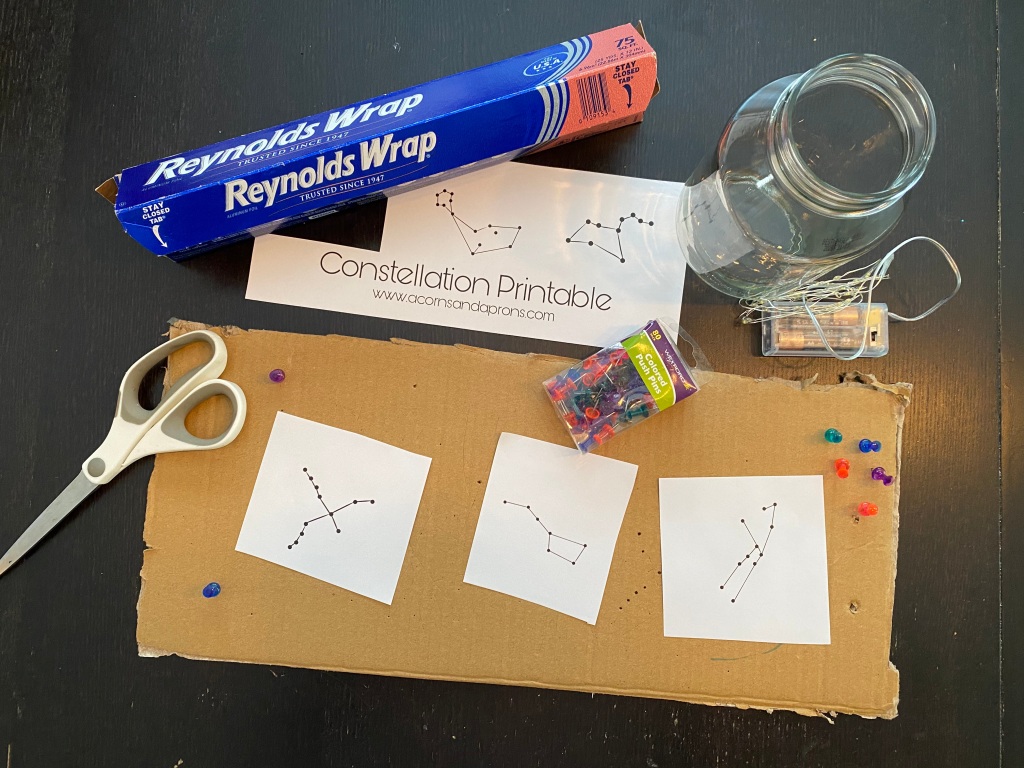
Thanks to acorns.and.aprons for providing the perfect constellation printable for this project!

What you need:

  • Mason jar
  • Foil
  • Push pins
  • Constellation pictures
  • Piece of cardboard
  • Twinkle lights

What to do:

  1. Cut a piece of foil to fit the inside of your jar. If it’s a large jar, it may be easier to work with two smaller pieces of foil.
  2. Pin foil down onto a piece of cardboard and then pin constellation pictures on top of the foil. 
  3. Use thumb tack to poke holes where the stars on the constellation are (we wiggled the pin around to make these stars bigger). 
  4. Remove pictures and poke smaller holes all over the foil to create smaller stars. 
  5. Remove all pins and roll foil (like a burrito) so that you can put it into the jar. 
  6. Place rolled up foil in jar and use a long object (like scissors) to push the foil against the side of the jar.
  7. Add tea lights and screw on the lid.
  8. Take to a dark room and try to find and identify all the constellations!
Standard
Preschool Activities, Uncategorized

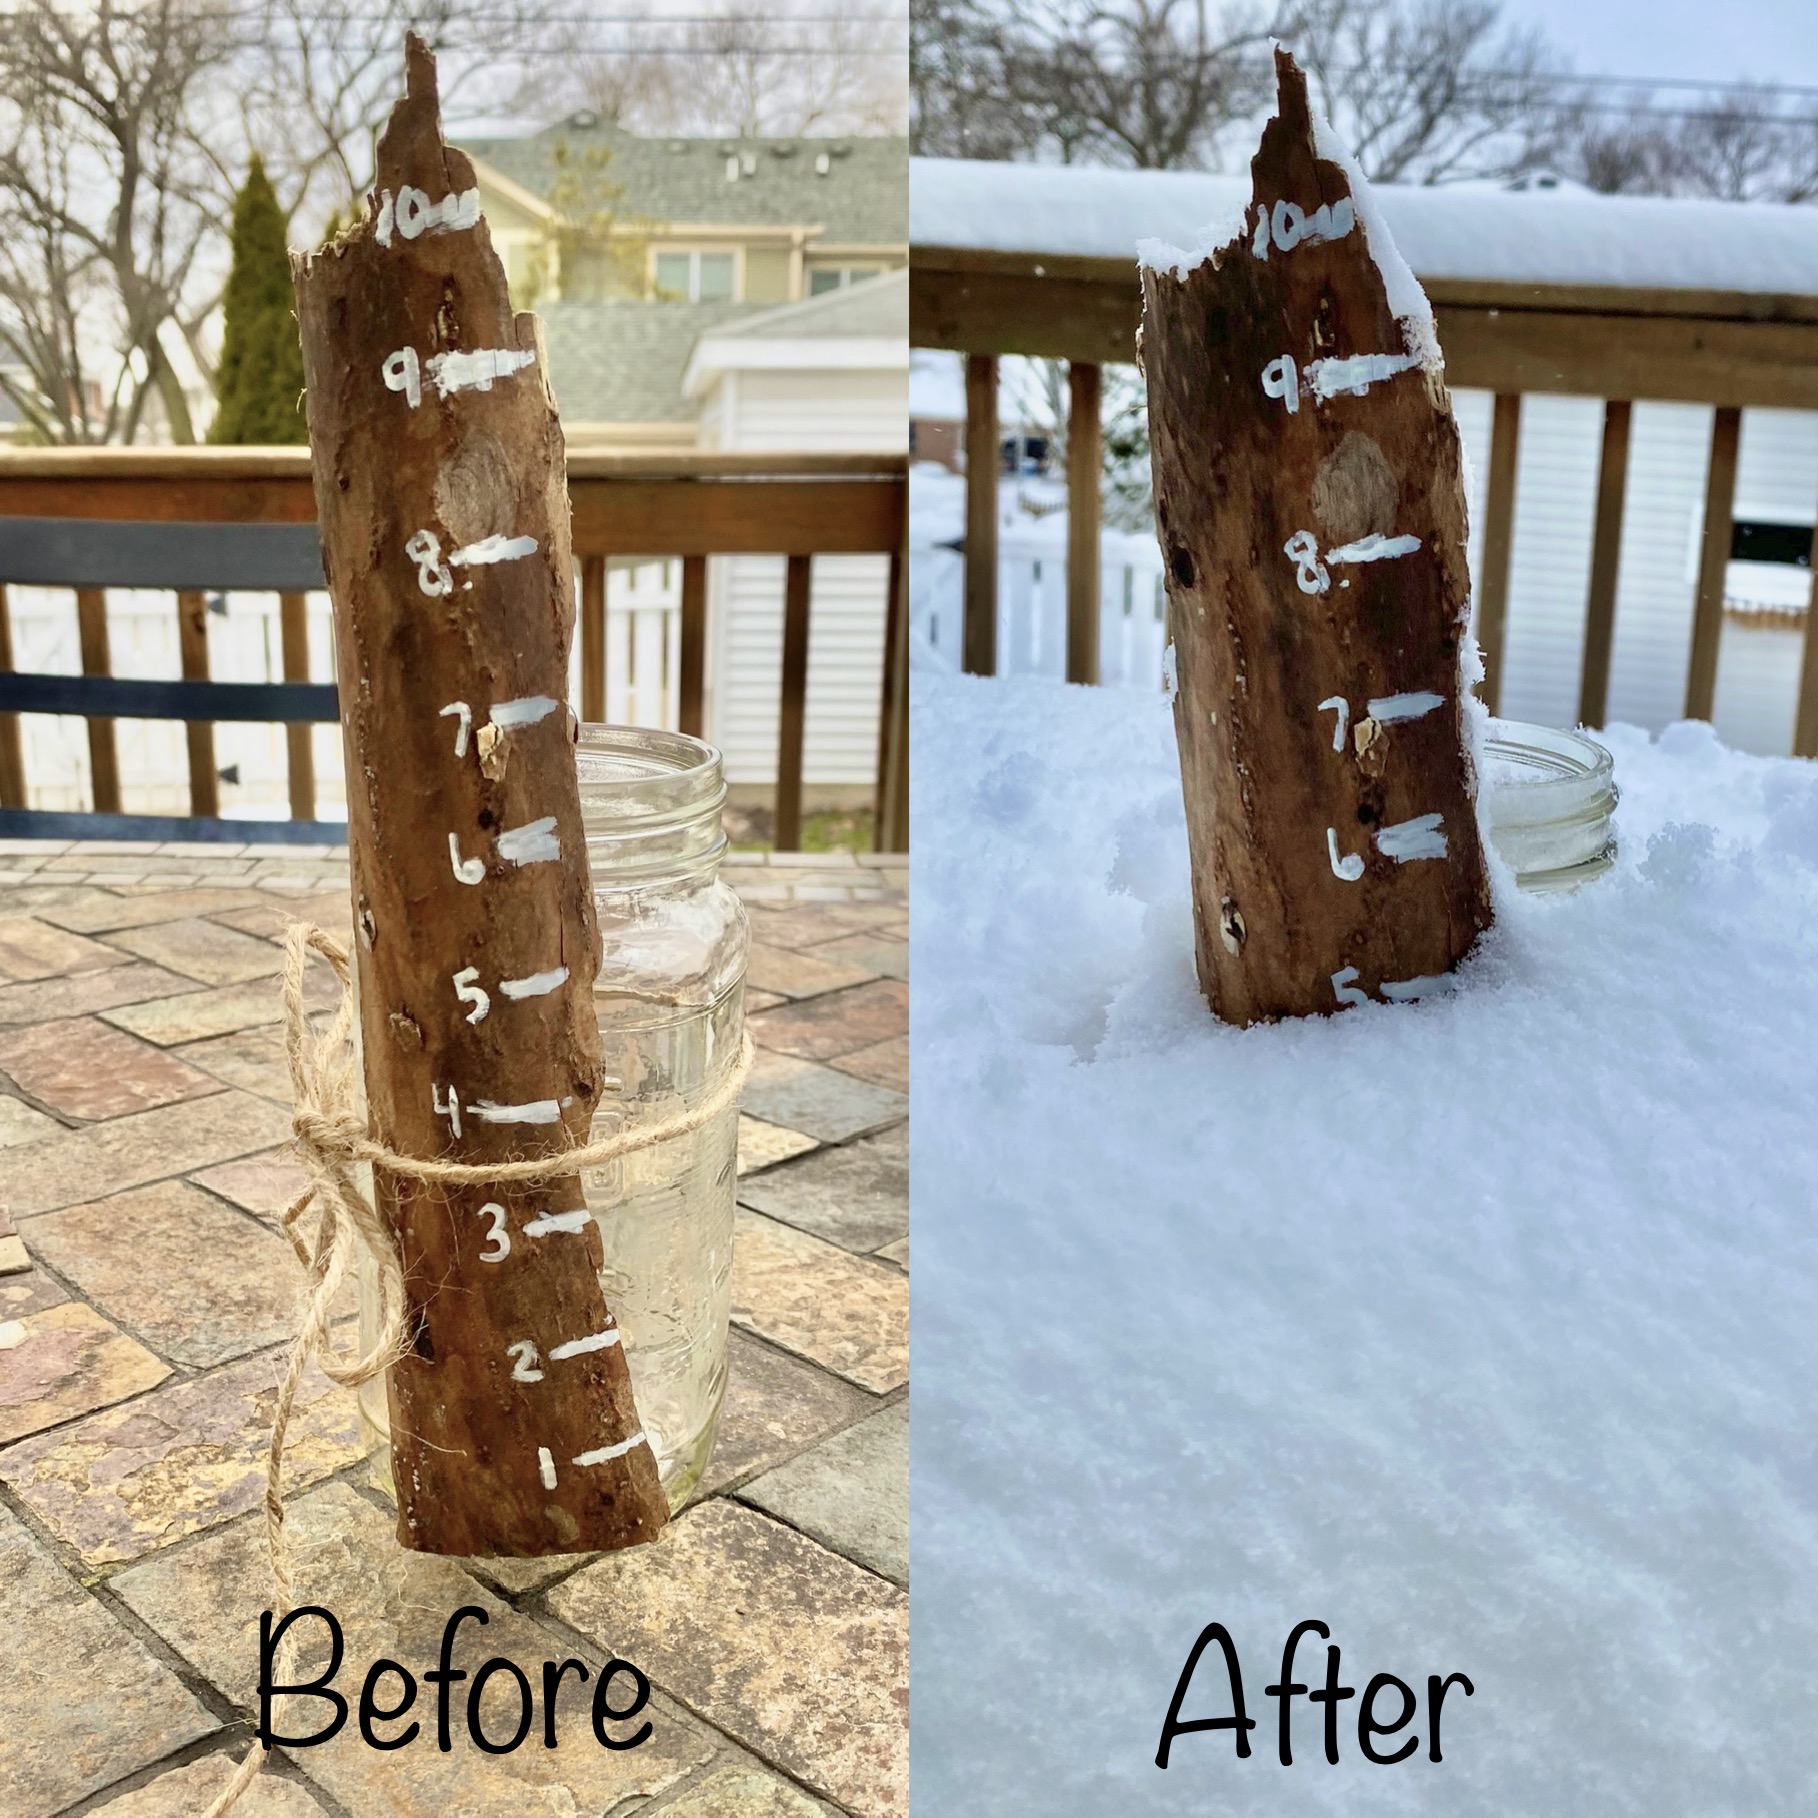
DIY Snow Gauge

When the weatherman predicted 4-8 inches of snow my oldest asked “how much is that?” So we got out the measuring tape and had a lesson in measurement and weather. We talked about various tools to measure with, different types of measurements, and practiced by measuring ourselves!

If you live in the Chicago area there is another snow storm predicted for this weekend – so now is the perfect time to make your own snow gauge!

What you need:

  • Paint marker or permanent marker
  • Stick, tree bark, or anything that will withstand snow!
  • Tape measure or ruler
  • Mason Jar
  • Twine/rope

What to do:

  1. Line up your bark/stick with the tape measure.
  2. Draw lines to represent each inch.
  3. Write corresponding numbers next to the inch markings.
  4. To make stand up, tie your bark around a mason jar with a piece of twine.
  5. Place outside and wait for the snow!

*Another good reason to use a mason jar is to collect snow for further investigation!

Standard
Preschool Activities, Uncategorized

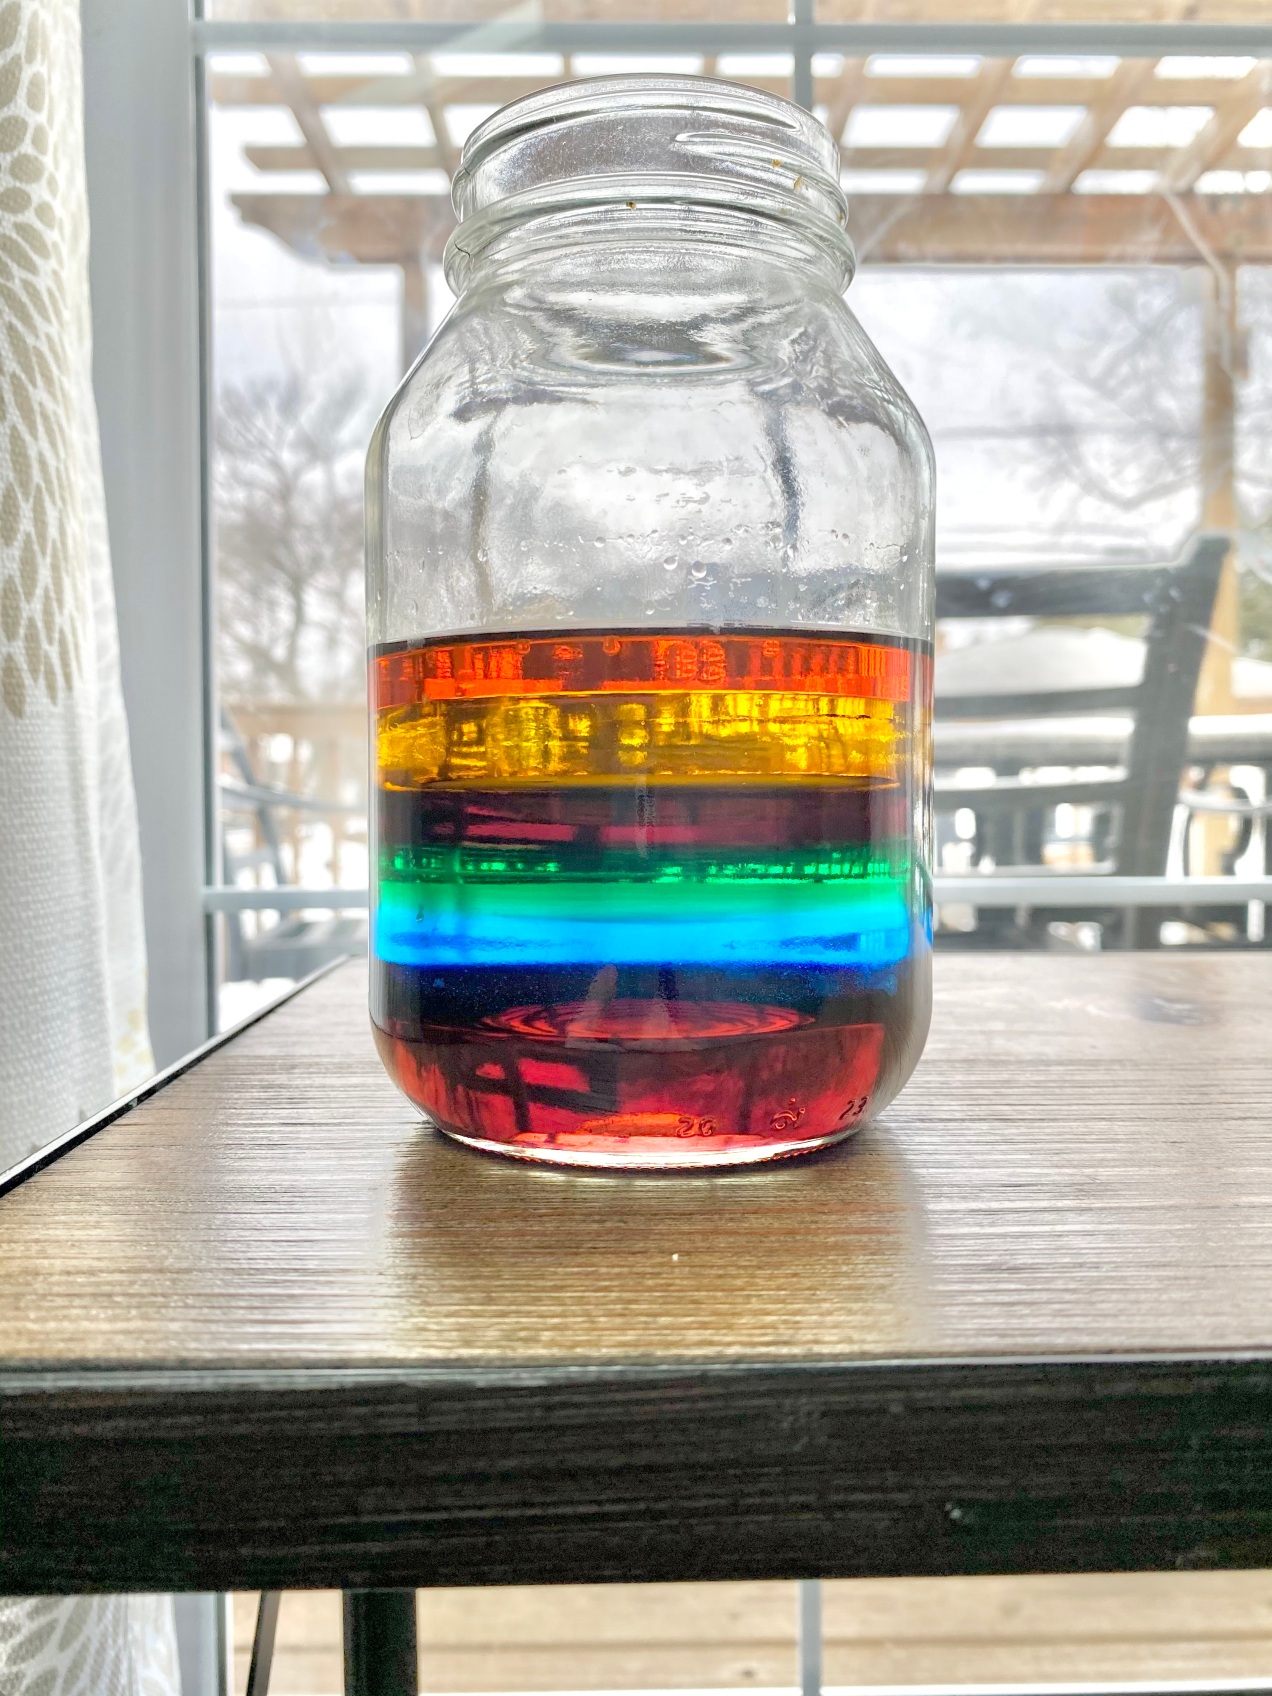
Liquid Rainbow

Science experiments have been popular in this house lately so when my 6 year old asked to do yet another one we set out to the library to see if we could find something interesting there. We ended finding the book “How to Make a Liquid Rainbow” by Lori Shores. The best part about this experiment is that we already had everything we needed at home!

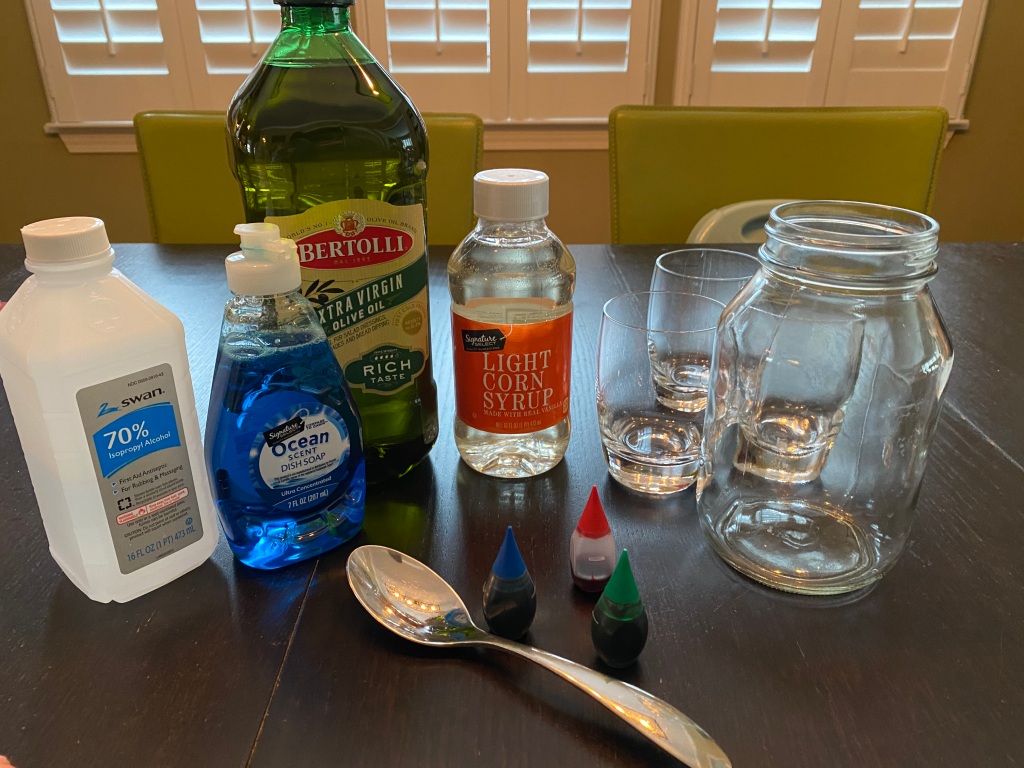
What you need: Large jar, food coloring, corn syrup, blue dish soap, water, olive oil (or any other yellow oil), rubbing alcohol, measuring cup, cups for mixing

What to do:

  1. Purple: 1/2 c corn syrup + 2 drops red food coloring + 1 drop blue food coloring. Pour into bottom of jar.
  2. Blue: 1/2 c blue dish soap. Pour slowly on top of corn syrup.
  3. Green: 1/2 c water + 2 drops green food coloring. Again, pour super slow on top of blue!
  4. Yellow: 1/2 c olive oil. Add to jar.
  5. Red: 1/2 c rubbing alcohol + 2 drops red food coloring. Pour on top!

Although they are all liquids, the various densities in each color layer keep them from mixing together! Remember to add each color layer slowly so they don’t blend together. I took these pictures after we picked up, turned around, and carried the jar several times so there was some mixing… yours will hopefully look a little better then this!

After observing the liquid rainbow my oldest wondered if frozen, would the layers mix together? There was only one way to find out… we set the jar outside overnight and were amazed at what we saw the next day!

Standard
Preschool Activities

Ramps and Inclines

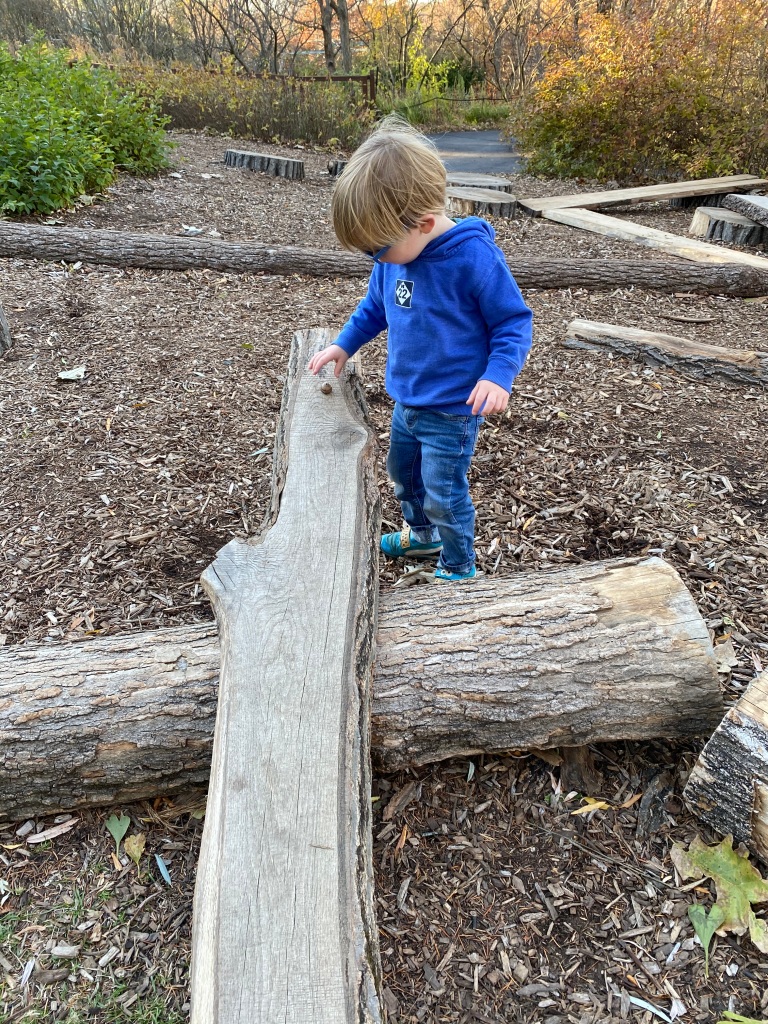
This is the perfect STEM activity you can do literally anywhere! You may have heard “STEM” before – but let me emphasize the importance of it… STEM is teaching science, technology, engineering, and mathematics. It promotes critical thinking, problem solving, and teaches skills that will prepare children for the “real world.” The reason it’s been such a “buzz word” lately is because our world is changing rapidly and it’s important to prepare the next generation for it! With technology ever changing and science always evolving, teaching STEM is just one way to do our part in raising global citizens 🙂

Back to our ramps… It all started with one little hot wheels track and a some blocks. Noah (who will be three in a couple of weeks!) began positioning the track on the blocks to make his car slide down.

Once he asked for more tracks, the ramps got bigger and longer and steeper! While building I introduced new vocabulary as we discussed concepts of higher/lower, fast/slow, steep/flat/incline. Noah used fine motor skills to connect the tracks and practiced counting as he added them on. There were so many learning opportunities but I’d have to say the biggest lesson of the morning was resilience and problems solving. Keep trying, keep building, keep going!

Over the course of the week we looked for ramps in other places – all you need is some creative thinking and imagination…

Unfortunately, this platform does not support uploading videos but if you want to see more of our ramps in action check out my Instagram @preschoolforyou!

Standard