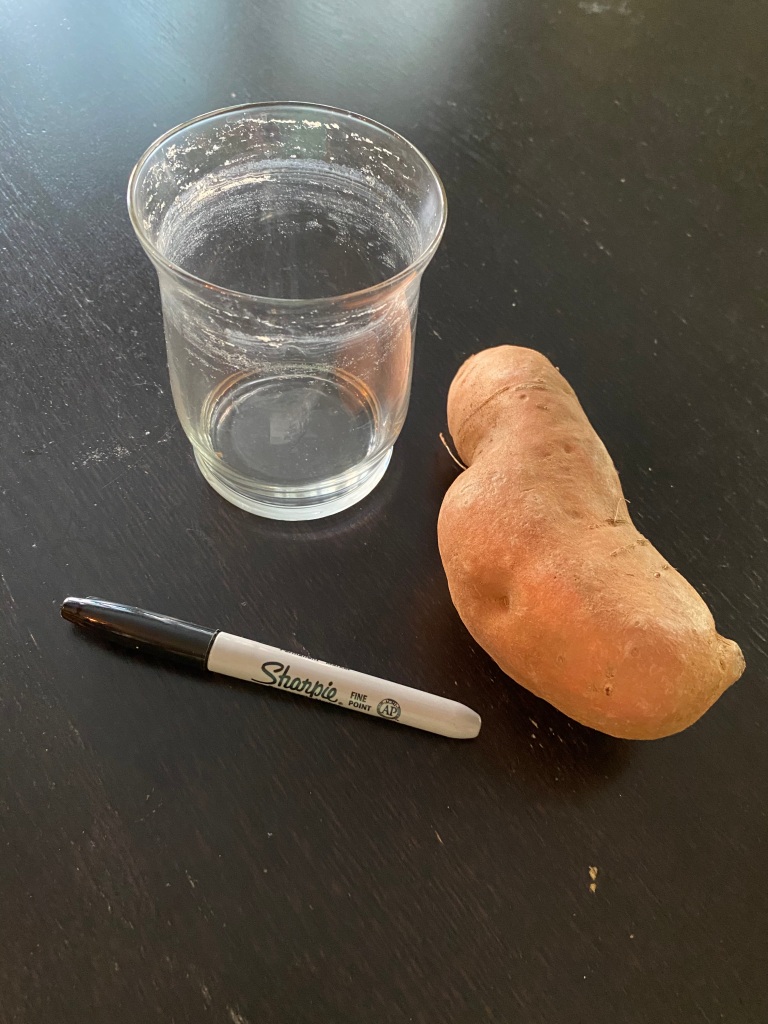
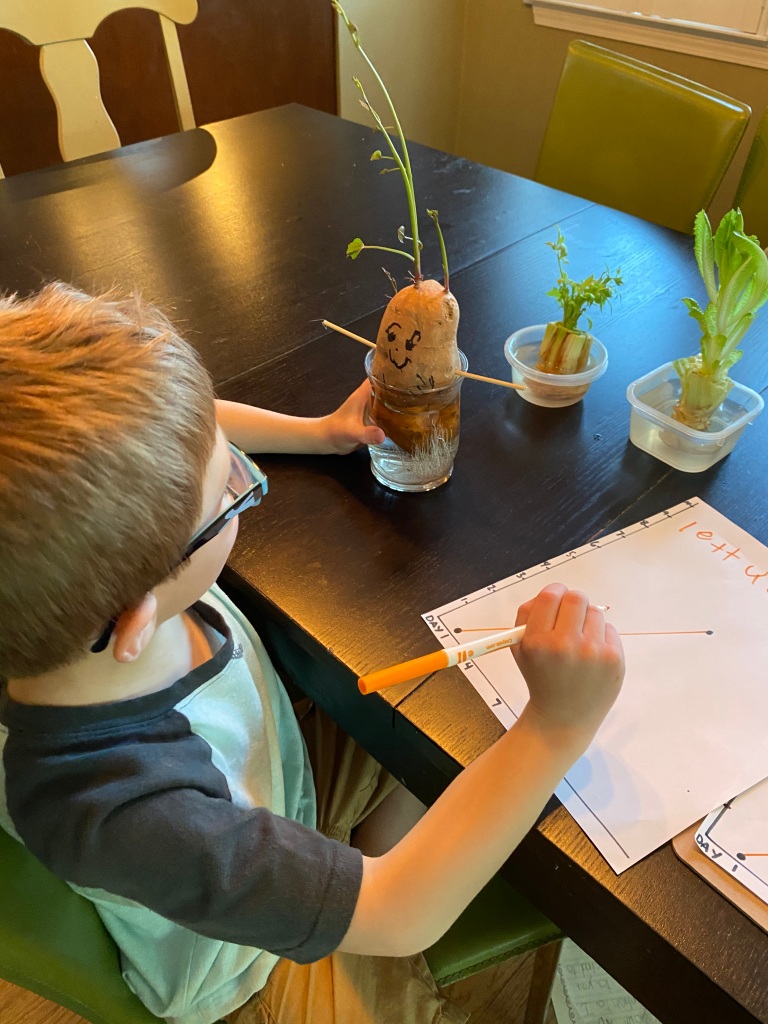
A little over a month ago we set a sweet potato in water to root and grow in our window sill… it took awhile to get going but once it sprouted we set out some celery and romaine lettuce to root as well. The veggie race was off and and after predicting, measuring and graphing their progress the sweet potato was the clear winner!
What you need:
Sweet Potato
Bottom of celery stalk
Romaine lettuce center
3 containers
Water
Maker
Paper
Ruler
What to do:
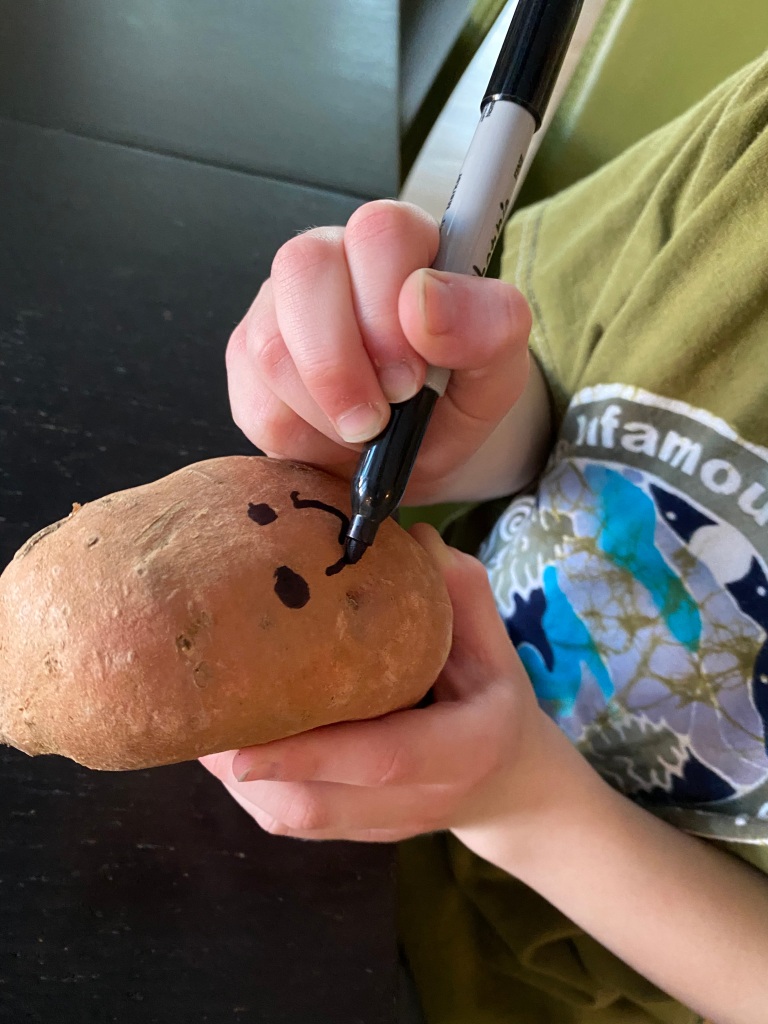
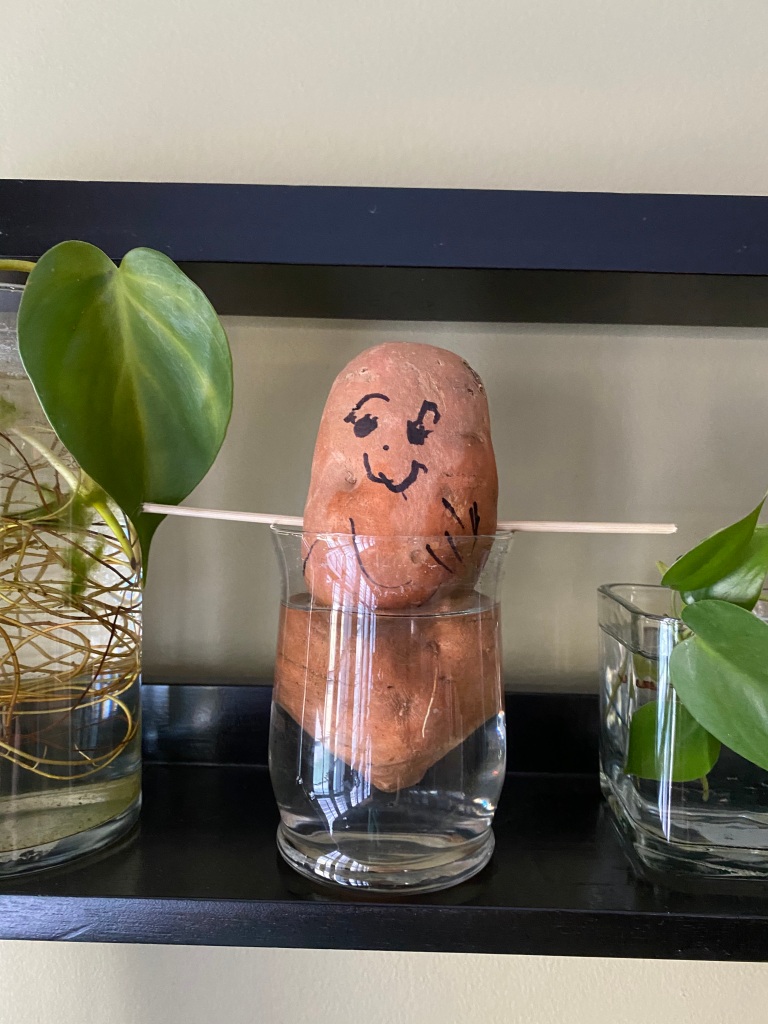
Draw a face on the potato and set in water to root. It took about a month to begin showing growth – be patient!
Once the potato starts to grow, set out the celery and lettuce next to it in a well lit area.
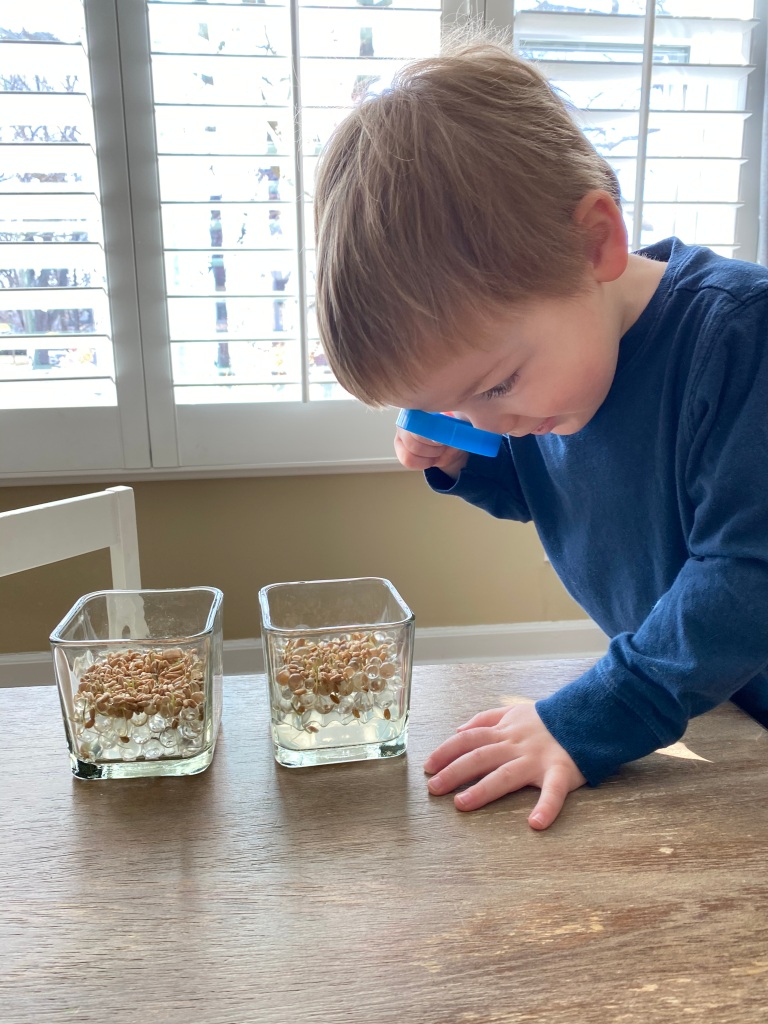
Spring brings light, new growth, and this year more than ever, it feels like a new beginning… to celebrate we embarked on a new seed sprouting experiment – growing wheat grass on water beads 🌱
Over the course of the past week we watched the wheat grass seeds sprout, grow roots, and thrive in the sunlight ✨
What you need:
Water Beads
Wheat grass seeds
Clear container
What to do:
Soak water beads so that they absorb all the water.
Leading up to last month’s full moon I was explaining to my boys that each month there is a special name for the full moon. January was the Wolf Moon and so with the anticipation of February’s Snow Moon last weekend we conducted a little moon mini-study! Through books, science experiments, sensory play, and more we learned so much about the moon!
Moon Phase Chocolate Cookies
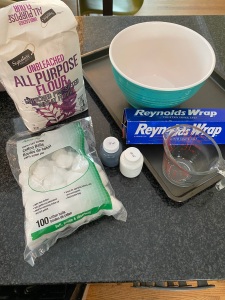
Moon Rock Treasure Smash: After making some moon rocks I hid some treasure inside a few of them for the boys to discover as they cracked them open!
What you need:
1 cup flour
1 cup water
Gray (or white and black) paint
Cotton balls
Foil lined baking sheet
Coins
What to do:
Whisk together 1 cup flour and 1 cup water
Add a couple drops of paint to get desired color
Drop in cotton balls, cover them in mixture, then place them on foil lined baking sheet (warning: this is messy!)
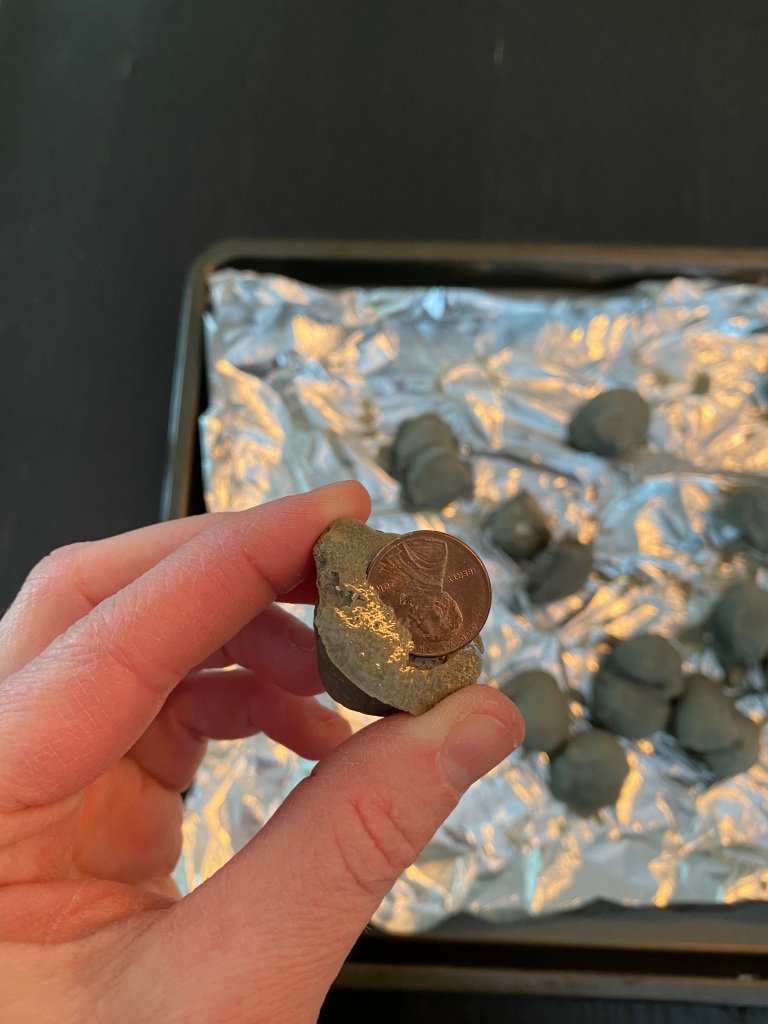
Bake at 300° for 45 min
Insert in some coins by pushing them through the bottom.
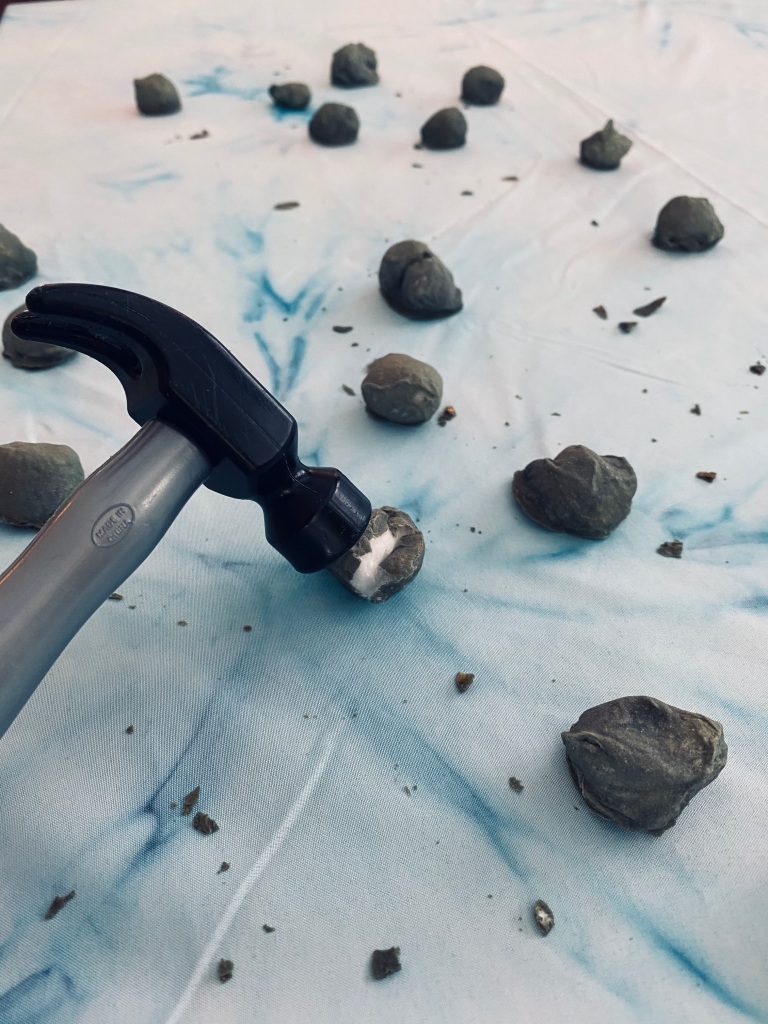
Have your child break them open! We used toy hammers to crack them and then pulled apart with our fingers.
Collect and count your treasure when you’re done!
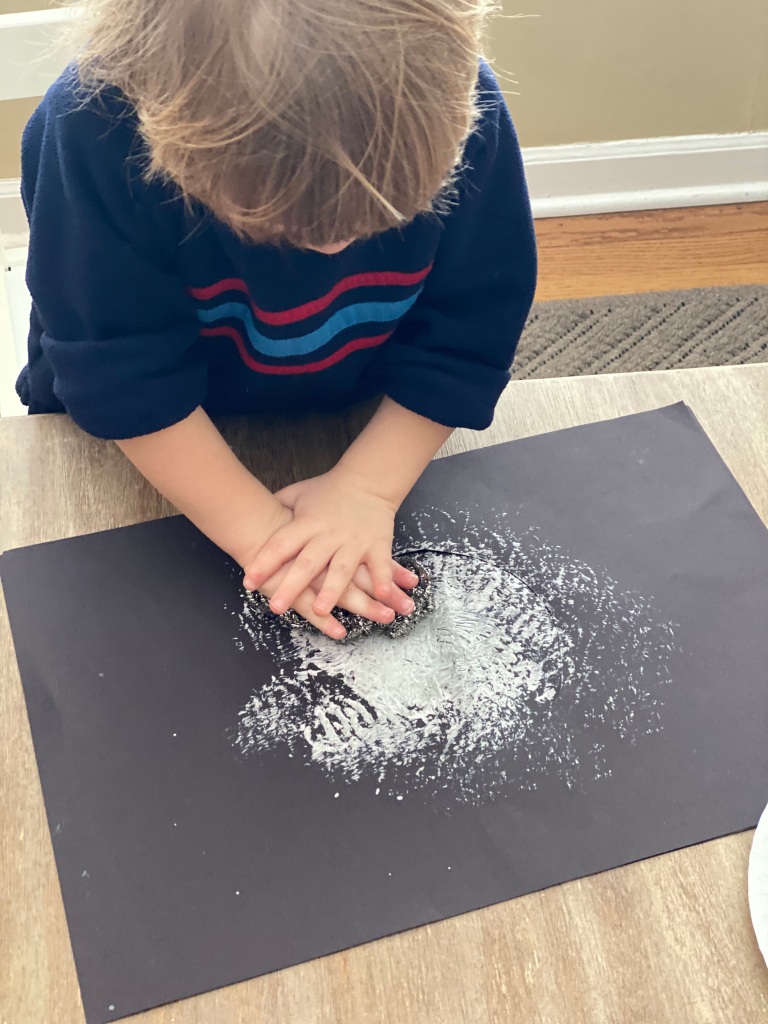
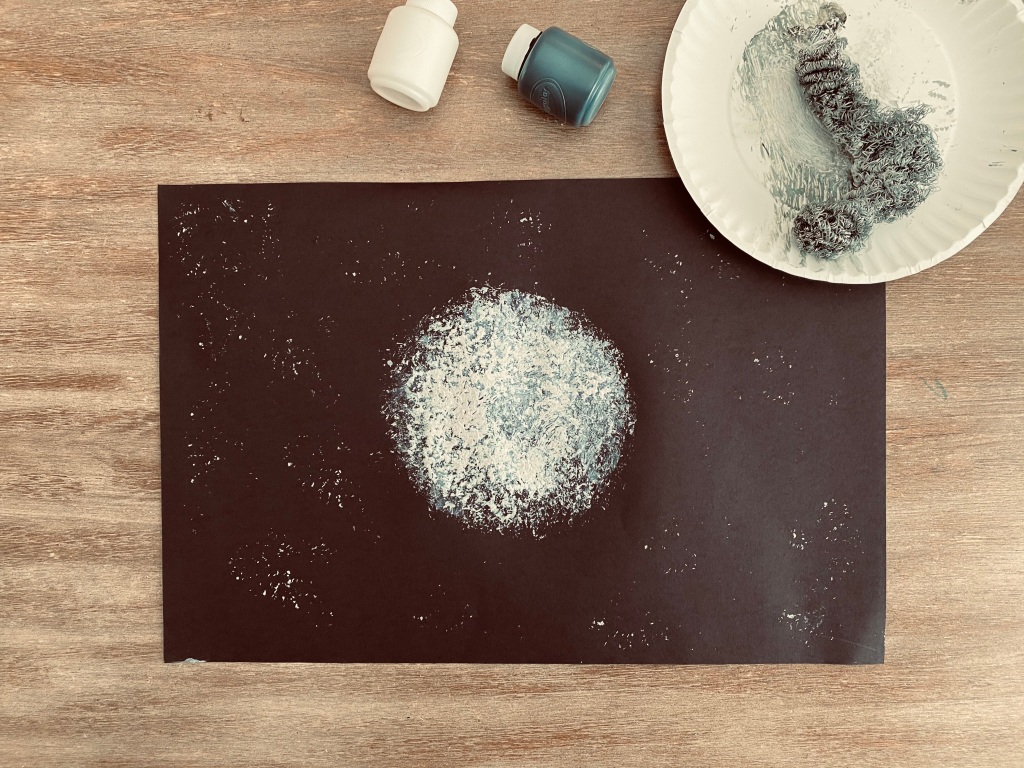
Brillo Pad Moon Painting: A simple painting project using a Brillo pad!
What you need:
2 pieces of black paper
Brillo pad
White Paint
Scissors
Paper plate
What to do:
Cut a large circle in the middle of one of the black pieces of paper and.
Place it on top of the other black paper.
Mix together paint to get desired moon color.
Dip Brillo pad in paint and dab the “moon” circle.
When the circle is full, pick up the paper to reveal your moon!
Add stars by lightly tapping the Brillo pad around the moon.
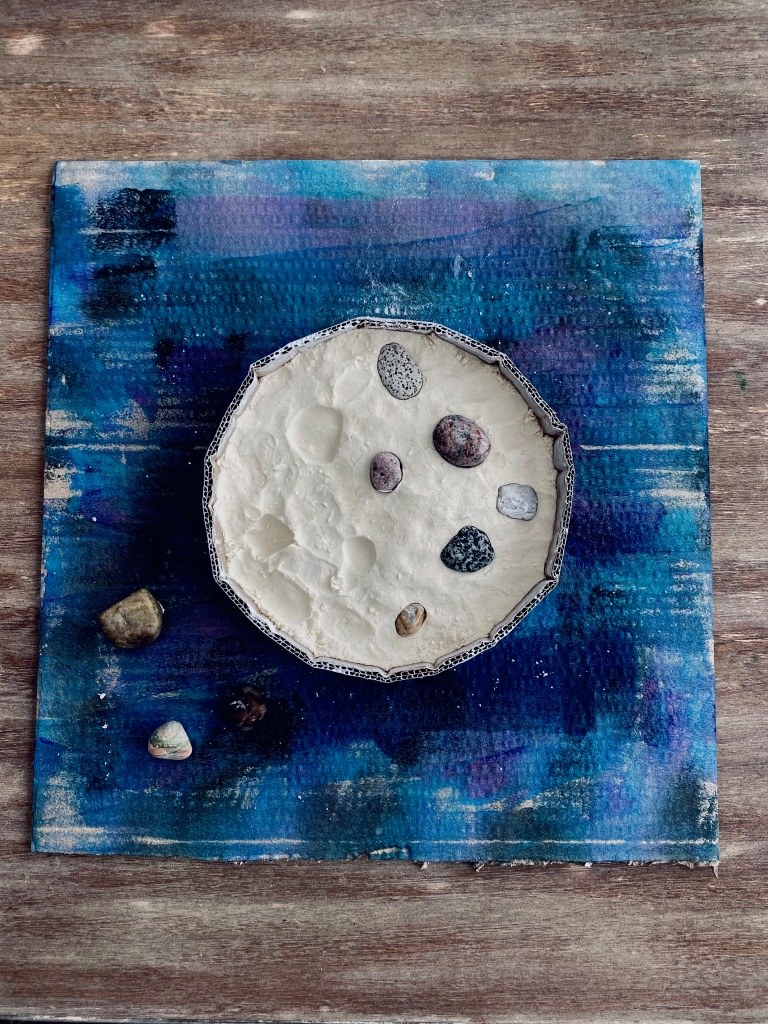
Moon Sand Craters: Ever wonder how craters on the moon are formed? Many of them are a result of asteroids and meteorites colliding with the moon’s surface. To simulate this we made a moon out of homemade moon sand and them dropped rocks from above!
What to do:
Make your moon sand: Mix 4 cups flour and 1/2 baby oil.
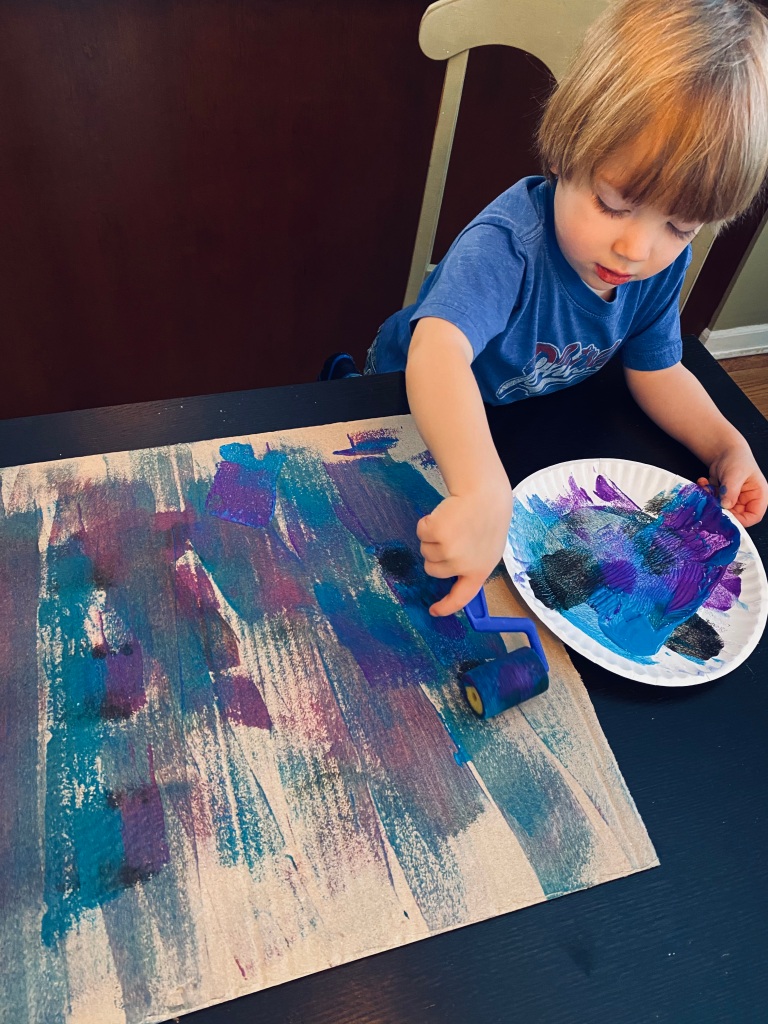
2. Create your moon: If you have a round cake pan that’s not glass it will work perfect! Unfortunately the only round pans I have are glass so I didn’t want to drop rocks on them! Instead, I glued a circle using a strip of cardboard onto a large piece of cardboard that we painted to look like the night sky. Then we simply filled the circle with the moon sand.
2. Gather some rocks and let them fall. When you lift the rocks you will see the “craters!”
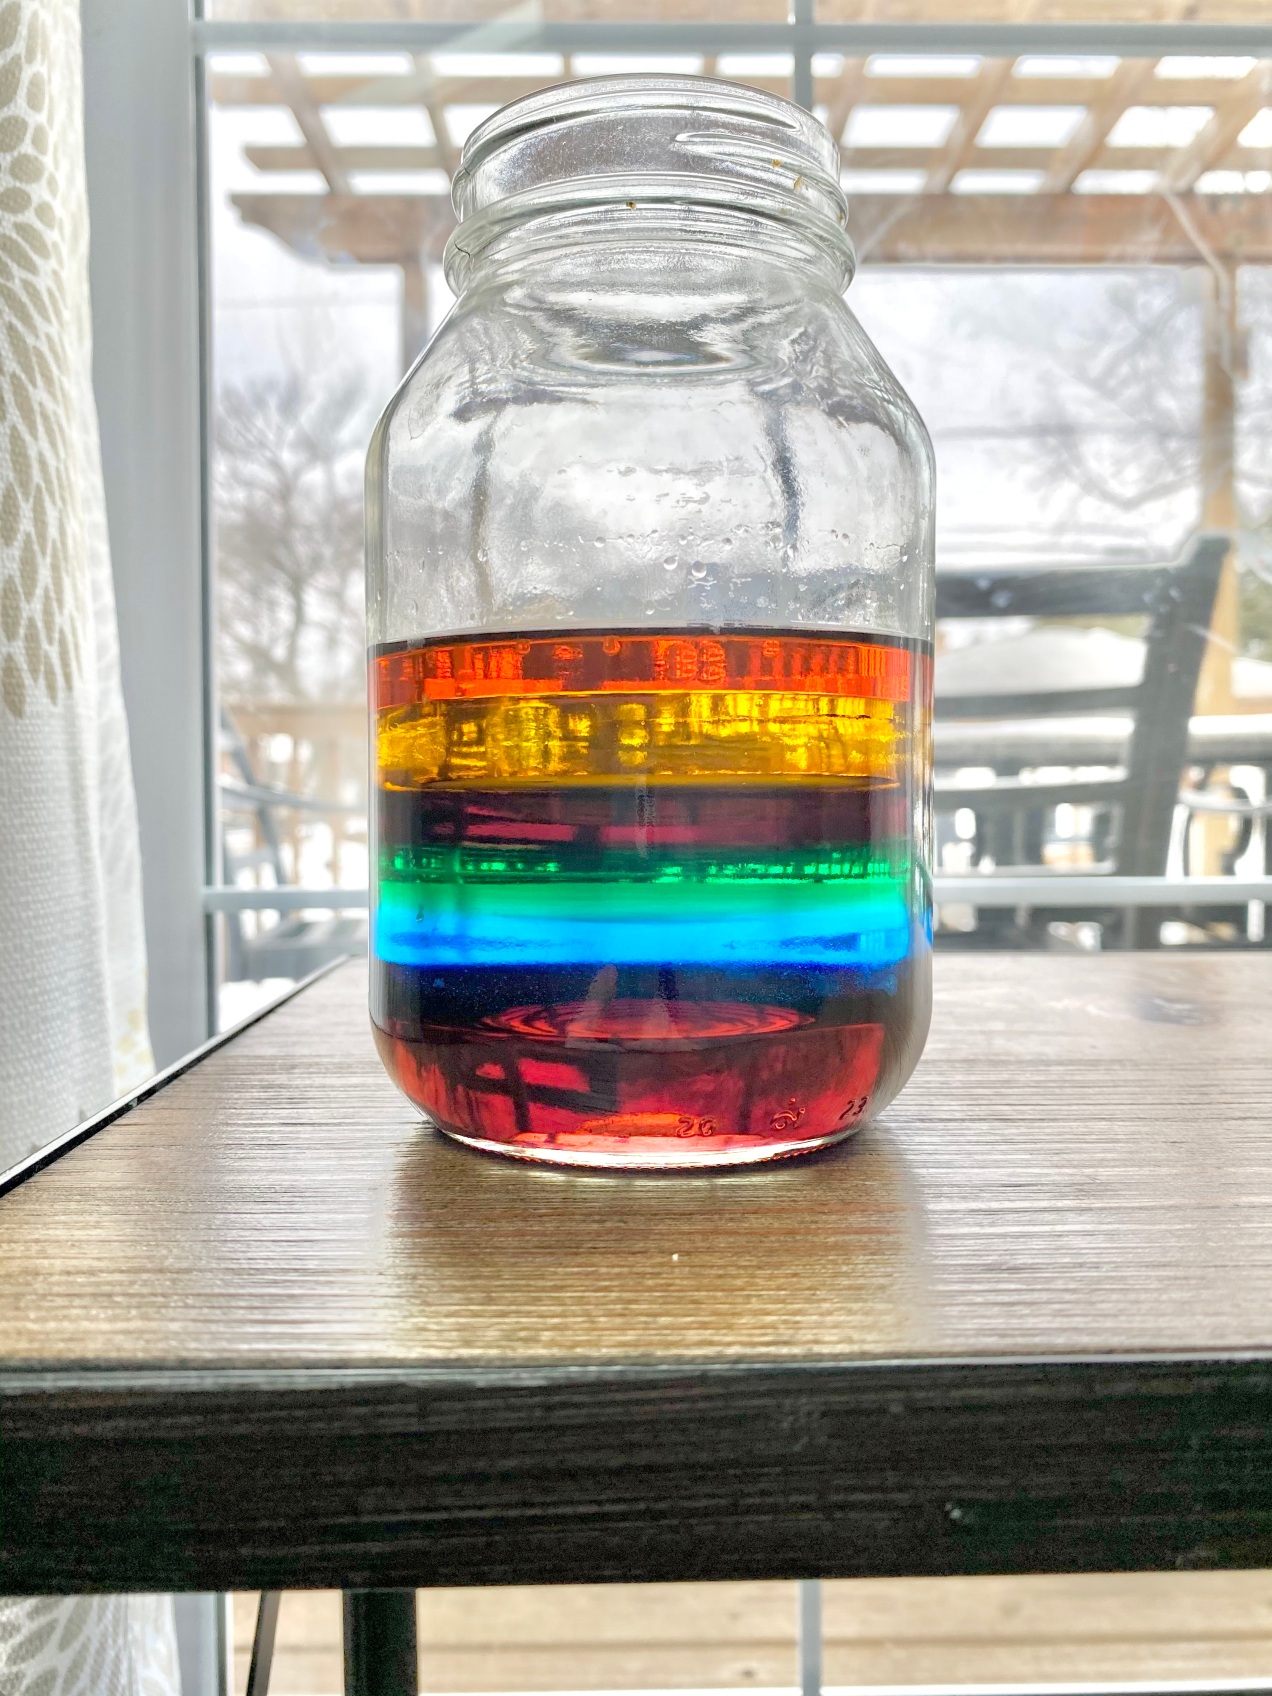
Science experiments have been popular in this house lately so when my 6 year old asked to do yet another one we set out to the library to see if we could find something interesting there. We ended finding the book “How to Make a Liquid Rainbow” by Lori Shores. The best part about this experiment is that we already had everything we needed at home!
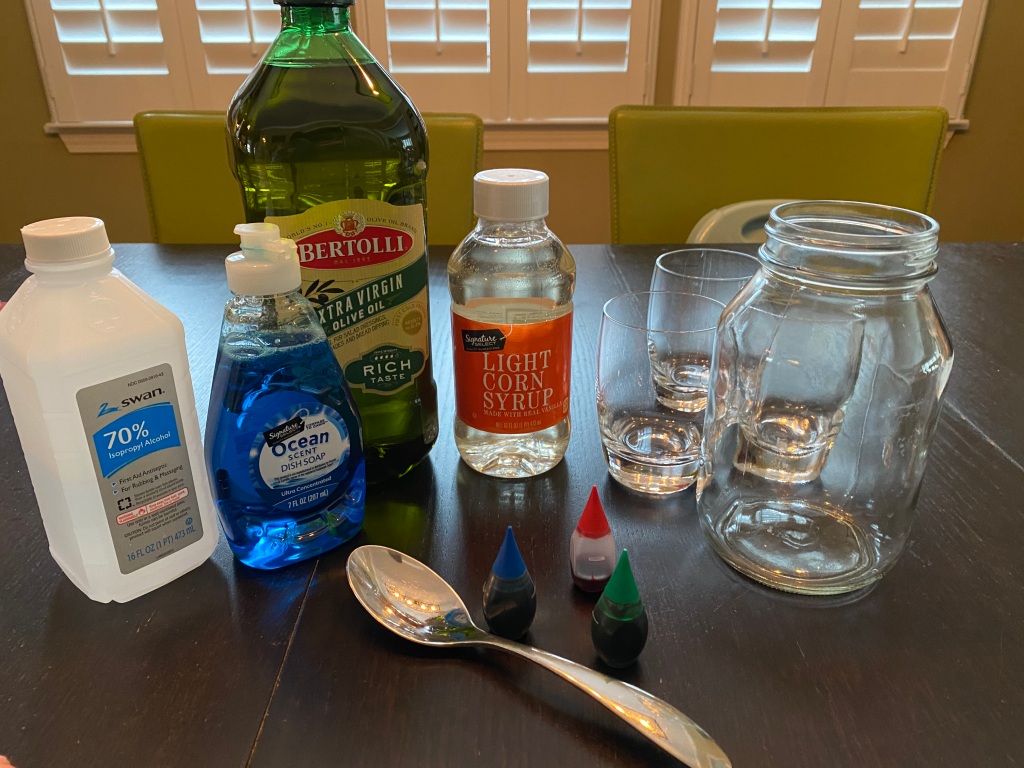
What you need: Large jar, food coloring, corn syrup, blue dish soap, water, olive oil (or any other yellow oil), rubbing alcohol, measuring cup, cups for mixing
What to do:
Purple: 1/2 c corn syrup + 2 drops red food coloring + 1 drop blue food coloring. Pour into bottom of jar.
Blue: 1/2 c blue dish soap. Pour slowly on top of corn syrup.
Green: 1/2 c water + 2 drops green food coloring. Again, pour super slow on top of blue!
Yellow: 1/2 c olive oil. Add to jar.
Red: 1/2 c rubbing alcohol + 2 drops red food coloring. Pour on top!
Although they are all liquids, the various densities in each color layer keep them from mixing together! Remember to add each color layer slowly so they don’t blend together. I took these pictures after we picked up, turned around, and carried the jar several times so there was some mixing… yours will hopefully look a little better then this!
After observing the liquid rainbow my oldest wondered if frozen, would the layers mix together? There was only one way to find out… we set the jar outside overnight and were amazed at what we saw the next day!
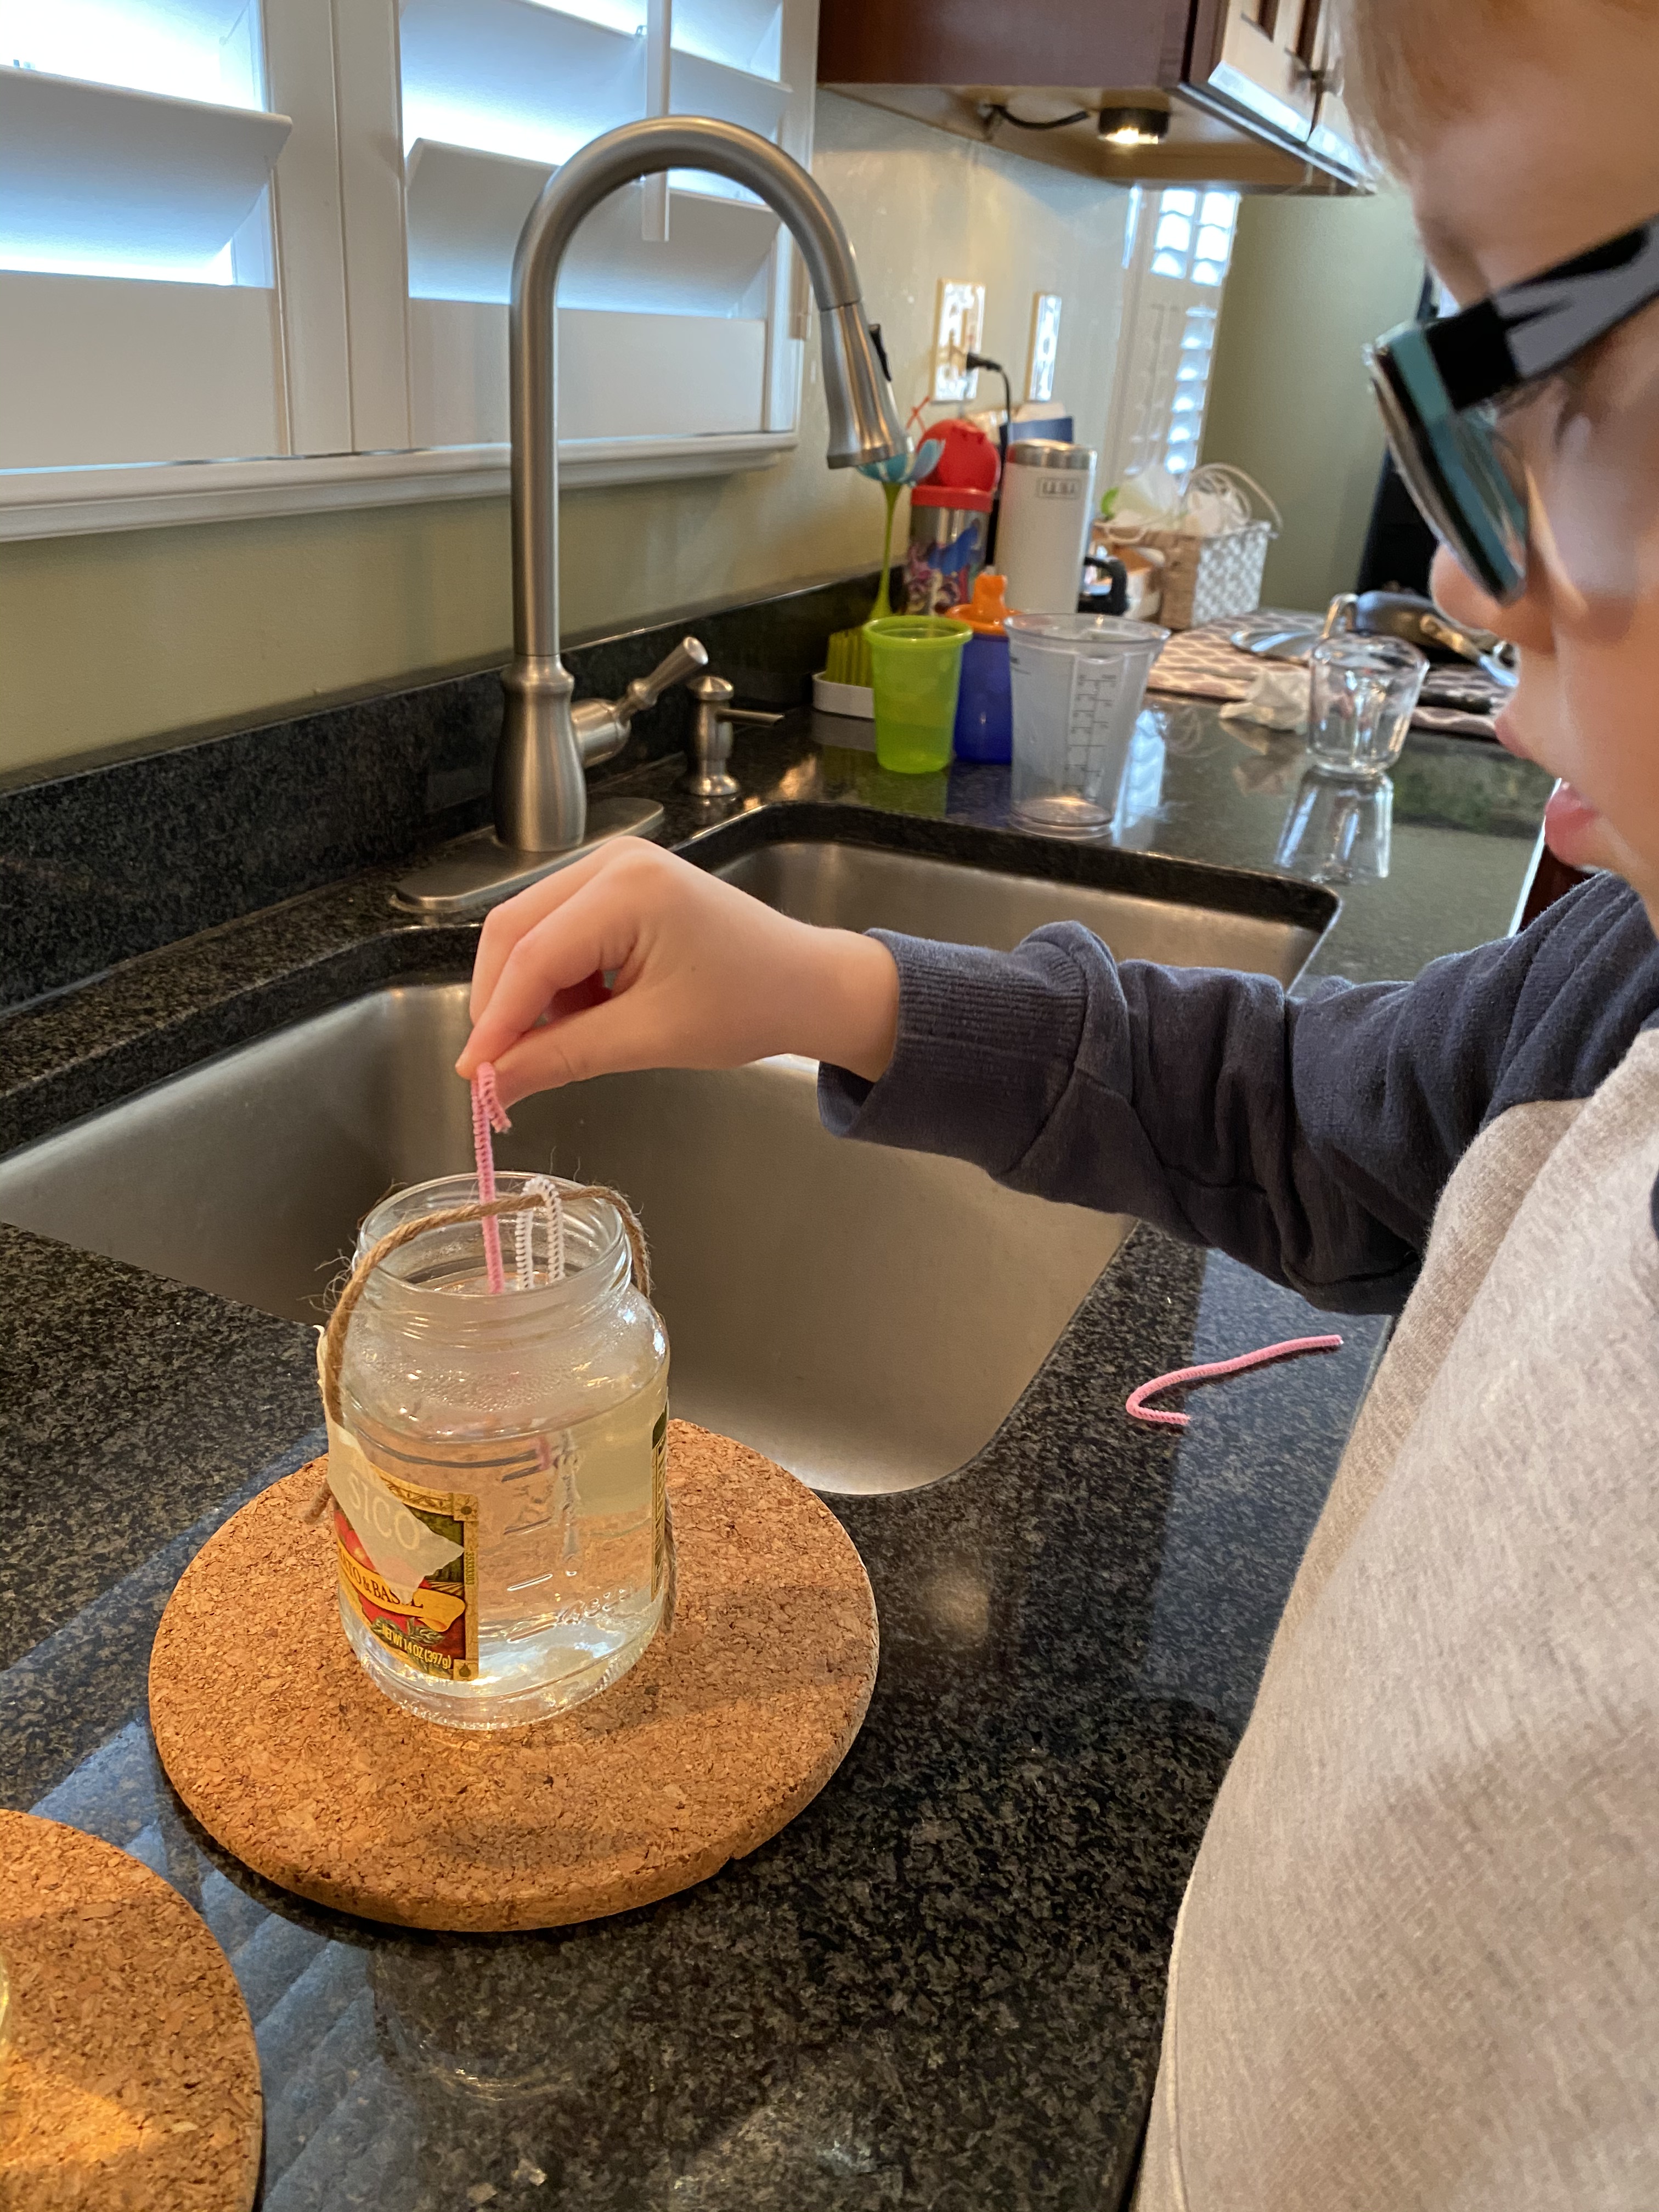
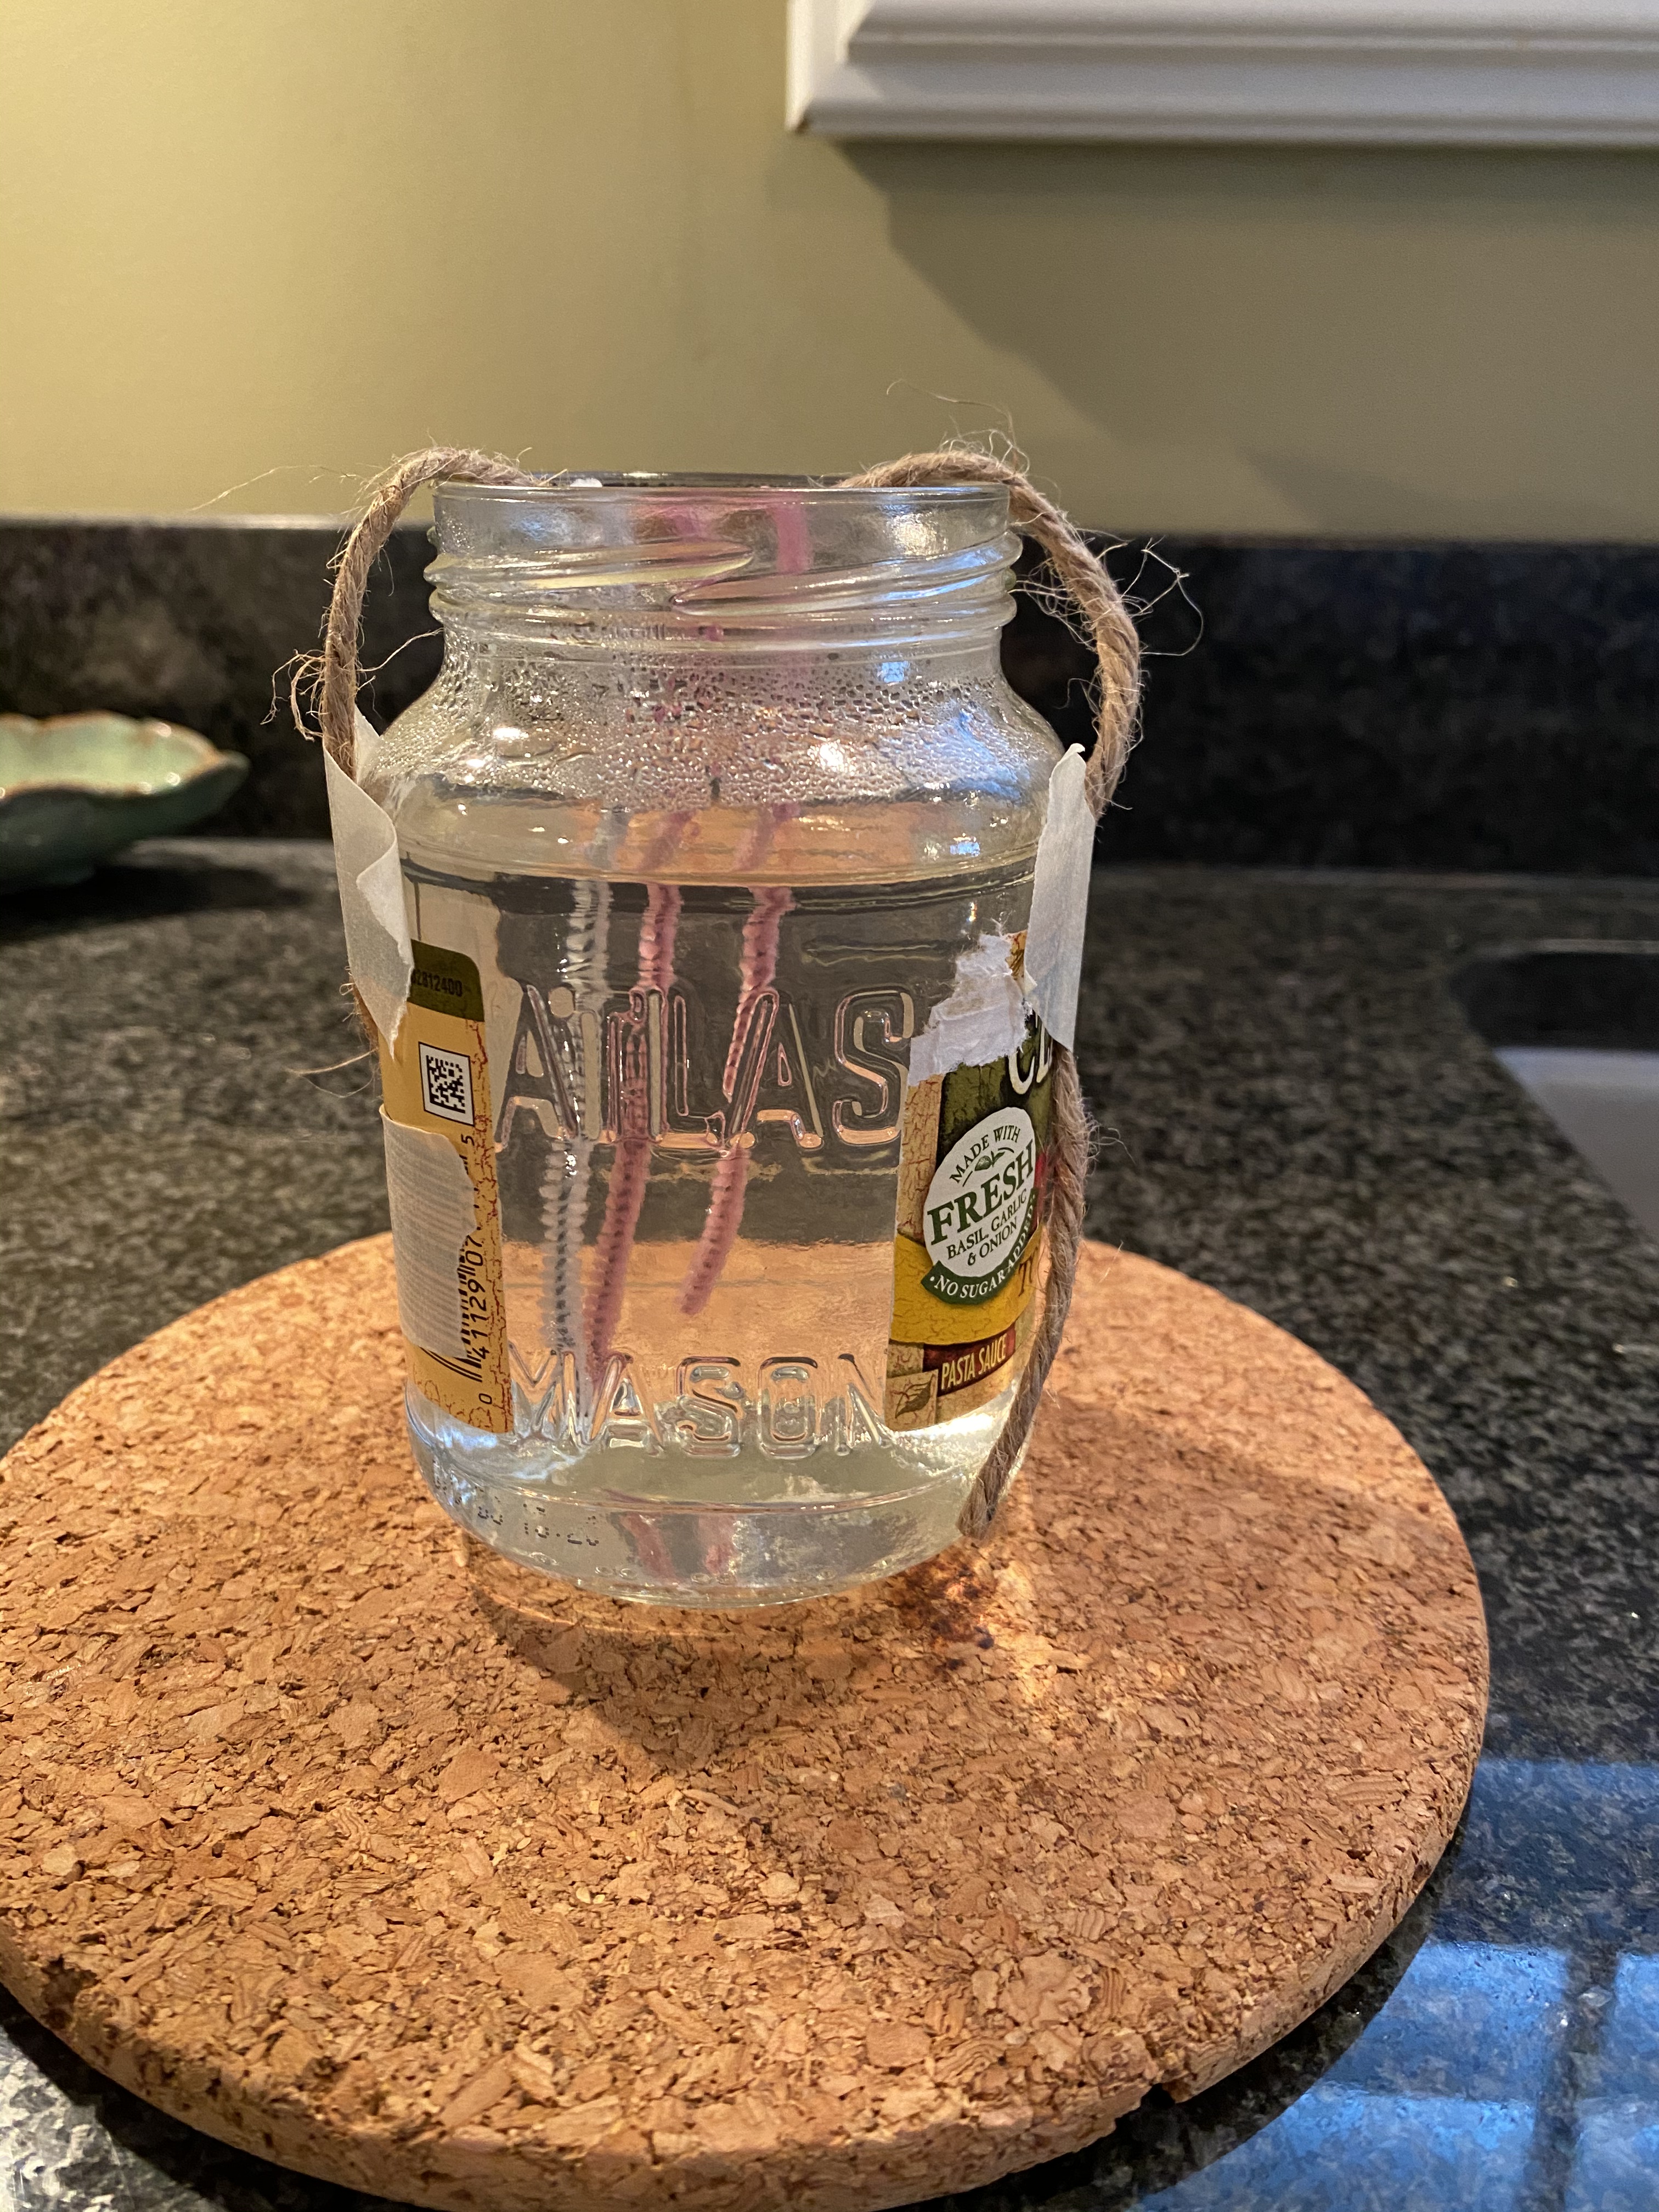
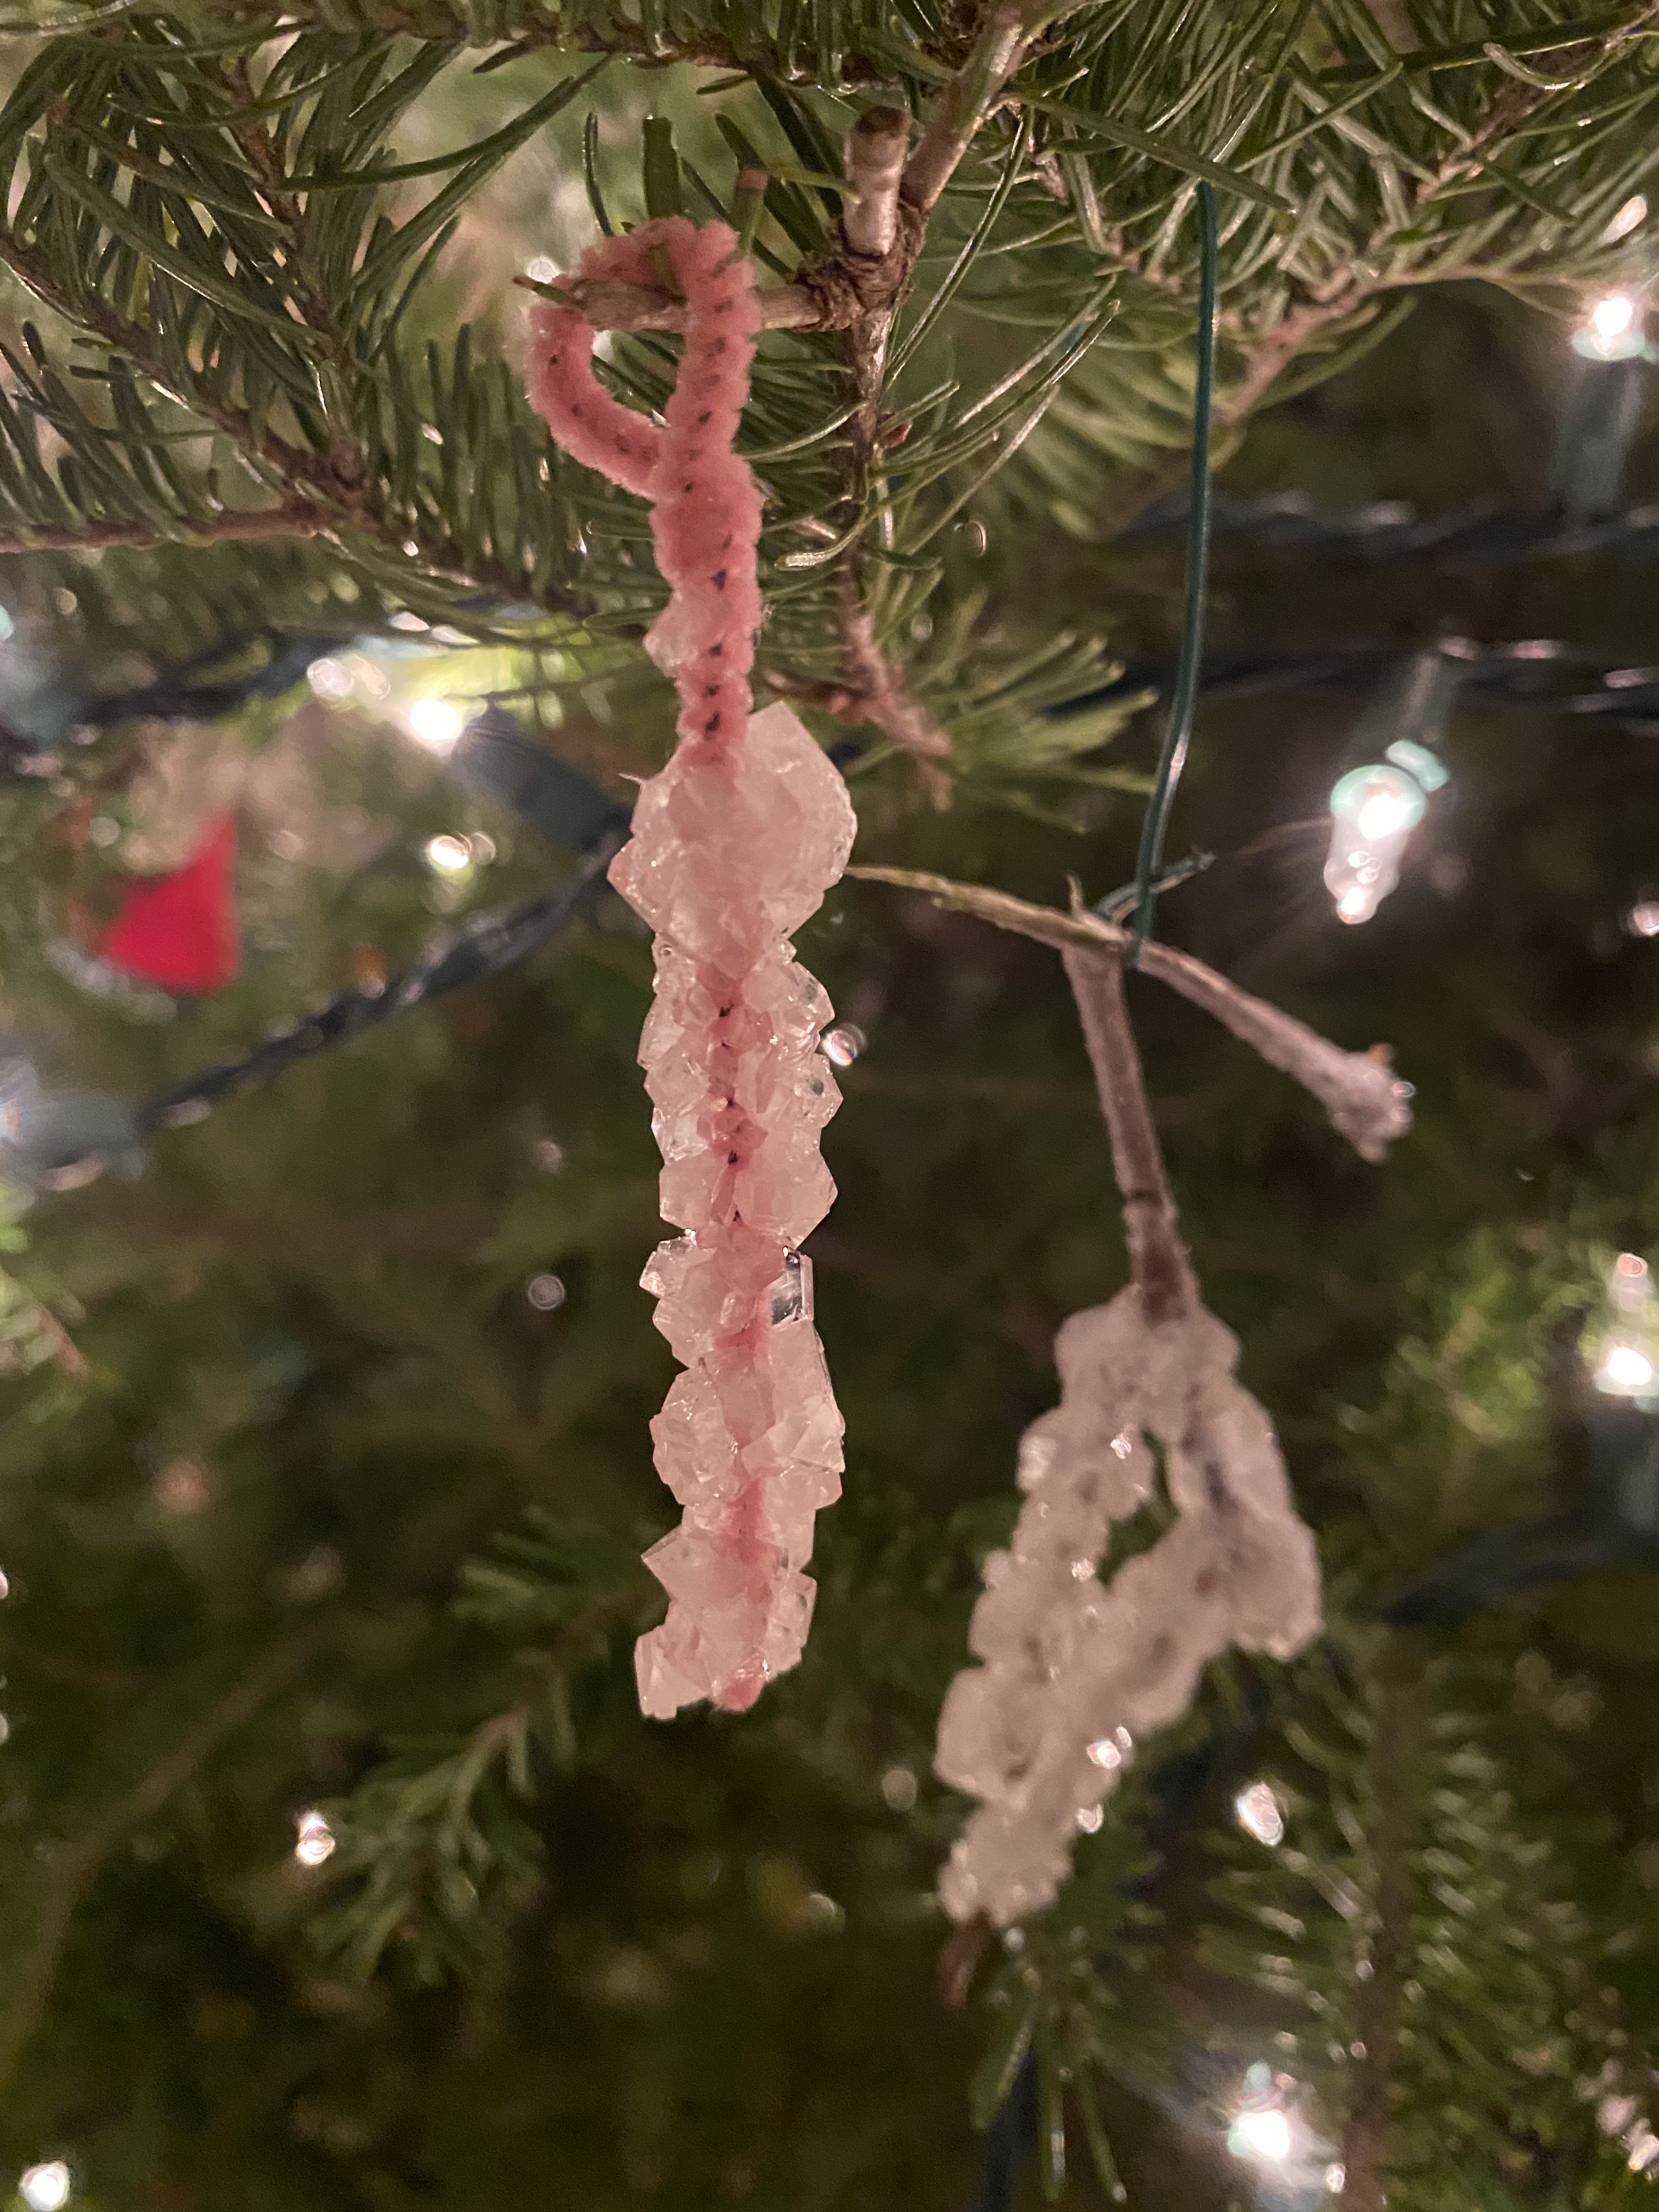
I was on the hunt to make some new ornaments for our tree when I came across this amazing STEM activity! So many learning opportunities: measuring, counting, predicting, testing, and problem solving just to name a few!
What you need: Borax, water, pot, pipe cleaners or sticks, jar, yarn/twine
What to do:
Boil 2 cups of water.
Add 12 tbsp of borax, stir until dissolved.
Pour mixture into jar, almost to the top.
Tape twine across the top of the jar and hang a few pipe cleaners so that most of them are submerged into the water. (If you use sticks it’s easy to just hang them over the edge)
Let sit for several hours.
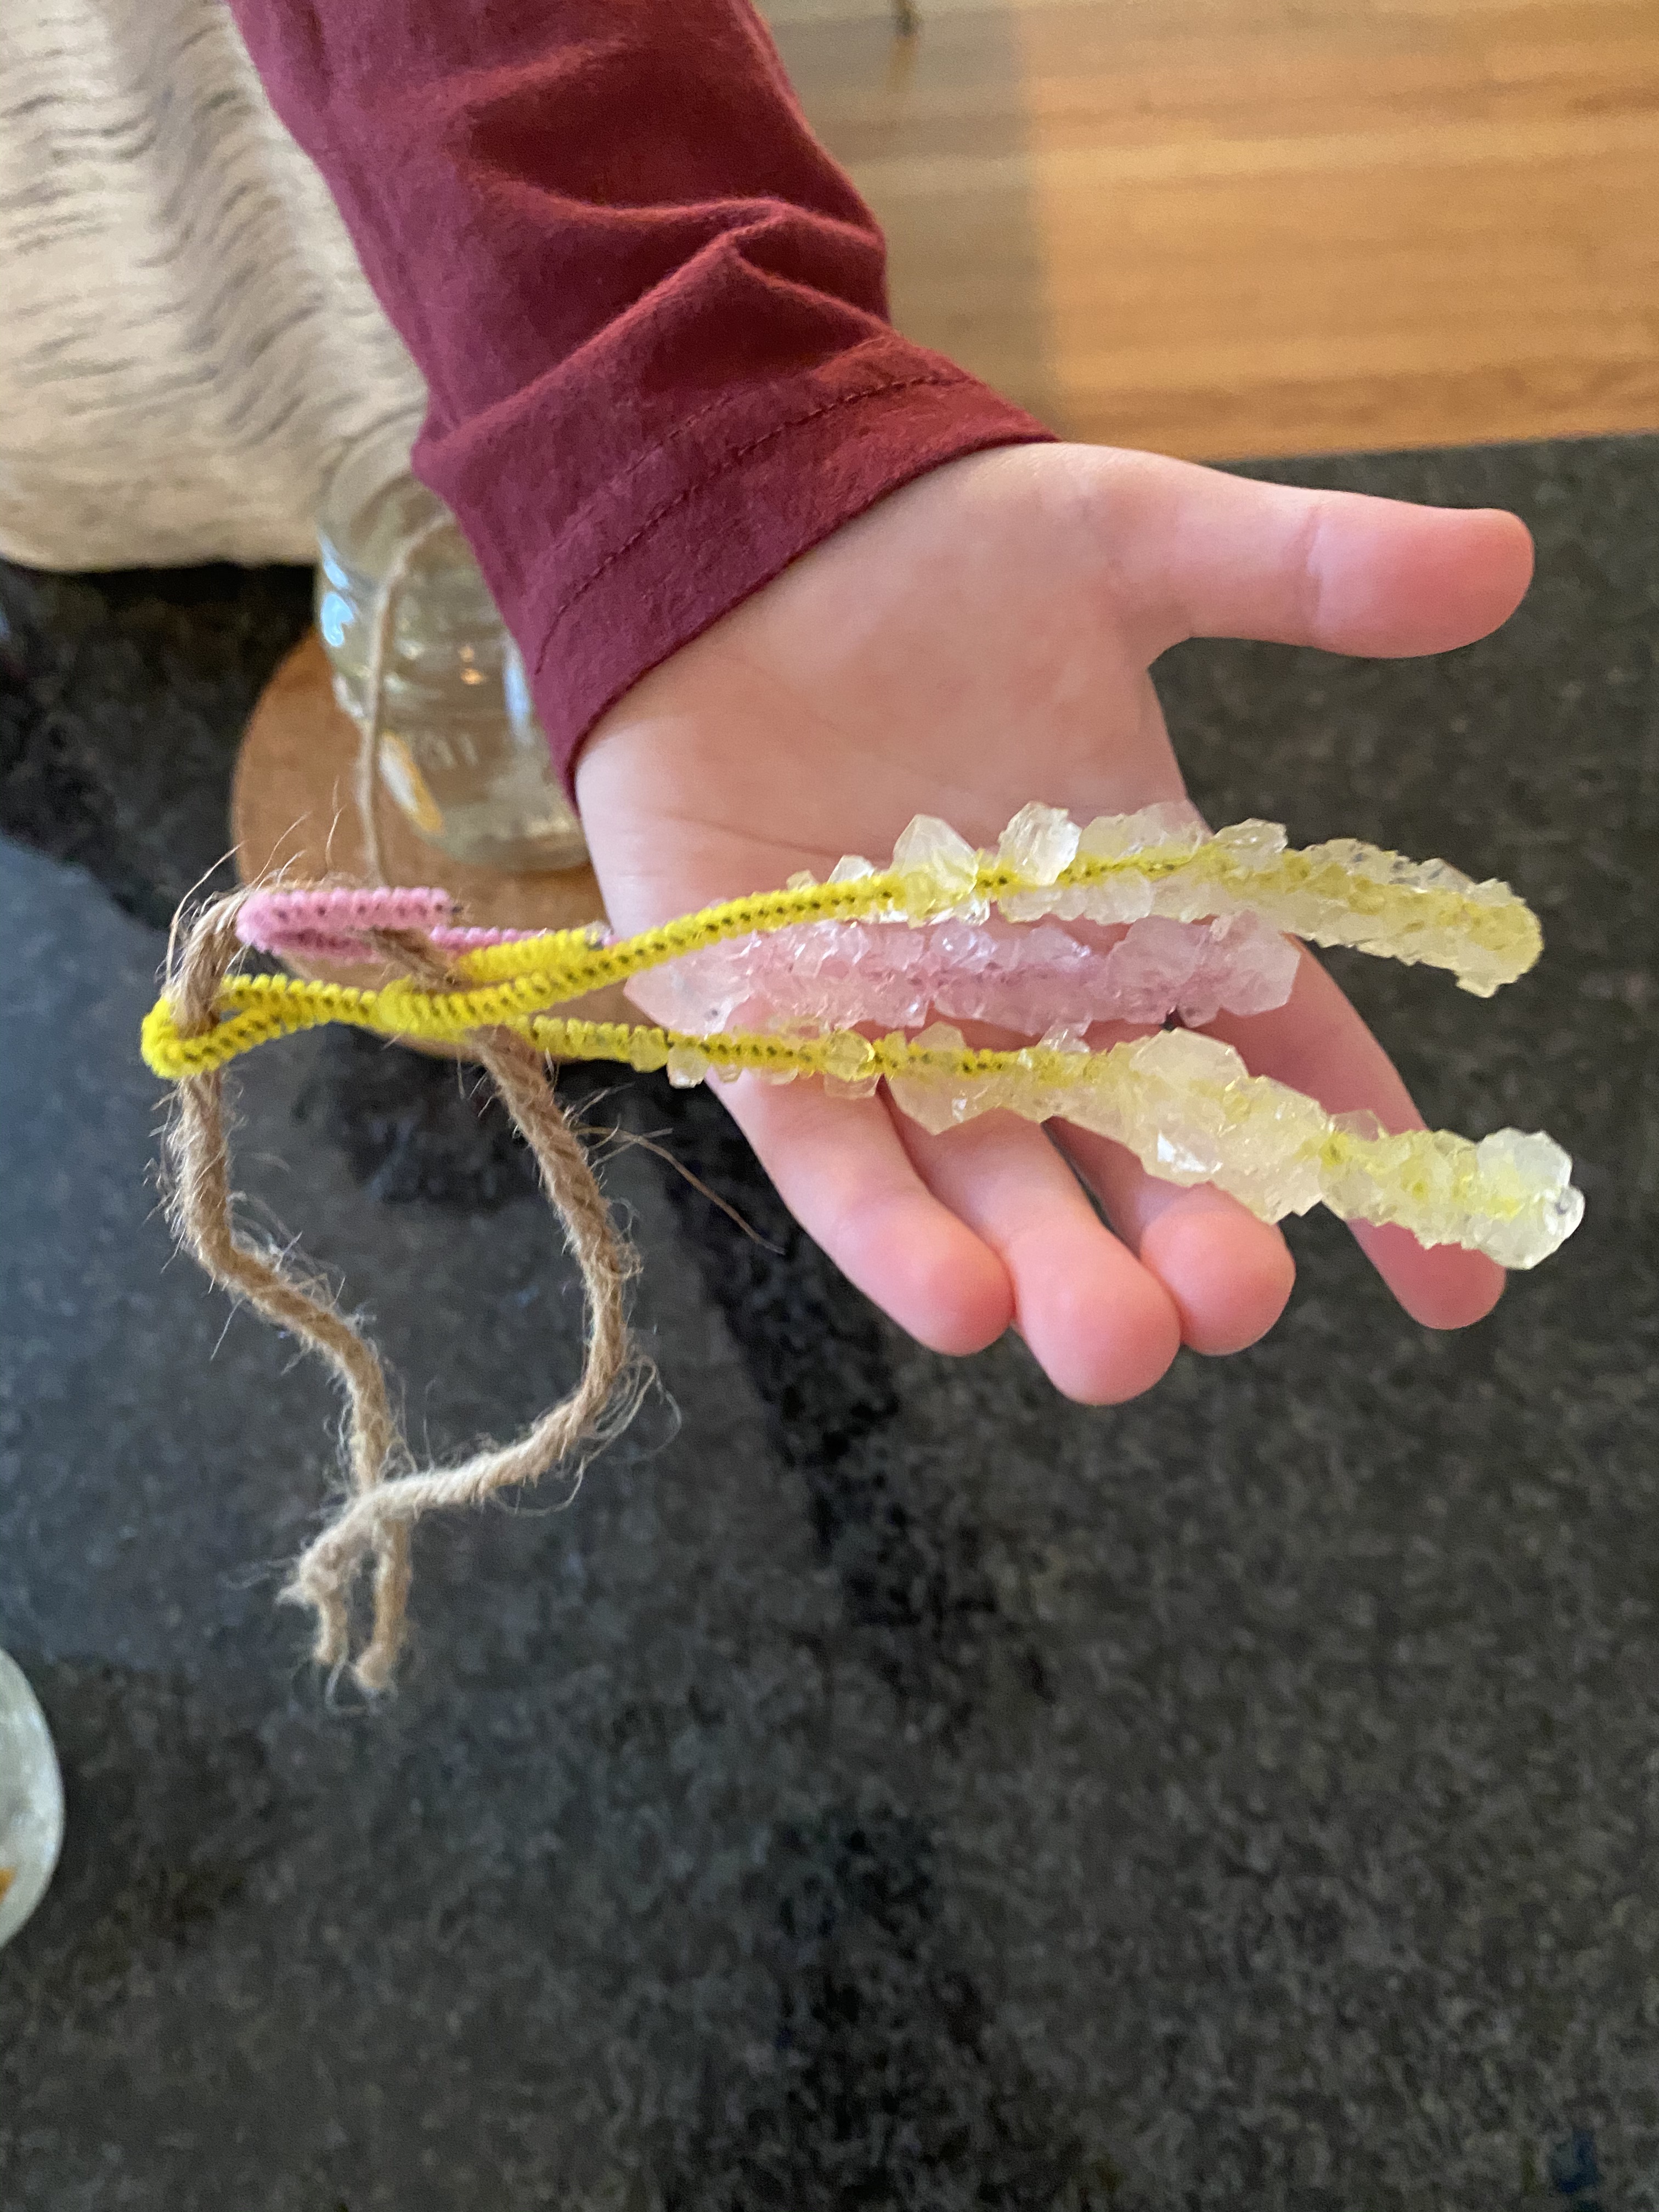
Remove pipe cleaner and hang to dry.
Bend the top of the pipe cleaner to make a loop, add an ornament hook and hang on your tree!
*Measurements may vary… we’ve done this a few times now and have found that using shorter jars is easier 🙂