Preschool Activities, Uncategorized

Bird’s Nest

My youngest discovered a bird’s nest that had fallen out of a tree on our morning walk. Something most of us would have passed right by but his watchful eye spotted it instantly. After returning home I set up a tray of nature materials and coffee dough inviting him to make a nest of his own!

What you need:

  • Play doh – I used homemade coffee dough – click here for the recipe!
  • Nature collection (sticks, leaves, acorns – anything you can find outside)
  • Small pieces of string or paper (I repurposed some packaging paper)
  • Something small to represent eggs. We used fuzzy pom poms but you could also cut some out of paper, paint rocks, use plastic eggs, or make some with play doh.

What to do:

  1. Offer the materials and let your child create! The joy of these “invitation to play” set ups is that the learning is organic and happens on its own. During these types of activities it’s important to ask open ended questions (questions that require more than a yes or no answer) to help facilitate learning. These questions provoke meaningful thoughts and conversations and help extend learning – all while playing at the same time.

Some examples of open ended questions about bird nests:

  • “How do you think birds make their nests?”
  • “Where do the birds go in the winter time?”
  • “Why do you think birds live in nests?”
  • “If you were a bird, where you make your nest?”
  • … and when in doubt… just ask “why?”

Standard
Preschool Activities, Uncategorized

Nature Rainbow

Using our nature collection and chalk we created this beautiful rainbow! Such a simple activity with so many learning benefits: gross motor play while searching for items, sorting and classifying objects, problem solving and communication skills, shapes and counting too!

What you need:

  • Nature Collection
  • Chalk

What to do:

  1. If you don’t have a nature collection – go outside and create one!
  2. Draw a rainbow using a piece of sidewalk chalk.
  3. Fill in the layers of the rainbow with your nature items. You can sort the items first or just fill in randomly!
Standard
Preschool Activities, Uncategorized

Recyclable Rocket Ship 🚀

I discovered after a closet clean out that I’ve been hoarding recyclables – so we used them to build a rocket ship and blasted off to space!

What you need:

  • Boxes
  • Recyclables
  • Markers
  • Glue

What to do:

Build, stack, glue, draw, play and use your imagination – there is no right or wrong way to do it! We left our rocket ship in the living room for almost an entire week and every day the boys would rebuild and rearrange – it was never ending fun!

Standard
Uncategorized

Ants!

Last Christmas my oldest received an ant farm so for the past few months we have been observing a colony of ants. We were all so fascinated by them that I decided it was time for a mini – study! Below are examples of three different ant activities that cover all areas of development – literacy, math, fine motor skills, sensory experiences, and so much STEM! Remember to check your local library for books to support your study!

  1. Loose Parts Play – Ant Bodies

This activity started as using rocks and sticks to learn about the body parts of an ant but it grew to so much more – which is the beauty of loose parts play! What started with two ants slowly progressed into “Ant World.” All you need is some rocks, sticks, and markers. Show your child how three rocks can represent the three body parts of an ant (or any insect) and then use the sticks for legs and antennas.

Use markers to add some tunnels!

2. Ant Fossils in Coffee Dough

You can do this activity with any kind of dough but I wanted to make some that looked dirt-like so I did some searching and found this recipe for coffee dough:

• 1 cup used coffee grounds
• 1/2 cup cold coffee
• 1 cup flour
• 1/2 cup salt

Once your dough is read, roll it flat, press plastic bug down firmly, then lift to see your fossil!

3. Ant Maze

This activity can be as simple or as complex as you want it to make it… a simple maze on a piece of paper will work! For our maze, I started by drawing a maze on a piece of cardboard. The boys glued the red beans on all around the maze to represent dirt. The ant is glued to a magnet and moves through the maze by “connecting” to another magnet on the underside of the cardboard! I really wish I could show you a video in this blog but unfortunately this platform does not support it – click here to link to my Instagram page to see our ant in action (and you might see some previews of future posts!).

Standard
Preschool Activities, Uncategorized

Fun With Ice!

We’ve had below freezing temps for weeks in the Chicago area so the boys and I have been experimenting with different ways to freeze ice and objects outside! If it isn’t cold where you live – just use your freezer!

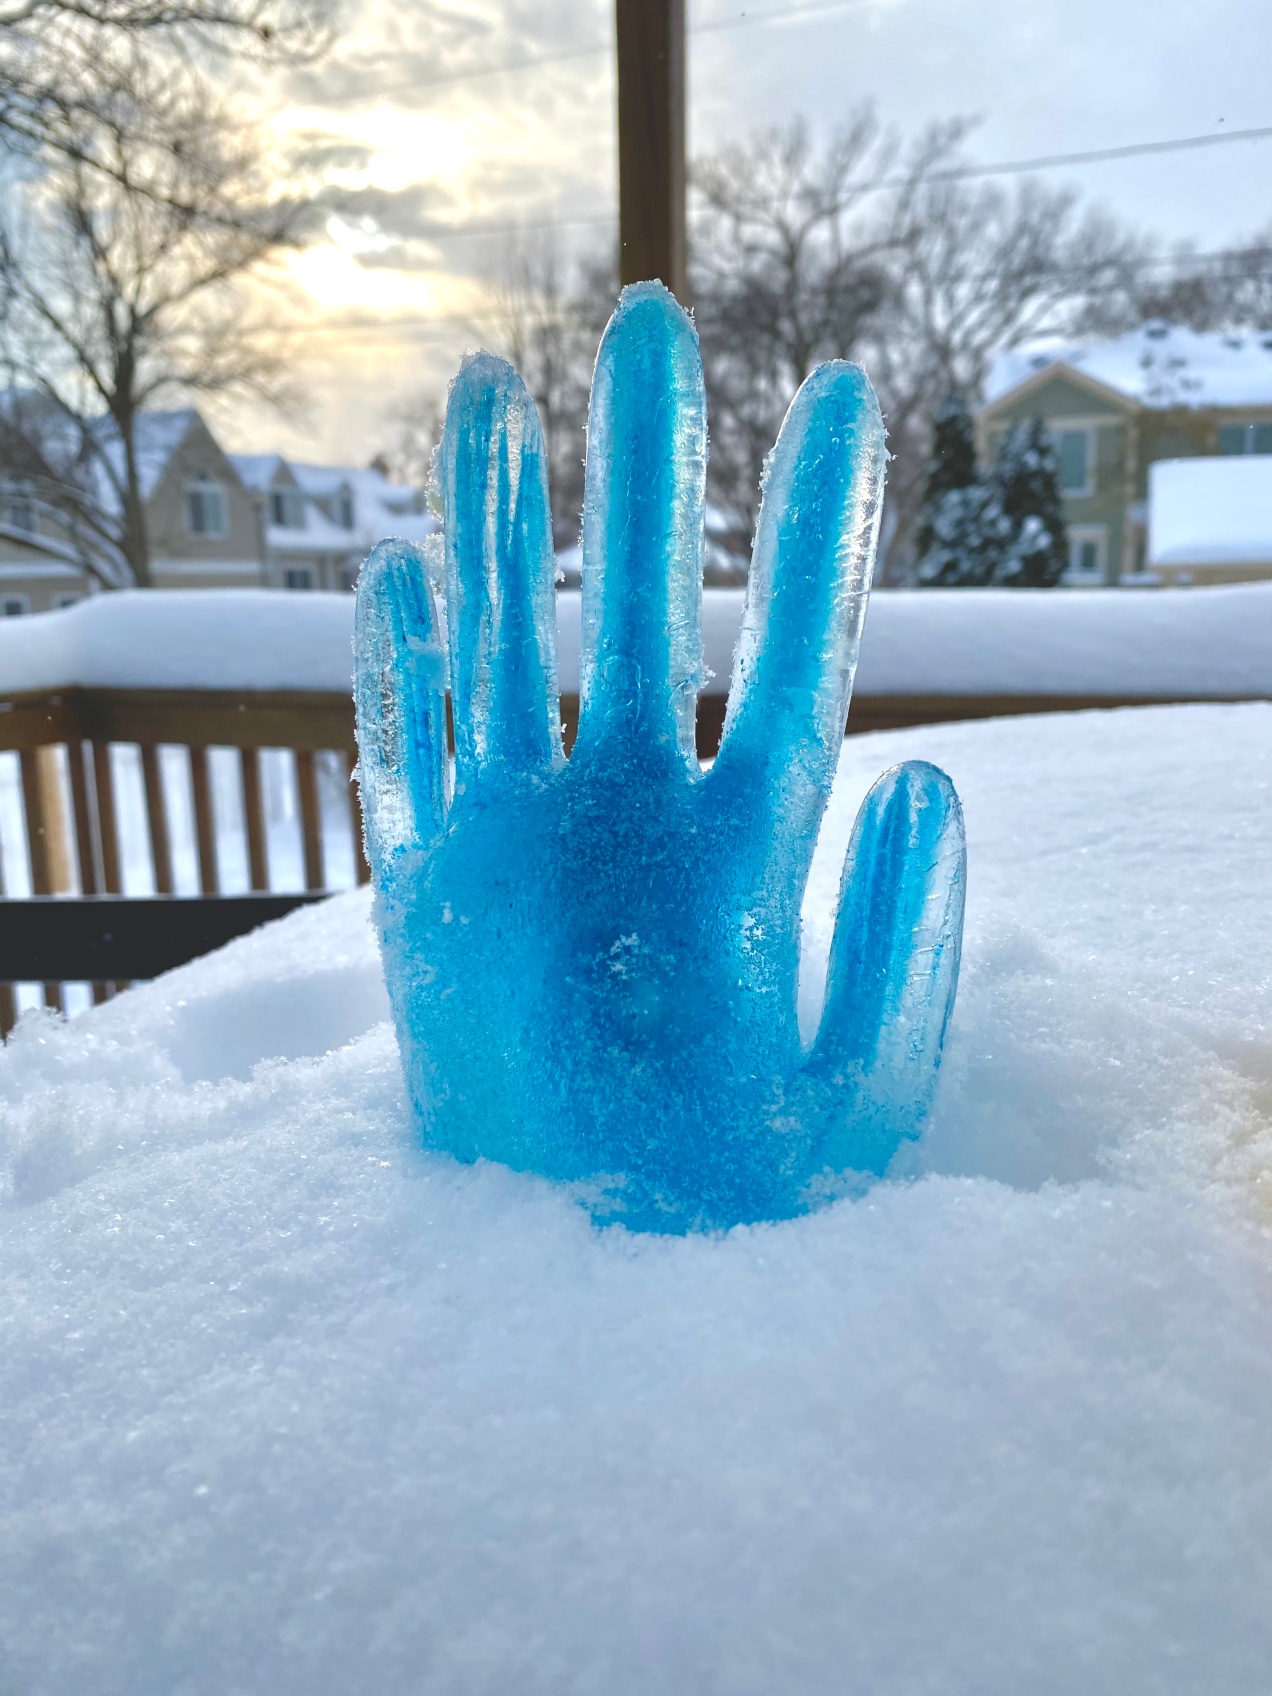
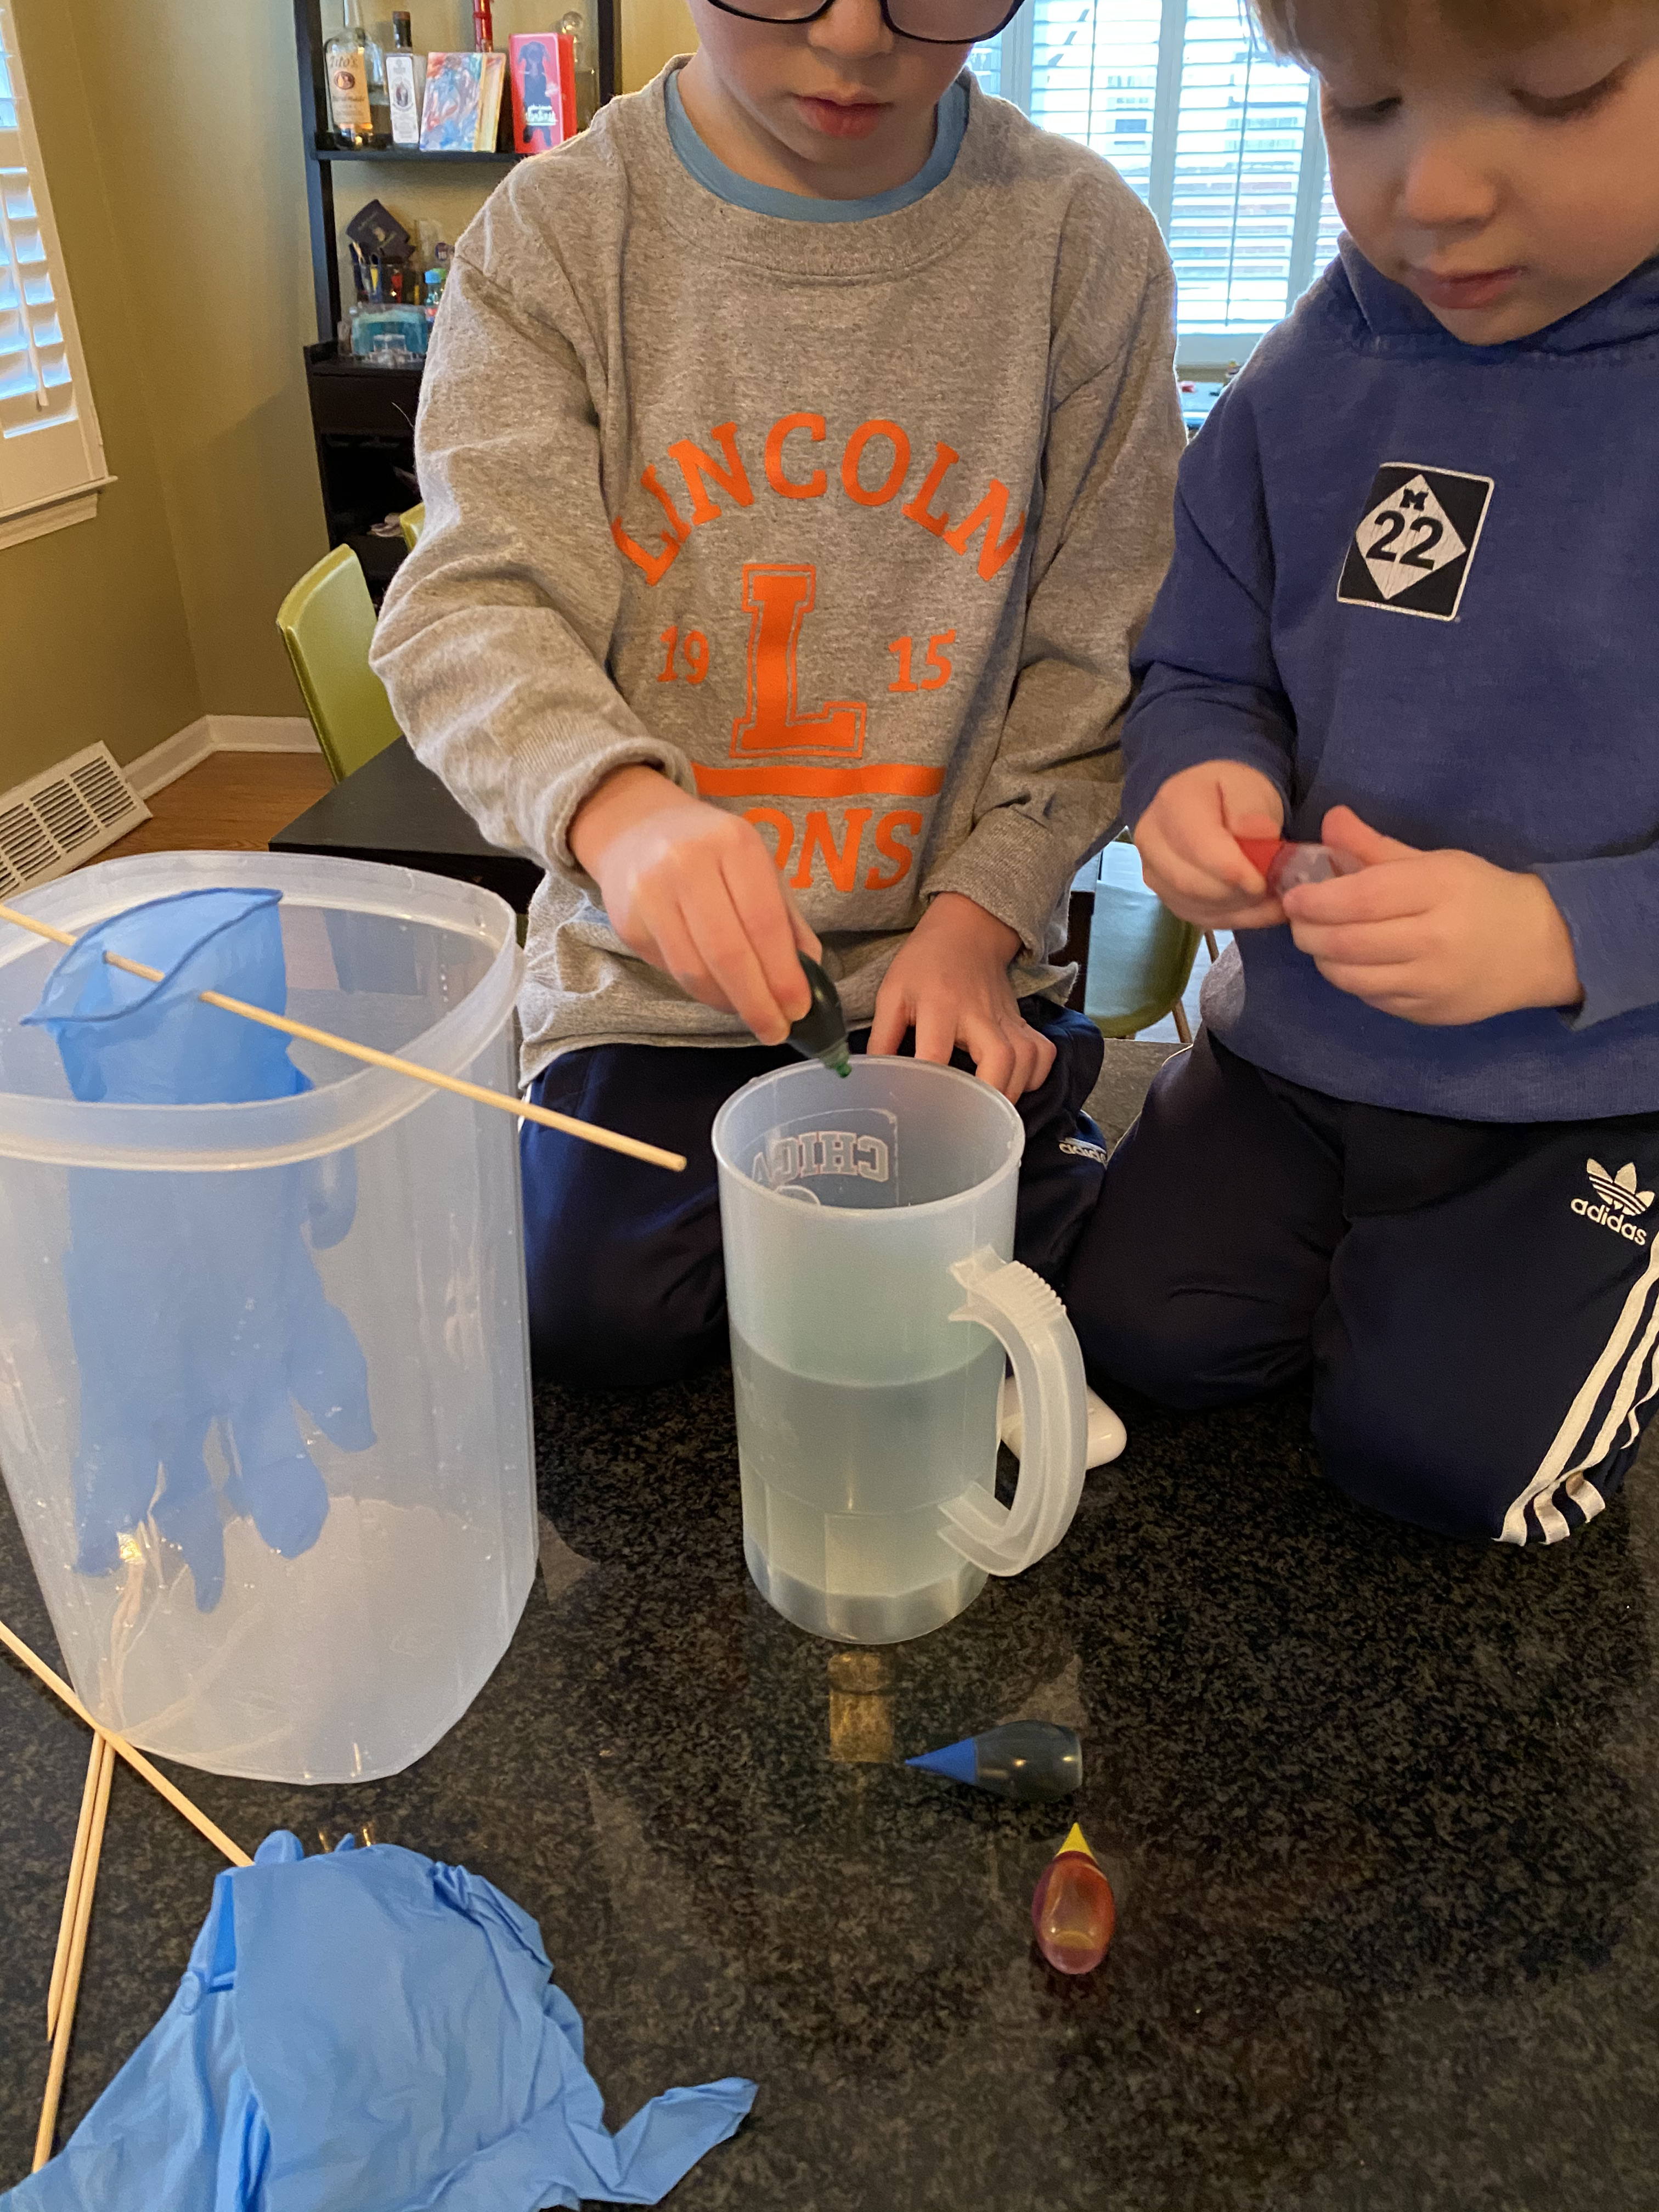
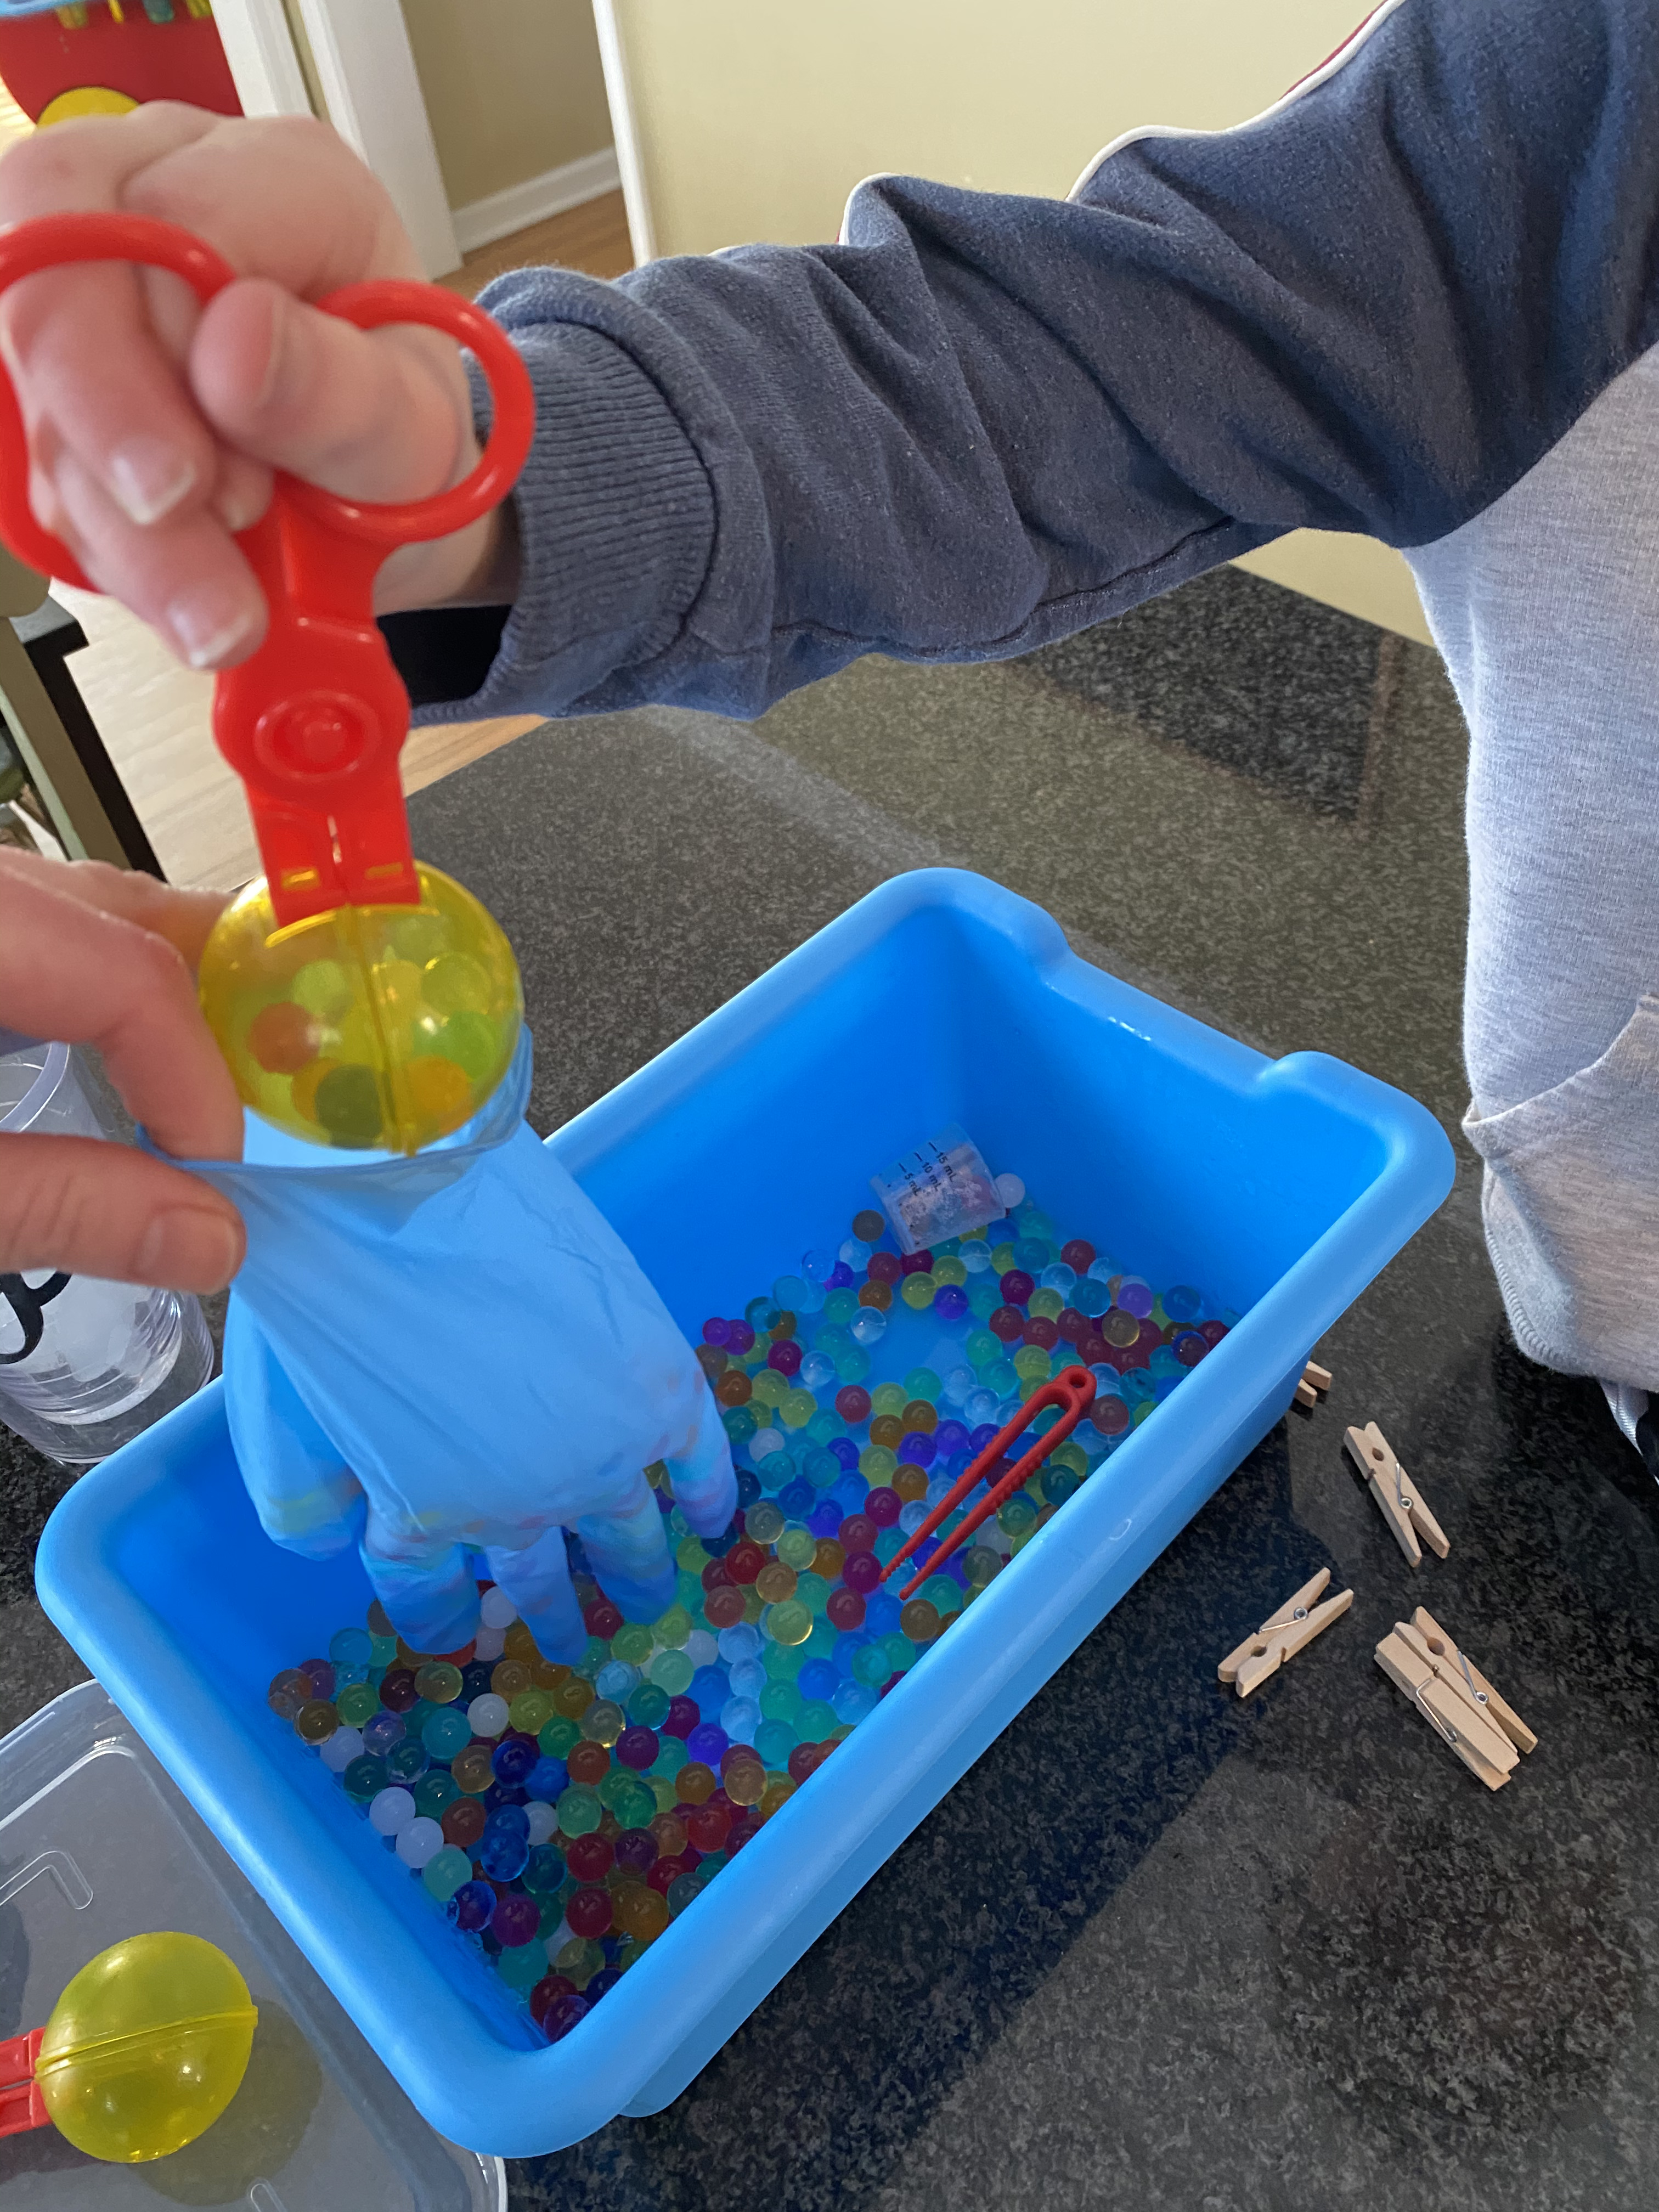
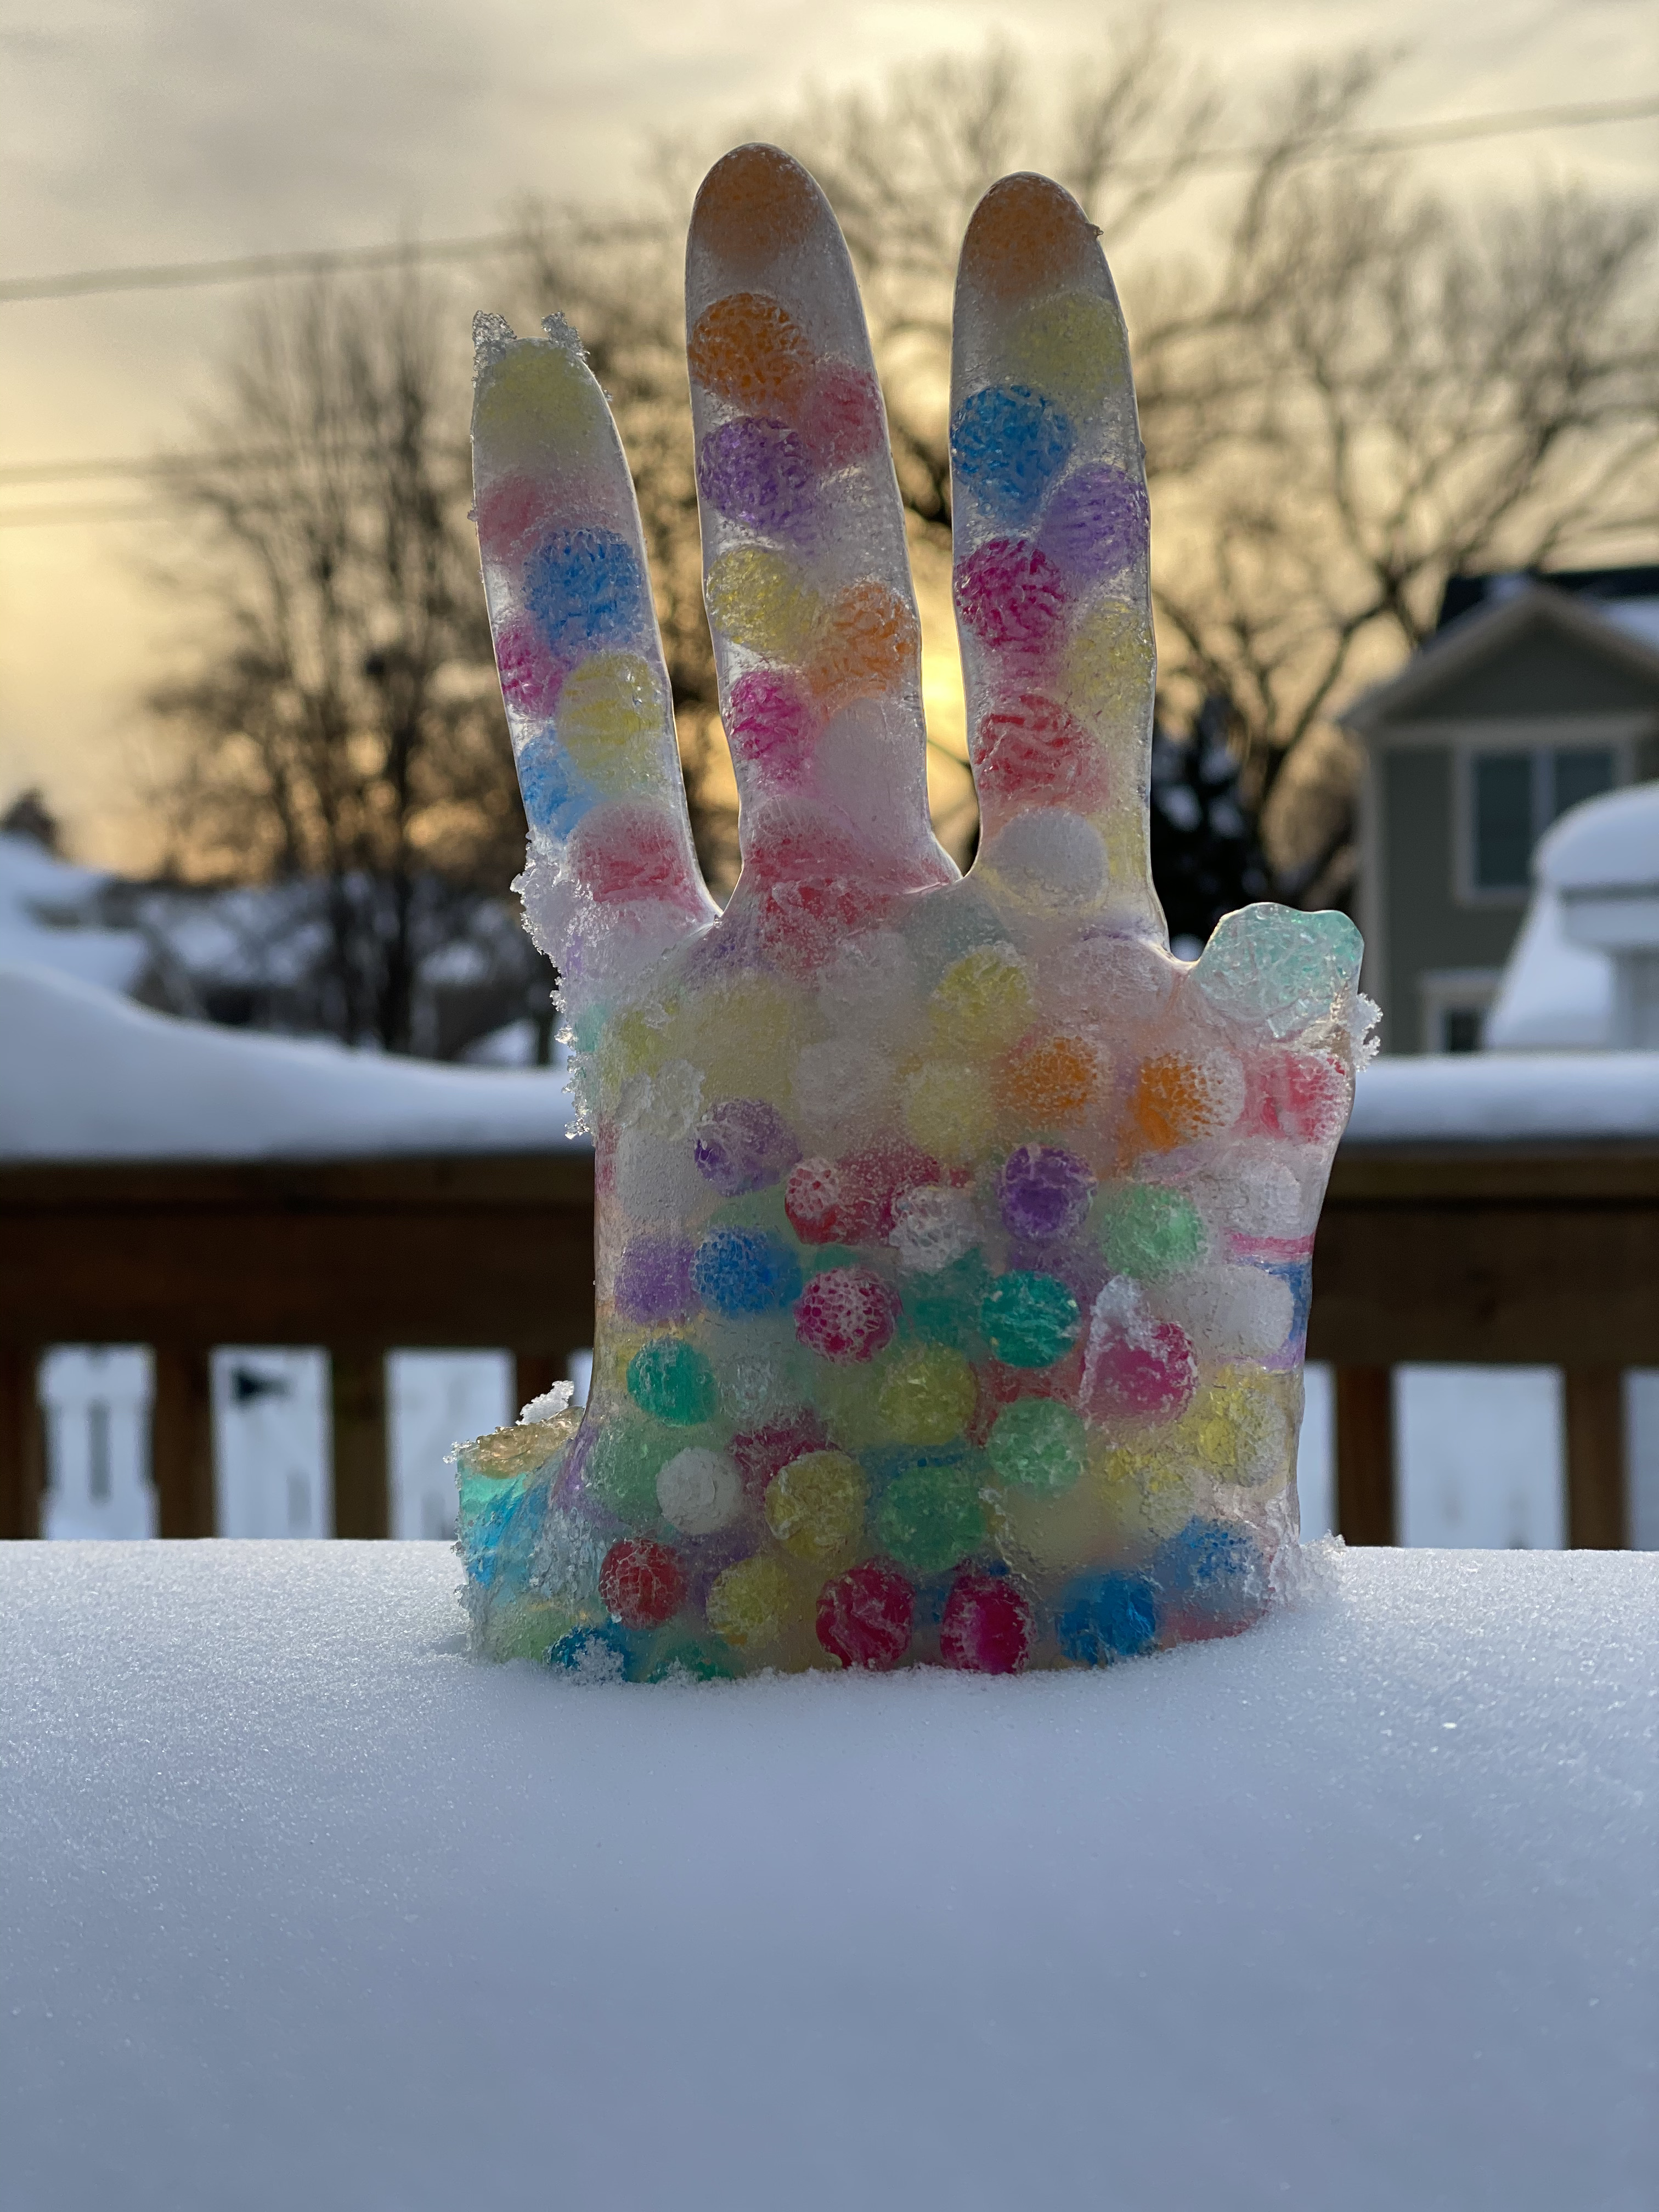
  1. Frozen Hands: Fill plastic gloves with colored water (or water beads). Attach the gloves with clothespins on a skewer/stick and place so that it hangs into a deep bowl or container. If you lay the glove directly on the ground or table outside you won’t be able to pick it up! Useful tip: Bring them inside to warm up a little it before trying to remove the gloves – if not you’ll break the fingers!

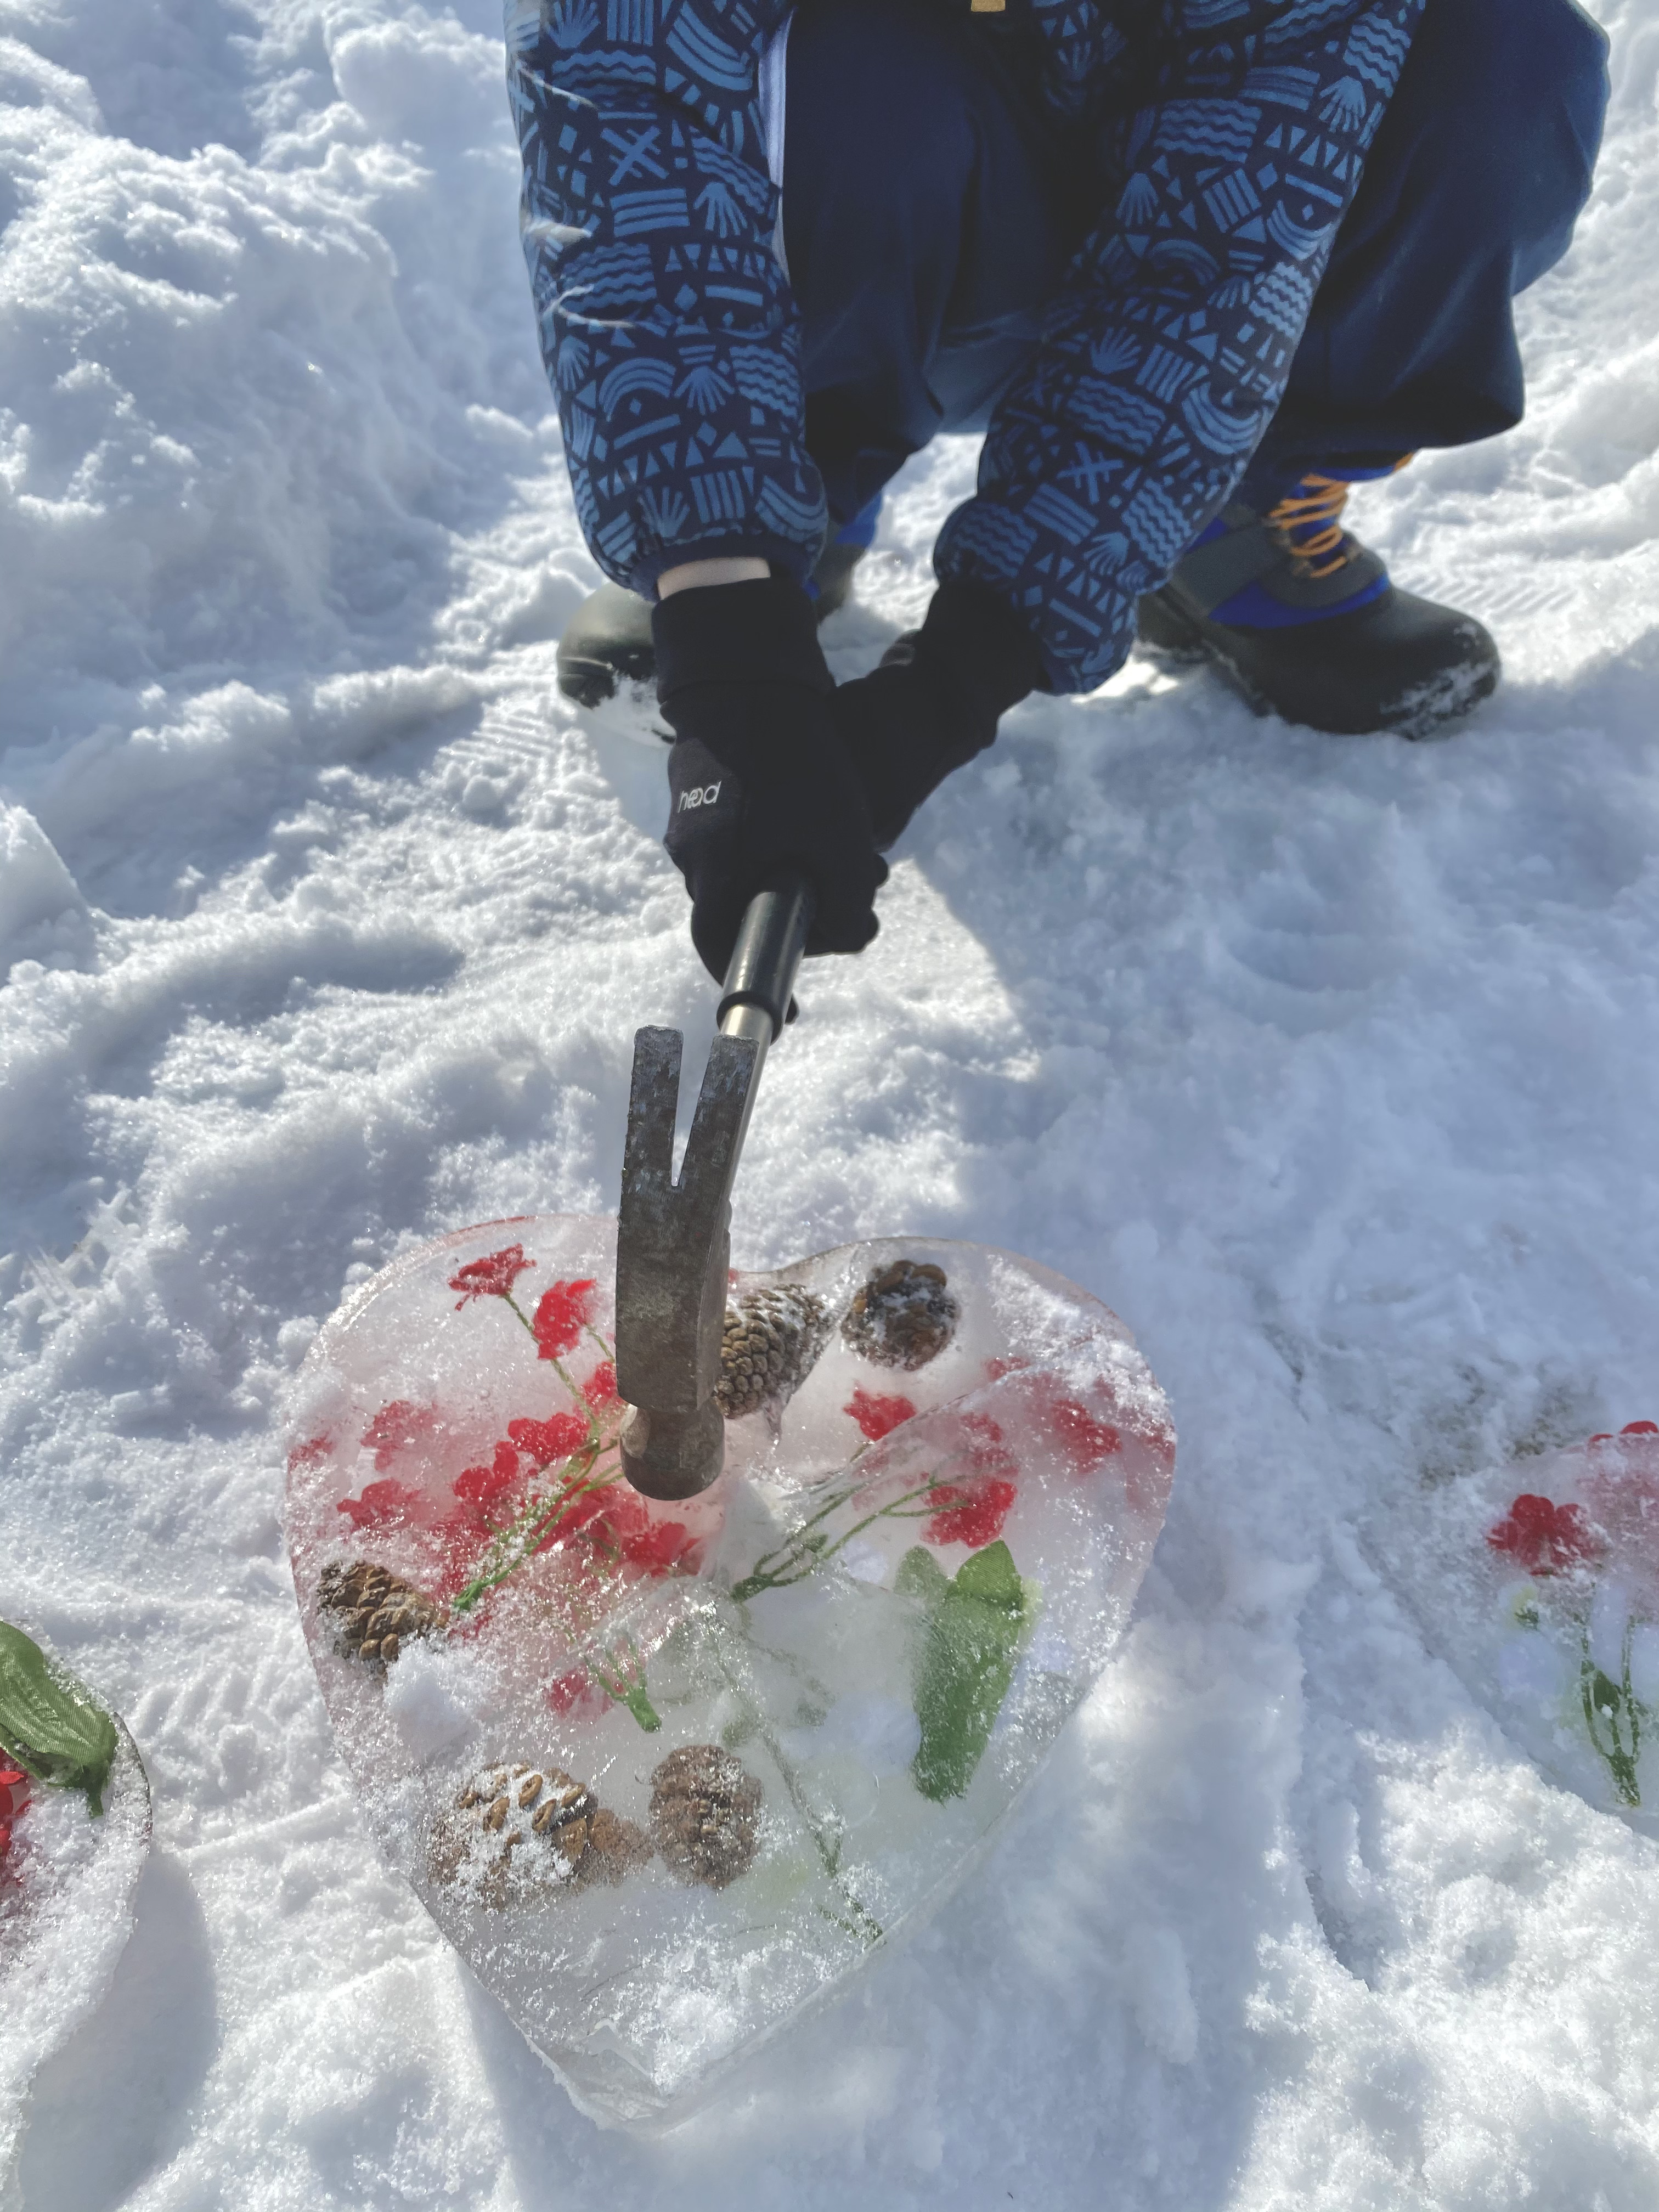
2. Don’t Break my Heart: For Valentine’s Day this year we made beautiful frozen hearts full of nature – and then broke them to pieces with hammers! We used heart shape candy boxes, a heart shaped pan, and even made our own heart to fill out of foil.

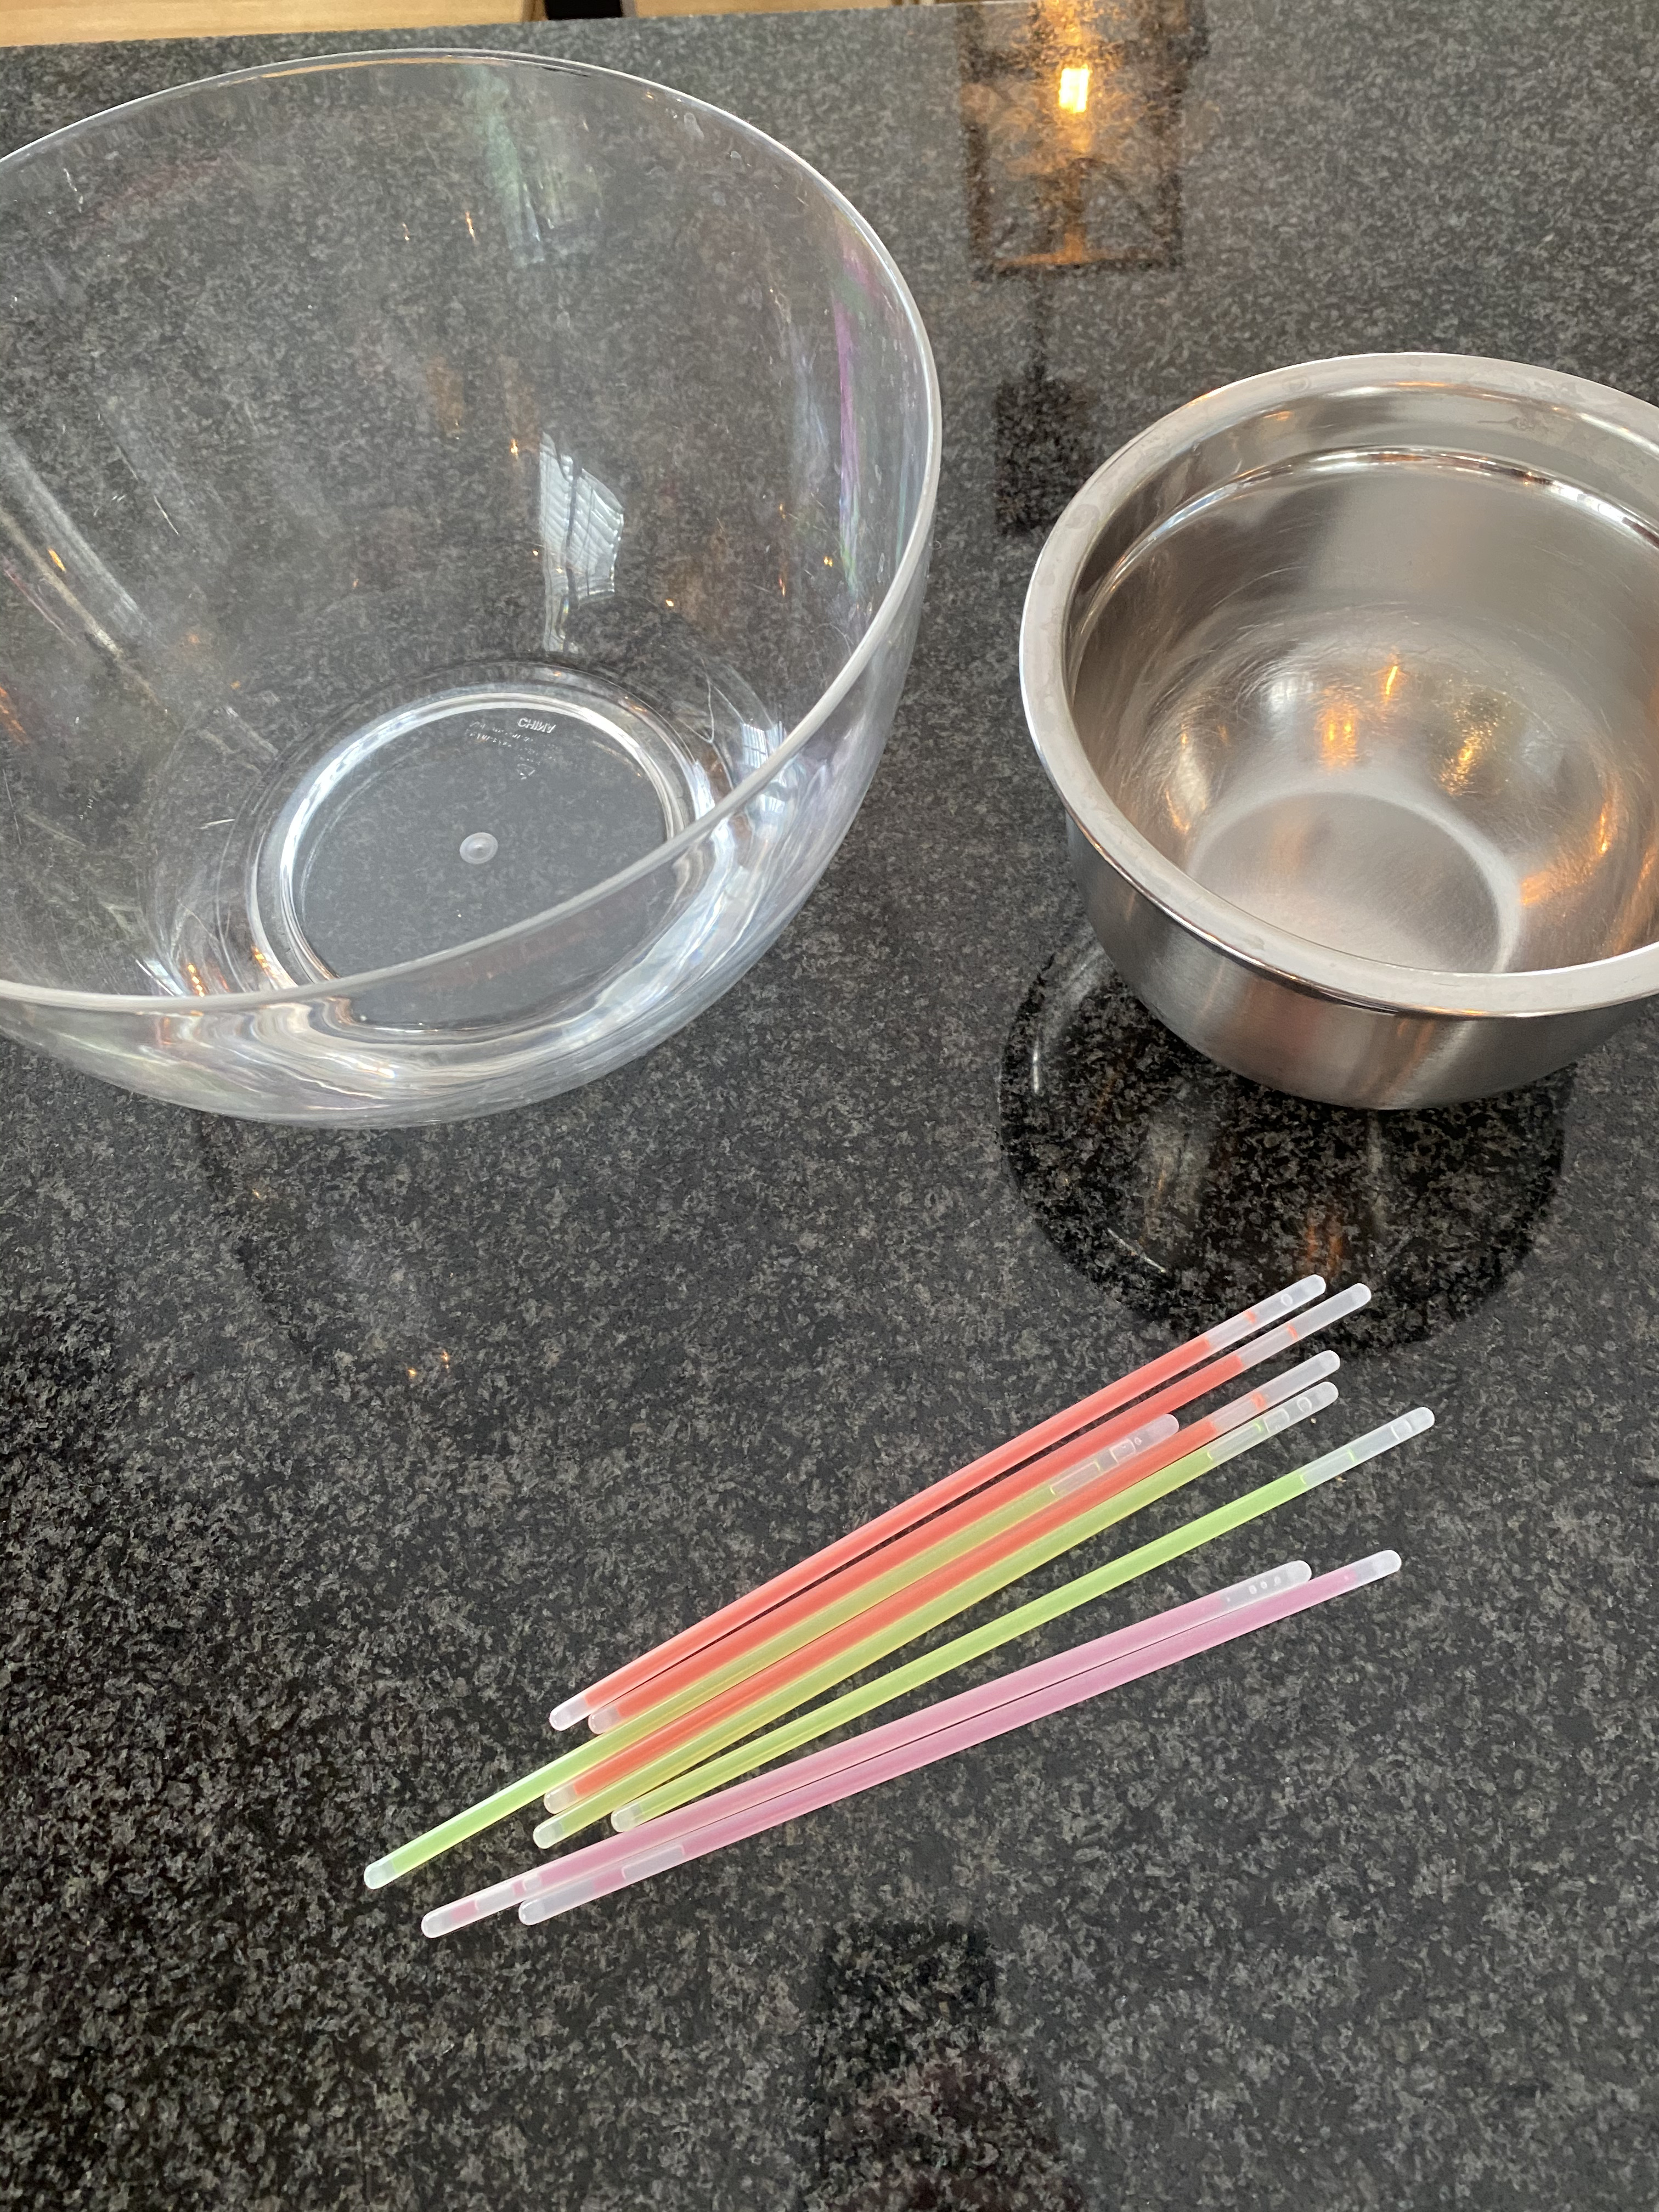
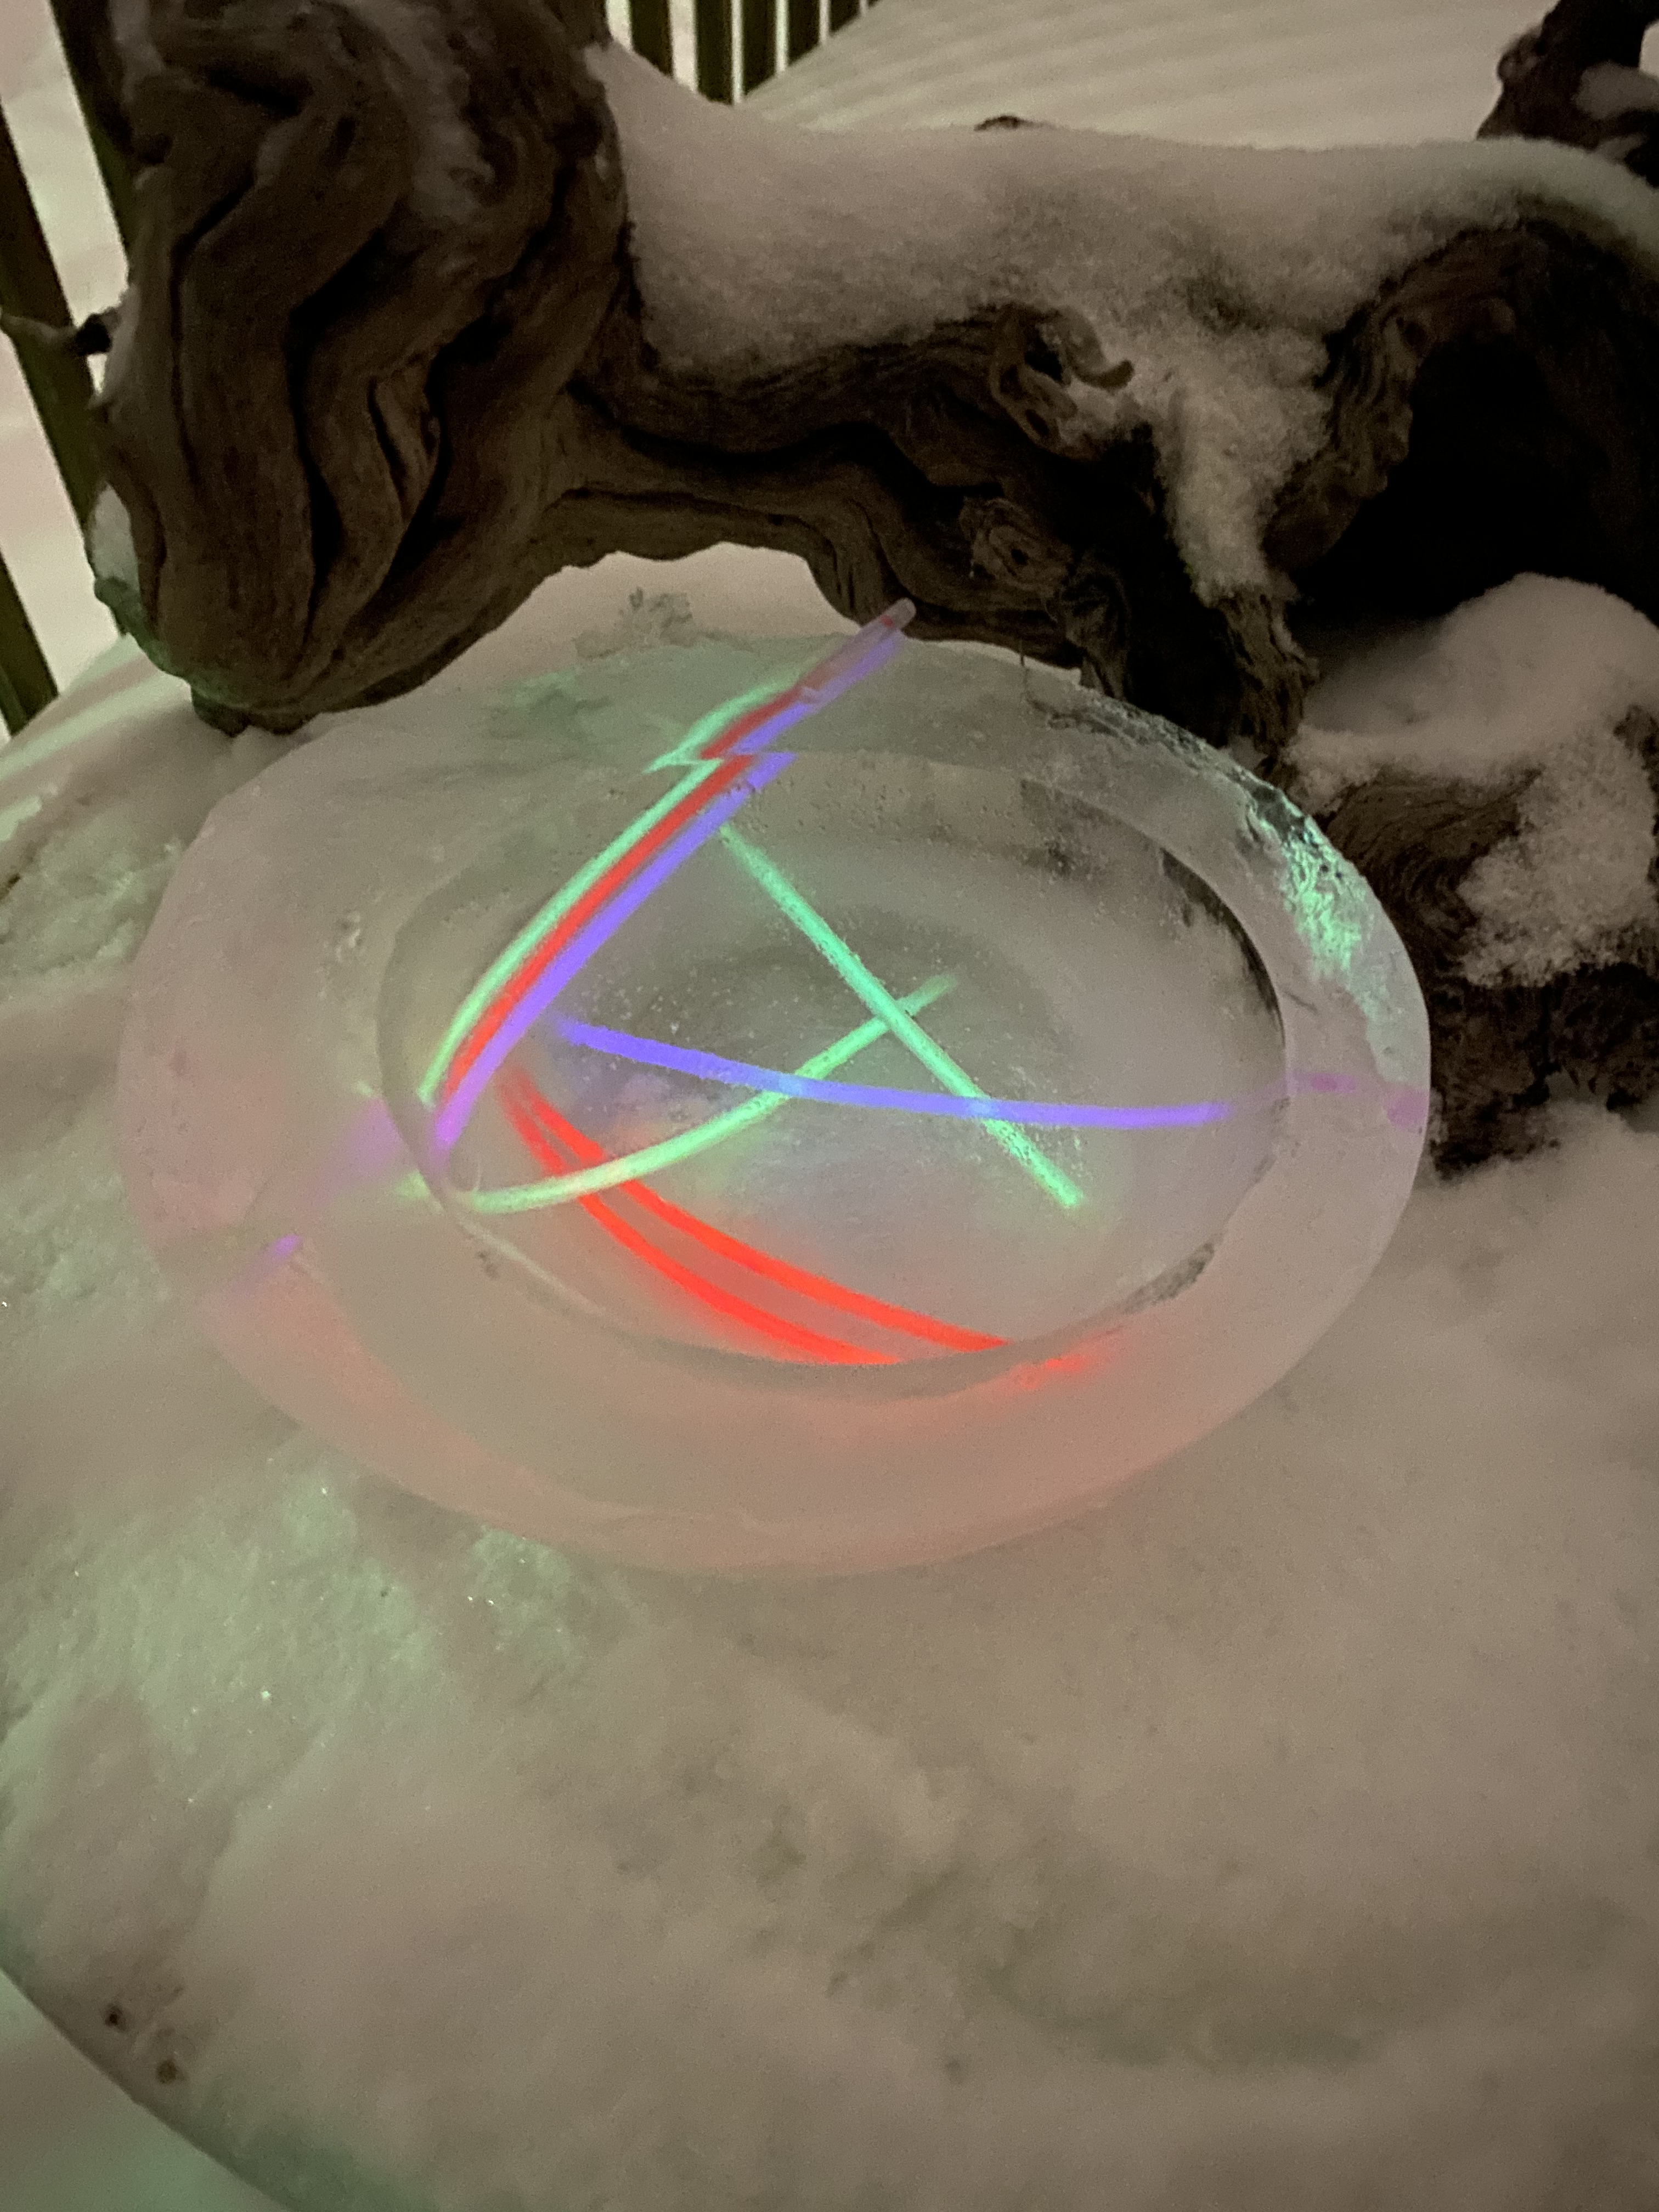
3. Ice Bowl: You can fill your bowl with anything but we chose glow sticks for a fun night time reveal. Fill a large bowl with water, add objects you want frozen inside of your bowl (glow sticks, pine cones, legos, etc.). Place a smaller bowl with a heavy object in it to keep it from floating around. Place outside or in freezer until frozen. Makes a great holder for snowballs!!!

4. Frozen Bubbles: This will only work if it’s really cold outside, but the best part is it’s super easy! Try and get a bubble to land on your bubble wand to watch ice crystals form… I learned a few tricks after a couple failed attempts!

Trick #1: Heat up your bubble solution in the microwave before heading outside.

Trick #2: Add a few drops of coloring to make the bubbles easier to see when they land in the snow!

Standard
Preschool Activities, Uncategorized

Loose Parts Play

A little while ago I posted an activity (An Invitation to Play) which left us with all sorts of loose parts from the inside of a broken dvd player. I cut some cardboard squares and glue and our imaginations ran wild…

Just a reminder of the benefits of open ended play… Not only is it an easy set up, but the learning opportunities are endless. Children learn to make choices, express themselves and their ideas freely, learn problem solving and communication skills, and most of all – have fun!!!

What you need:

  • Loose parts – take something apart or clean out dad’s tool bench!
  • Cardboard squares – you can use paper but if using heavy objects cardboard works best.
  • Glue

What to do: ANYTHING YOU WANT!!!! Make shapes, names, self portraits… the possibilities are endless!

Standard
Preschool Activities, Uncategorized

Ice Blocks

My oldest son and I both love the outdoors, my three year old however is not loving the cold weather so much. With this in mind I’ve been trying to find different ways to entice him to come out and play. Inside he loves to build with blocks so I figured why not mimic that play outside – and tie in a little science lesson as well!

What you need: Ice cube tray, water pitcher, food coloring

What to do:

  1. Fill up the ice trays with water.
  2. Add food coloring. My oldest wondered if the food coloring would make a difference in the ice freezing so we decided to do one tray with color and one without to test this idea. We also had fun predicting and testing mixing colors!
  3. Set outside if you live in a cold environment, if not, put them in the freezer.
  4. When frozen, pop the cubes out of the tray and start to play!

*The “blocks” can be difficult (for little ones) to stack if they don’t freeze evenly, however, we also had fun building roads, making letters, and “painting” with them on the snow!

Standard
Preschool Activities, Uncategorized

DIY Mini Light Table

One of my favorite studies to do with children is Light & Shadows – it promotes wonder, imagination, and STEM learning objectives just to name a few! My favorite medium for this study is a light table, however, light tables can be very expensive so I thought I’d make my own…

What you need: Shadow box, contact paper, light colored tissue paper, scissors, and twinkle lights (I got my shadow box BOGO at Michael’s craft store – they always have good deals so be on the look out!)

What to do:

  1. Cut two squares of contact paper and one square of tissue paper to the size of the glass on your your shadow box.
  2. On the inside of the box place your tissue paper on the glass then cover with one of the contact paper squares.
  3. Put the other square of contact paper on the other side of the glass.
  4. Place the twinkle lights inside and you’re done!

Now what to do with your light table… here’s some ideas to get you started!

  1. Learning letters/numbers: For this activity I cut out the letter “N” and taped on the inside of the box. Then my 3 year old “traced” with rocks.

2. Writing/Drawing: For this you will need to use permanent markers so some practice and supervision will be needed. Have your child draw a picture on the top layer of contact paper (replace when they are done). When finished, peel and hang your artwork!

3. Explore Natural Materials: A simple set up as an invitation to play… no directions, no right or wrong… just play 🙂

4. Color Sorting/Counting: I found these “gems” at the dollar store and are perfect for the light table!

Standard
Preschool Activities, Uncategorized

The Project Approach – A Study of the Eiffel Tower

Most of the curriculum I teach in the classroom is derived from The Project Approach. The idea is to teach letters and numbers and all those kindergarten readiness skills, but in a meaningful way. It often starts with a child’s interest or curiosity and from there the possibilities are endless.

Our recent journey started with an episode of Peppa Pig where she visited the Eiffel Tower. Soon after, every tall structure my 2 year old saw he would point and say, “Look! The Eiffel Tower!” Then one afternoon we were building with some blocks and he called me over to see his “Eiffel Tower.” To my surprise, his blocks did resemble the famous structure and I knew that we had to learn more!

With any study, you start with your topic and then create lessons around it. Below are examples of activities that we did based on Noah’s interest of the Eiffel Tower.

Language Arts: Took a trip to the library! We got a story about a dog who wants to visit Paris, a picture book of tall buildings, and an ABC Construction book.

Math: While making observational drawings we talked about shapes, height and measurement, and counted all of the “criss-crosses” we saw.

Art: Using clay, the boys made 3-D models of the Eiffel Tower.

Science: Made the Eiffel Tower using large blocks and then again using small marshmallows and toothpicks.

History: I found old pictures of the construction of the tower. We looked closely at the tools they were using and discussed how different construction was like in 1887.

Social Studies: Went to Paris! Just kidding… Instead we looked at maps and talked about different ways we could get to the Eiffel Tower. We also learned a few French words!

*Throughout all these activities we were also increasing communication, fine motor, problem solving, and social/emotional skills – just to name a few!

You may be asking yourself – “How do I get started?” First things first, talk to your child and find something they are interested in. When you decide on a topic, gather some materials and start creating! If you need any help, please reach out and I’d be more than happy to help 🙂

Standard