We have seen and felt the wind this week so now it was time to take a moment to stop and listen. Its funny how long it took to capture only the sounds of our chimes… we kept getting interrupted by cars, dogs, neighbors and airplanes. It can be so noisy in the bustle of the day but when you do find that moment of peace and can hear only nature – it’s music to your ears.
Unfortunately this platform does not support video but if you would like to see our wind chimes in action check out my Instagram @preschoolforyou 🙂
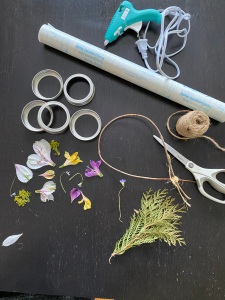
What you need:
- Mason jar lids (without the middle circle part)
- Contact paper
- Flowers
- Twine
- Bendy stick
- Scissors
- Hole Puncher
- Glue
What to do:
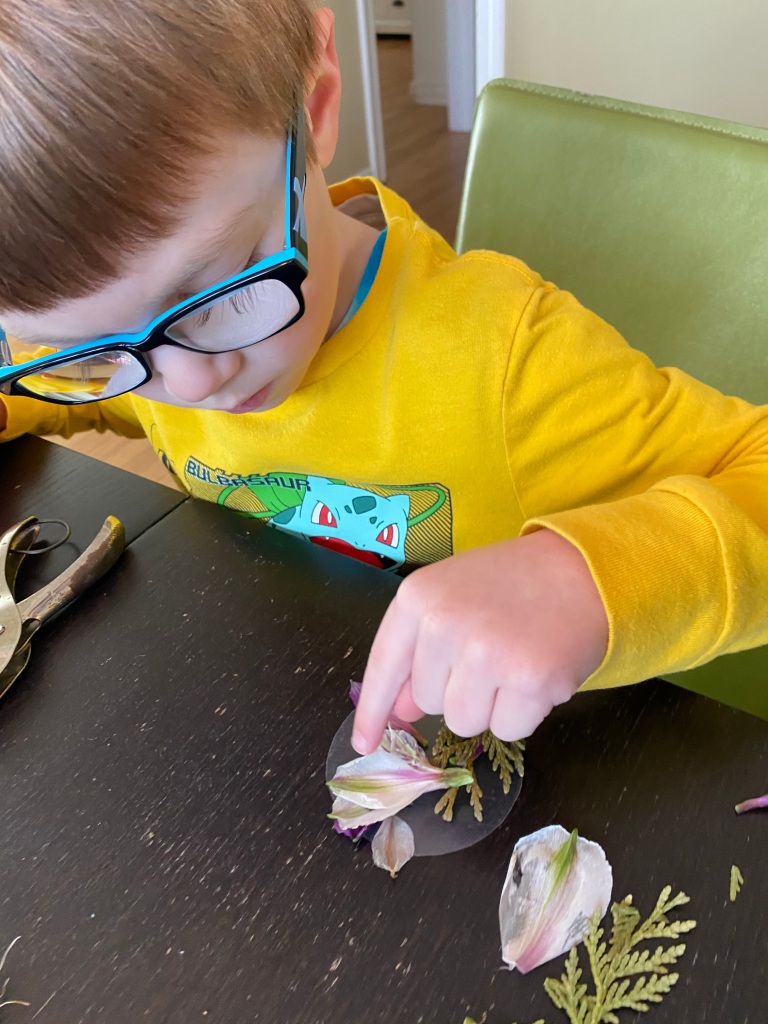
- Cut circles out of the parchment paper the same size as the middle of your mason jar lid. You will need two circles for each lid.
- Fill the circles with flowers and/or items from nature. *Helpful tip: The night before you plan to do this project, press your flowers to help them lay flat on the parchment paper.
- Place another parchment paper circle on top of the one with flowers to seal.
- Punch a hole in the top of the circle.
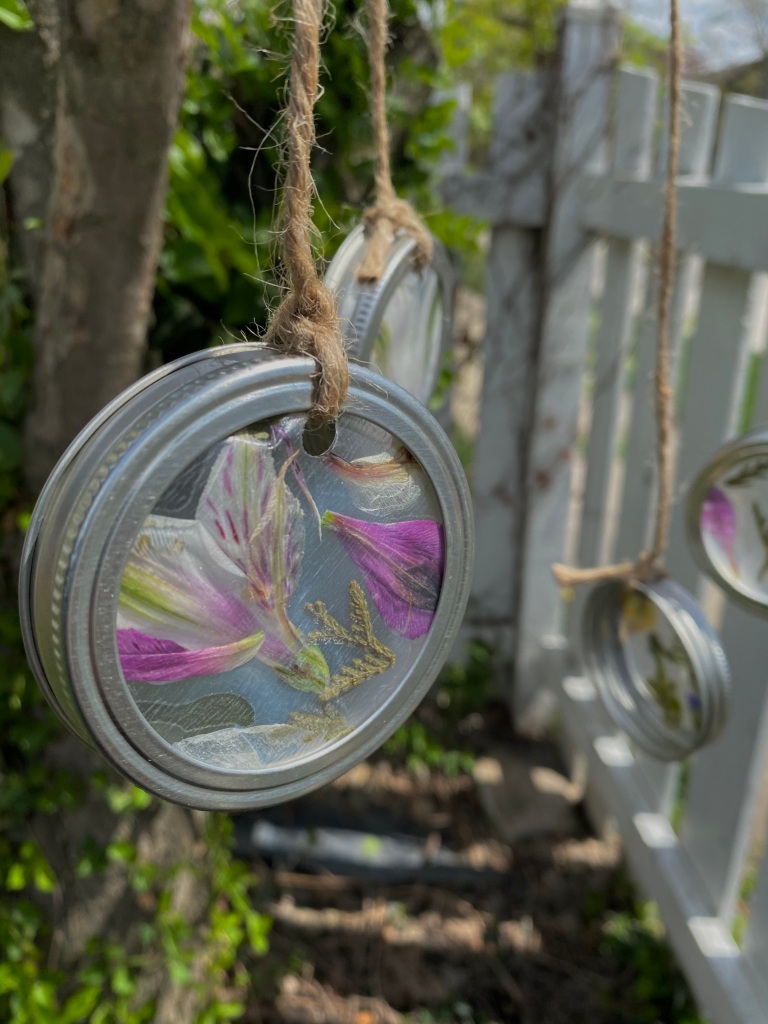
- Glue the circle inside of the mason jar lid.
- Tie a piece of twine to the lid.
- *Repeat steps 2-6 for as many “chimes” as you want.
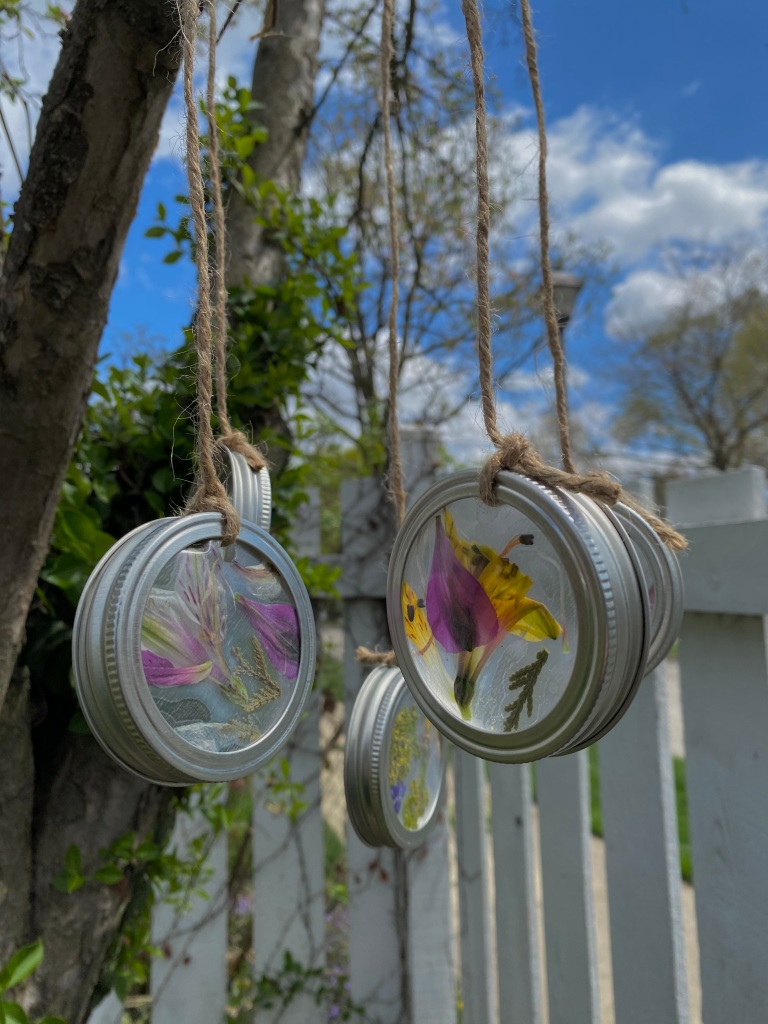
- Take your bendy stick and tie it in a circle.
- Tie the lids onto the stick. *When I first did this project I wasn’t happy with the amount of sound it made so I added some hollow mason jar lids in the center and it made it much better! You could also add other metal objects such as old silverware or nails, screws, etc.
- Once all your chimes are tied into place hang outside and wait for the wind to blow!