Preschool Activities, Uncategorized

Taking a break…

Hello to all my wonderful followers…

The time has come where my “free” blog is now requiring a fee to upload more images… so I’ve decided to take a break from Parent are the First Teachers. The past year has ignited my passion for early childhood education – so much so that I have accepted a position at my son’s preschool beginning in the fall. I thank you all so much for following along on our journey of learning at home during these unprecedented times and I hope that this brought you some inspiration to take a moment to enjoy learning with your child.

Although the past year has been one of the hardest, I feel so thankful to have had this time with my children. While teaching in the classroom for over ten years I always said “I could never teach my own children.” However, I’ve learned not only that I can, but I have been since the day they were born. Parents, you really are your child’s first teacher and if you take away one thing from this blog, please know that you are more than capable of teaching your children. Teach them how to play. Teach them how to love. Teach peace and acceptance. And most of all, teach them to be confident and love themselves just the way they are. It may seem like a lot – but you got this… and my guess is you’ve been doing it all along ✨

Feel free to follow me on Instagram @preschoolforyou – I’ll continue to post there! Wishing you all a safe and happy summer!

Standard
Preschool Activities, Uncategorized

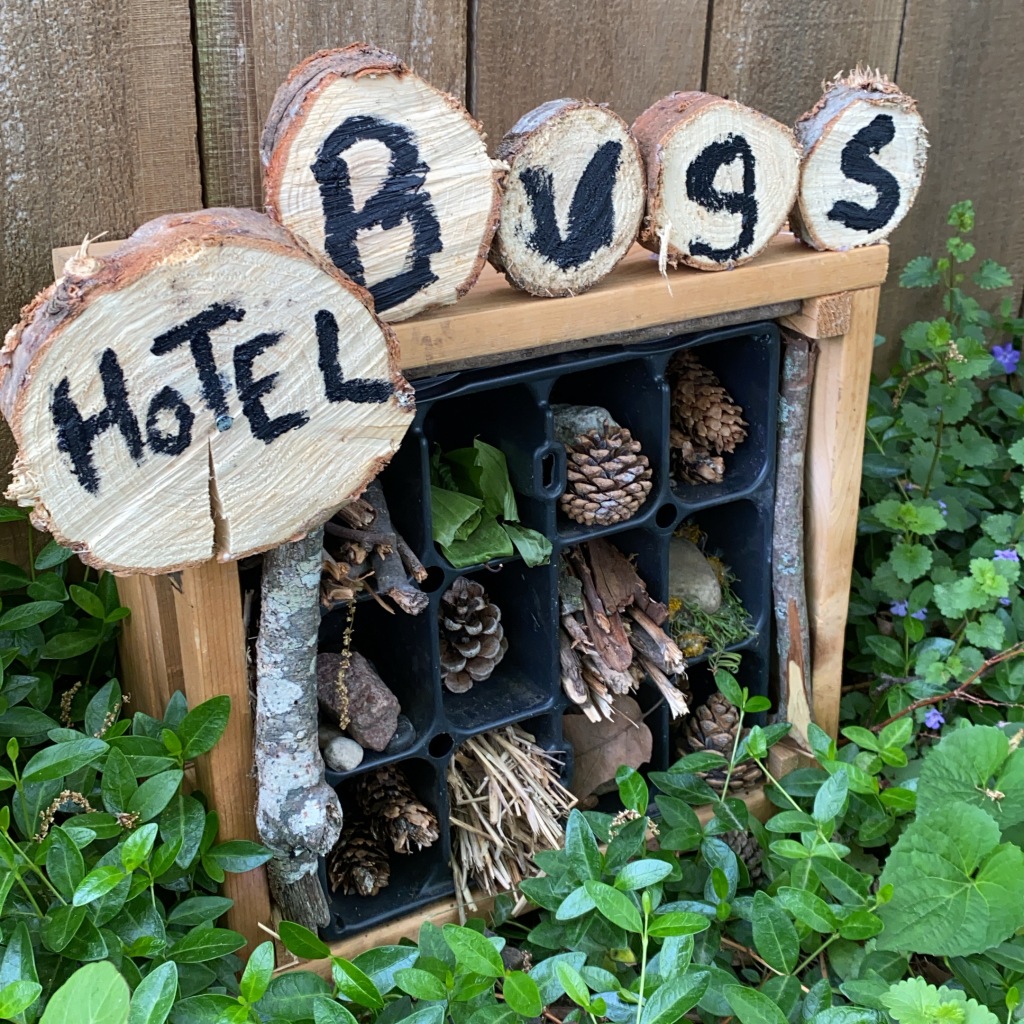
🐞🐜 Hotel for Bugs πŸ›πŸ•·

Welcome to Hotel Bugs – A 5 star home away from home for all the creepy crawlers in your garden – just watch out for the slug in 3C… he’s a little slimy πŸ˜‰πŸŒ

Our hotel was made with a plastic flower container inside of an old wooden crate, cardboard and straw. We filled the β€œrooms” with all sorts of items from our yard and past nature walks. The most exciting part was that we really did find a slug crawling around in there the other day – can’t wait to check on it periodically throughout the summer to see what else we can find!

What you need:

  1. Plastic flower container (nurseries and hardware store always has extras laying around).
  2. Sticks, leaves, pine cones, rocks, etc.
  3. Something to make a sign – card board and markers, paint on a rock – use whatever you have!


What to do:

  • Fill the nooks and crannies of your flower container with your natural materials.
  • Name your hotel and make a sign.
  • Place in your yard under a tree, in a corner or shady spot – anywhere bugs might be hiding already – and wait for the them to check in!
  • Check your local library for bug identification books and try to identify what you find!

Standard
Preschool Activities, Uncategorized

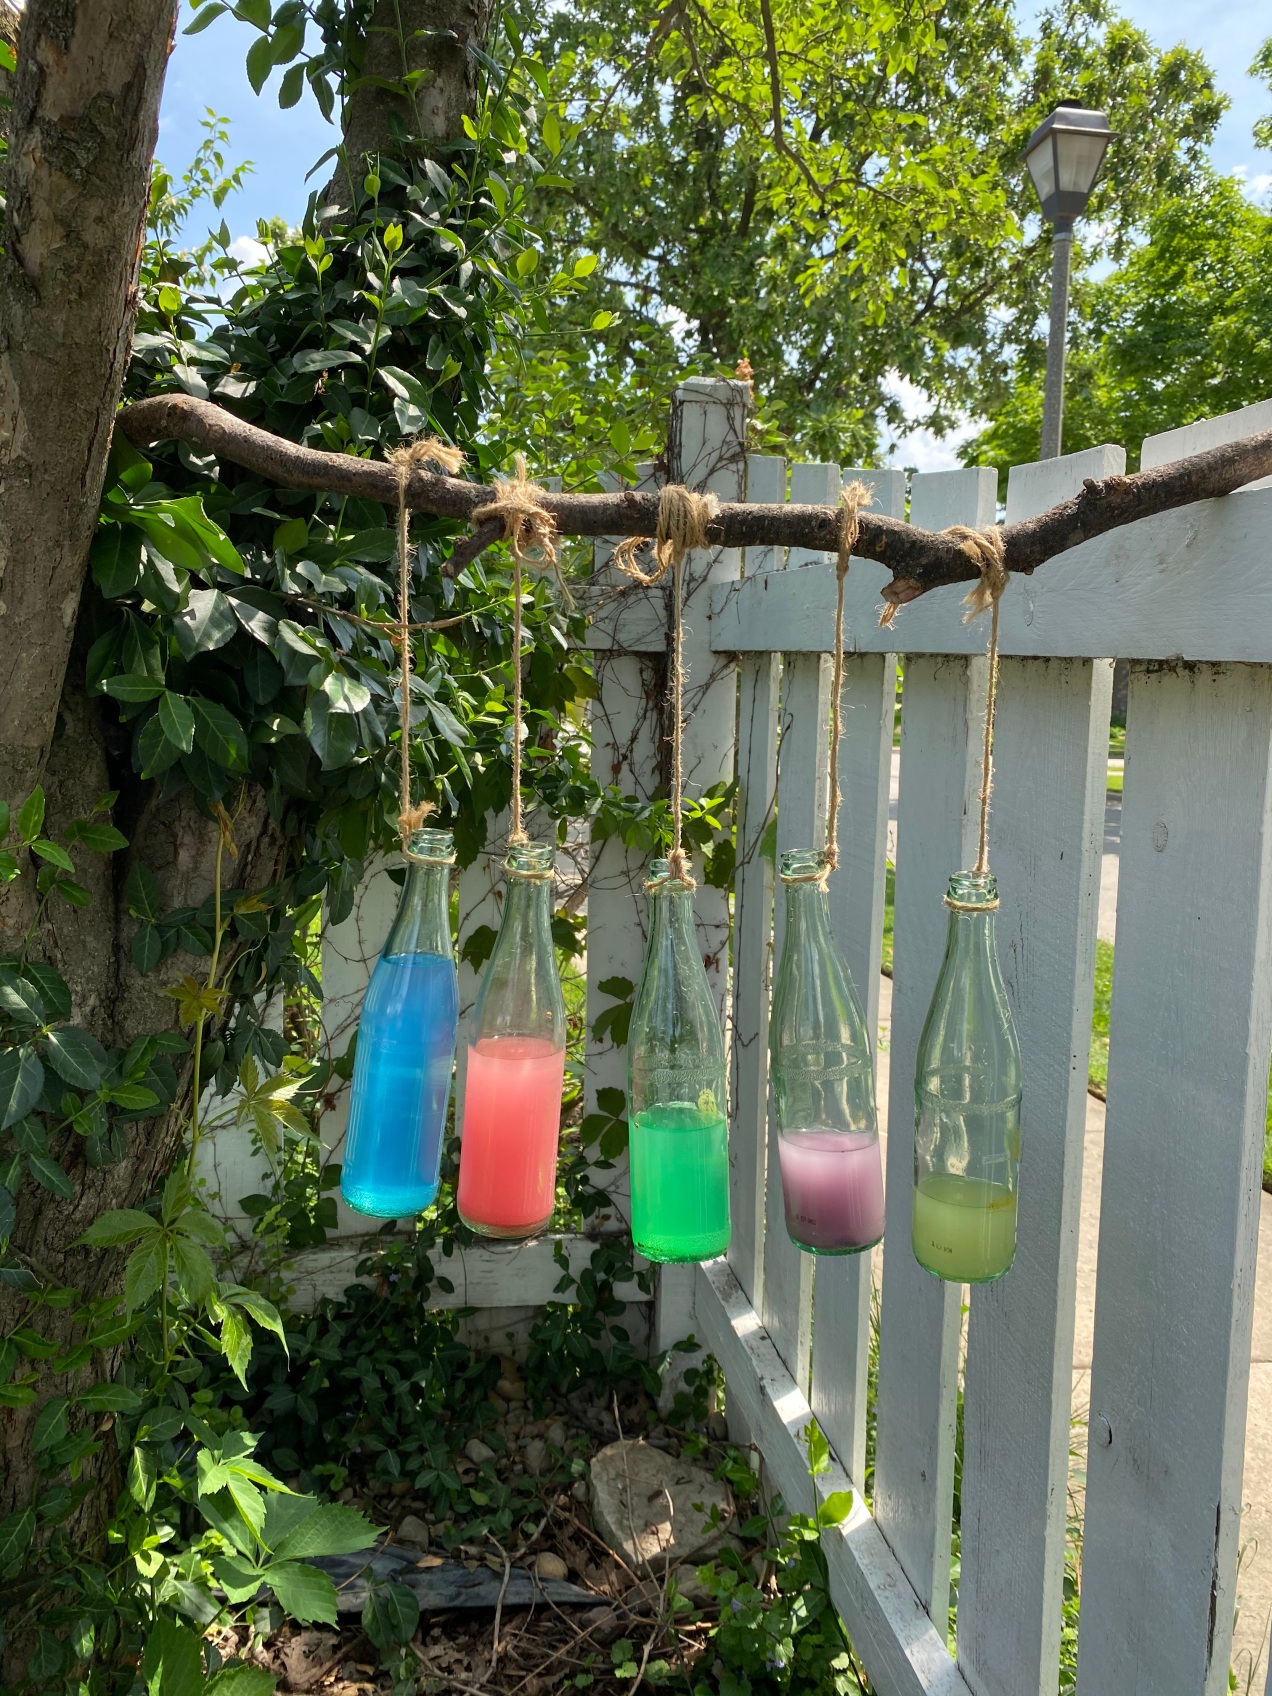
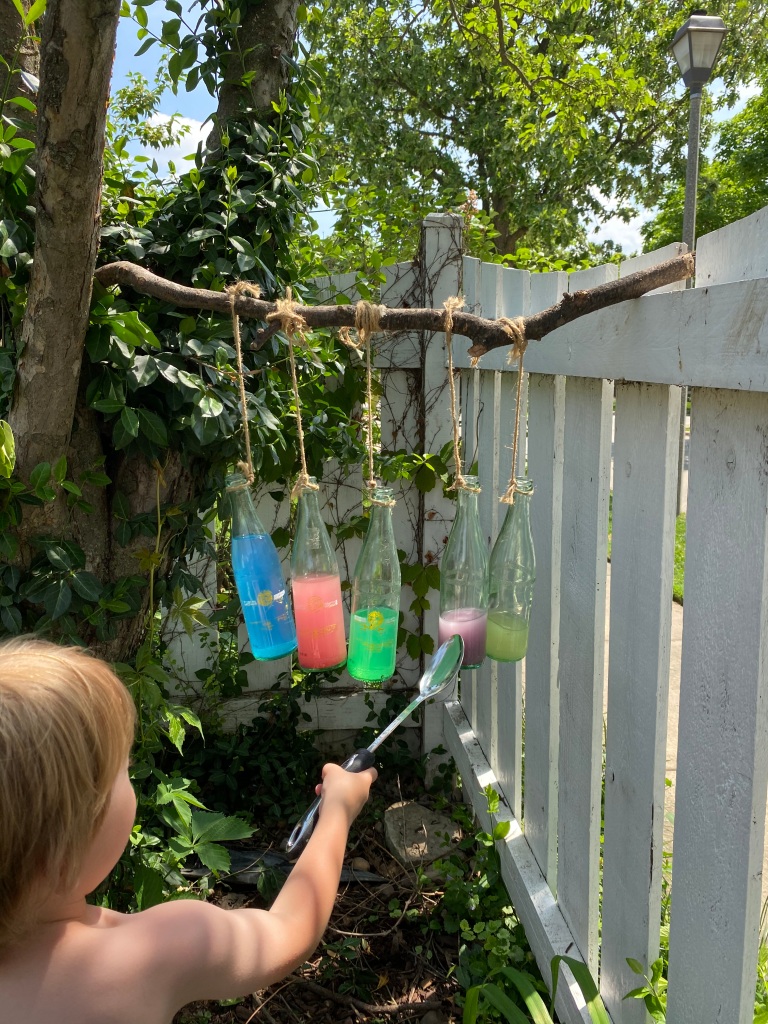
Chalk Potion Xylophone 🎢

Chalk potions are made daily in our mud kitchen so when my oldest said he wanted to put some in a bottle I knew instantly that we had to turn it into a bottle xylophone! We started by crushing chalk and mixing with water. The bottling process was so much fun – we used our funnels and tubes and had a real assembly line working! It took some pouring out, remixing, and lots of spills but eventually we got it right. I finished it off by hanging the bottles with twine from a branch in our yard. 

What you need:

  1. Glass bottles
  2. Water
  3. Twine
  4. Scissors
  5. Chalk/food coloring
  6. Branch/tree

What to do:

  1. Mix your “potion” to create colored water.
  2. Fill bottles to different volumes to create different sounds.
  3. Tie twine around bottle neck and then hang from branch.
  4. Repeat with as many bottle and sounds as you like!

To hear our beautiful music check out @preschoolforyou for video!

Standard
Preschool Activities, Uncategorized

Feel the Clouds

βœ¨β˜οΈβ€œClouds are the sky’s imagination.” ☁️✨

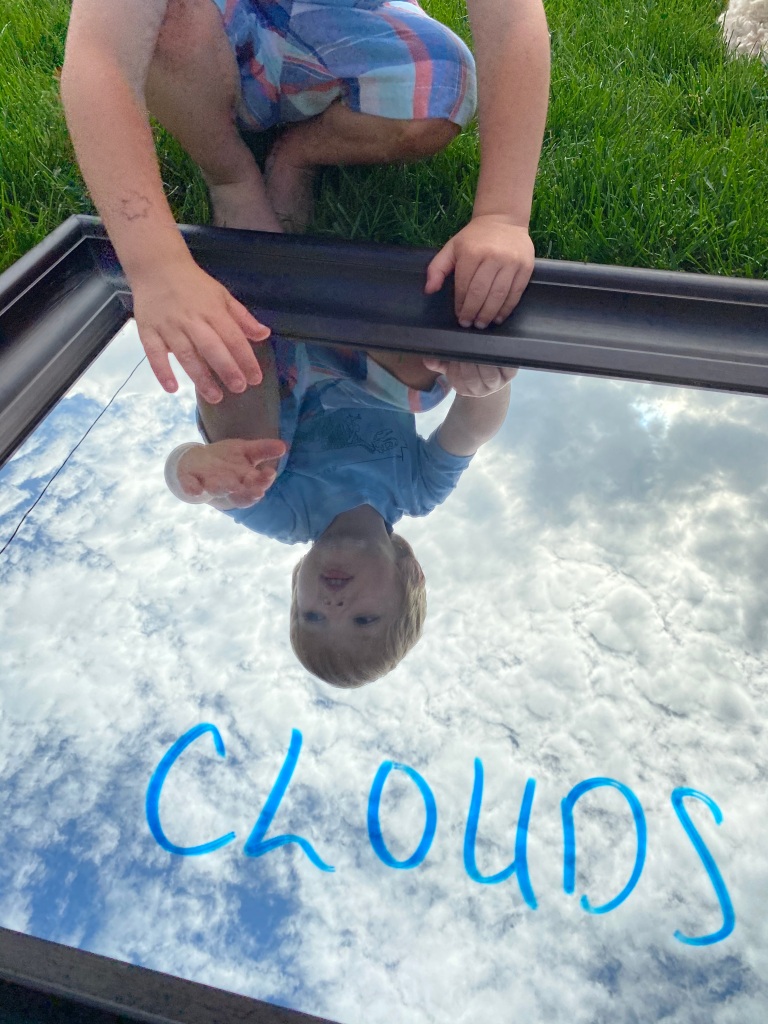
The puffy cumulus clouds took over the bright blue sky yesterday and we were there to observe, color, and even β€œfeel” them – using our imagination of course!

I placed a large mirror on the ground and offered some blue window markers and shaving cream… the mirror gave us a whole new perspective of the sky and made the experience feel like we really were in the clouds ✨

What you need:

  • Large Mirror
  • Shaving Cream
  • Window Markers

What to do:

  1. Wait for a cloudy day – this is the hardest part!
  2. Set your mirror on the ground with a clear view of the sky.
  3. Using the markers you can trace the clouds, write the letters C-L-O-U-D-S, add pictures in the sky… there’s no wrong way to play!
  4. Add some shaving cream for a messy sensory experience like no other!
Standard
Preschool Activities, Uncategorized

Veggie Race 🏁πŸ₯¬ β˜€οΈπŸ₯” 🏁

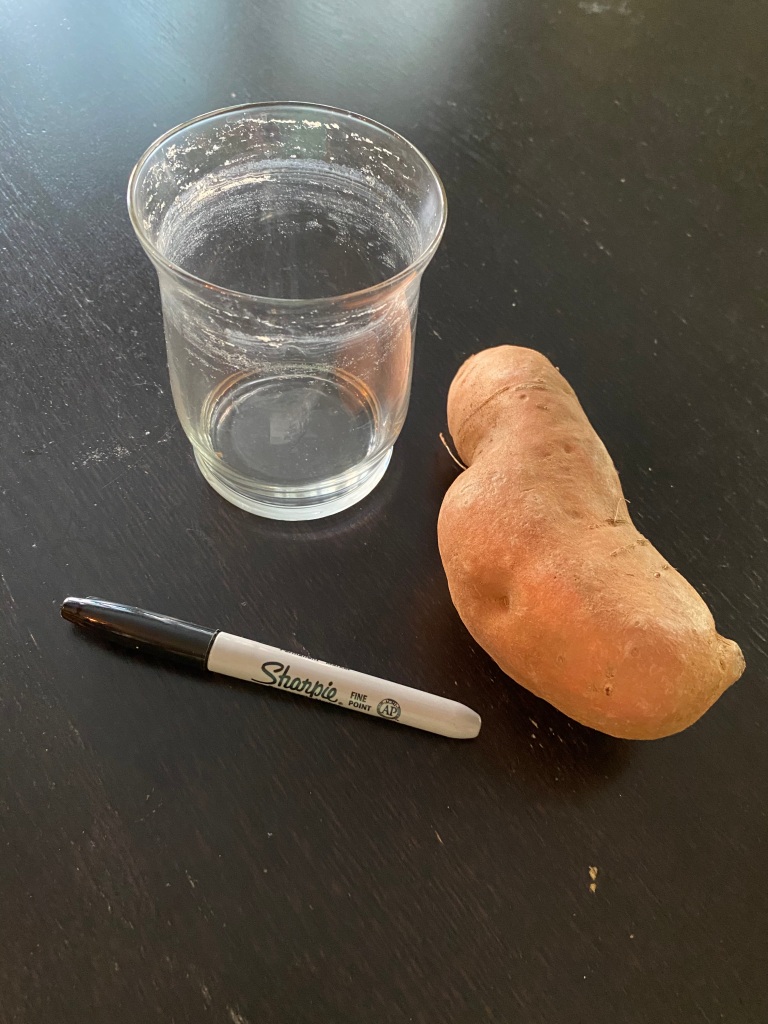
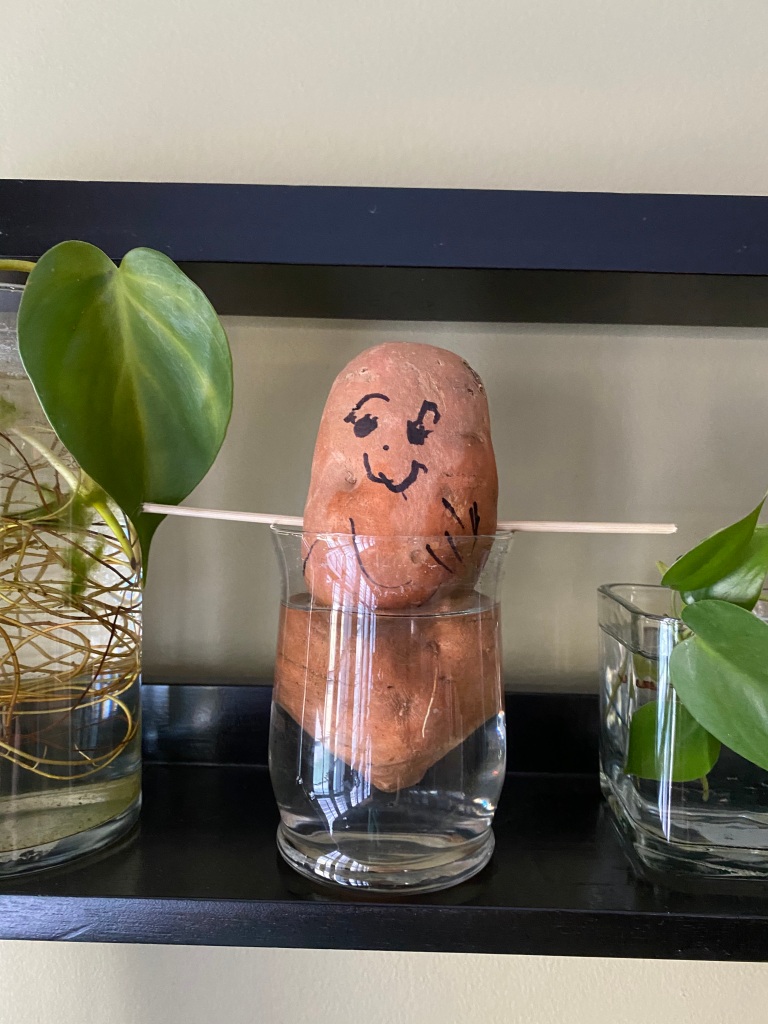
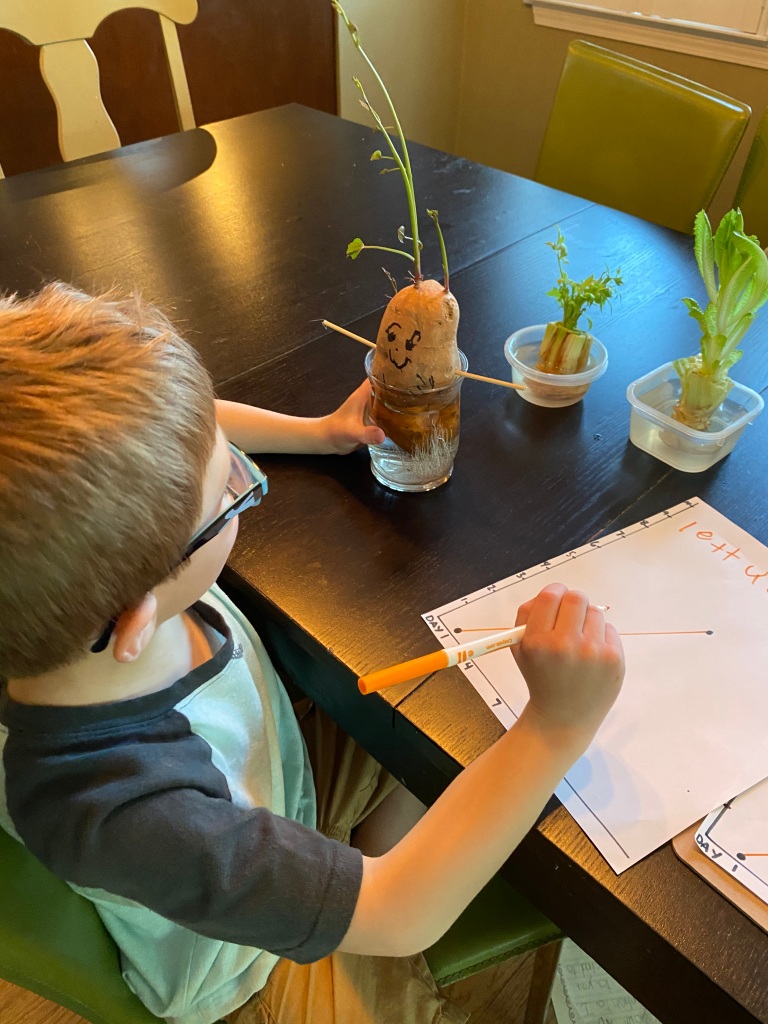
A little over a month ago we set a sweet potato in water to root and grow in our window sill… it took awhile to get going but once it sprouted we set out some celery and romaine lettuce to root as well. The veggie race was off and and after predicting, measuring and graphing their progress the sweet potato was the clear winner!

What you need:

  • Sweet Potato
  • Bottom of celery stalk
  • Romaine lettuce center
  • 3 containers
  • Water
  • Maker
  • Paper
  • Ruler

What to do:

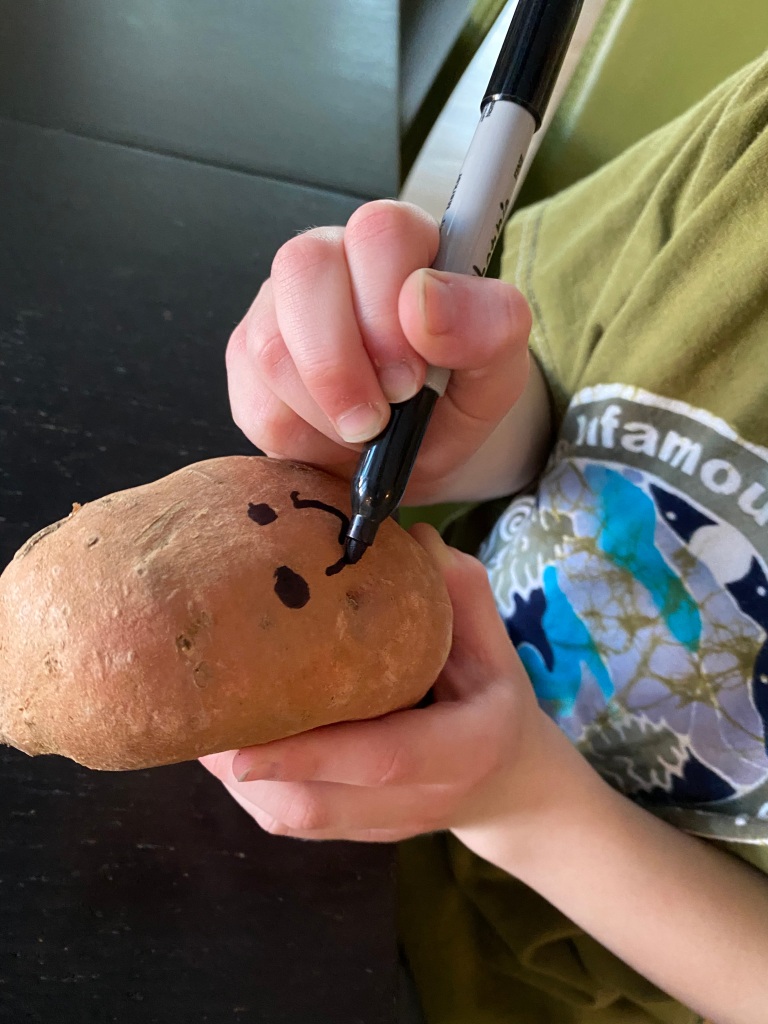
  1. Draw a face on the potato and set in water to root. It took about a month to begin showing growth – be patient!
  2. Once the potato starts to grow, set out the celery and lettuce next to it in a well lit area.
  3. Wait, watch, and record the changes!
Standard
Preschool Activities, Uncategorized

Rose Petal Confetti and Potions

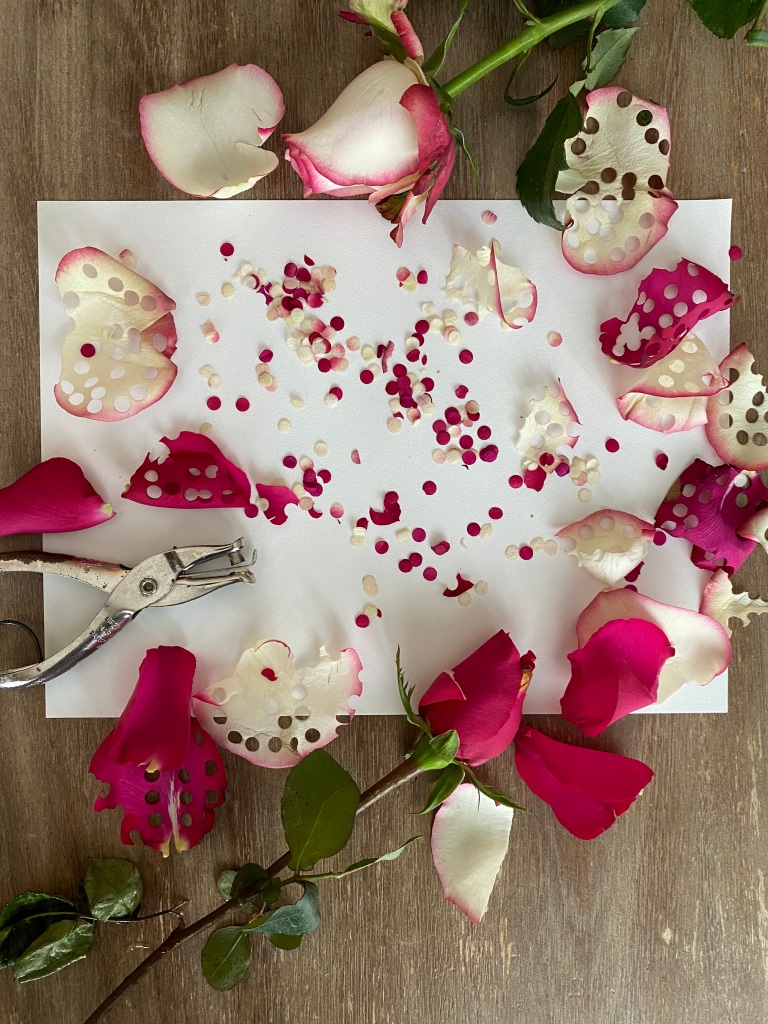
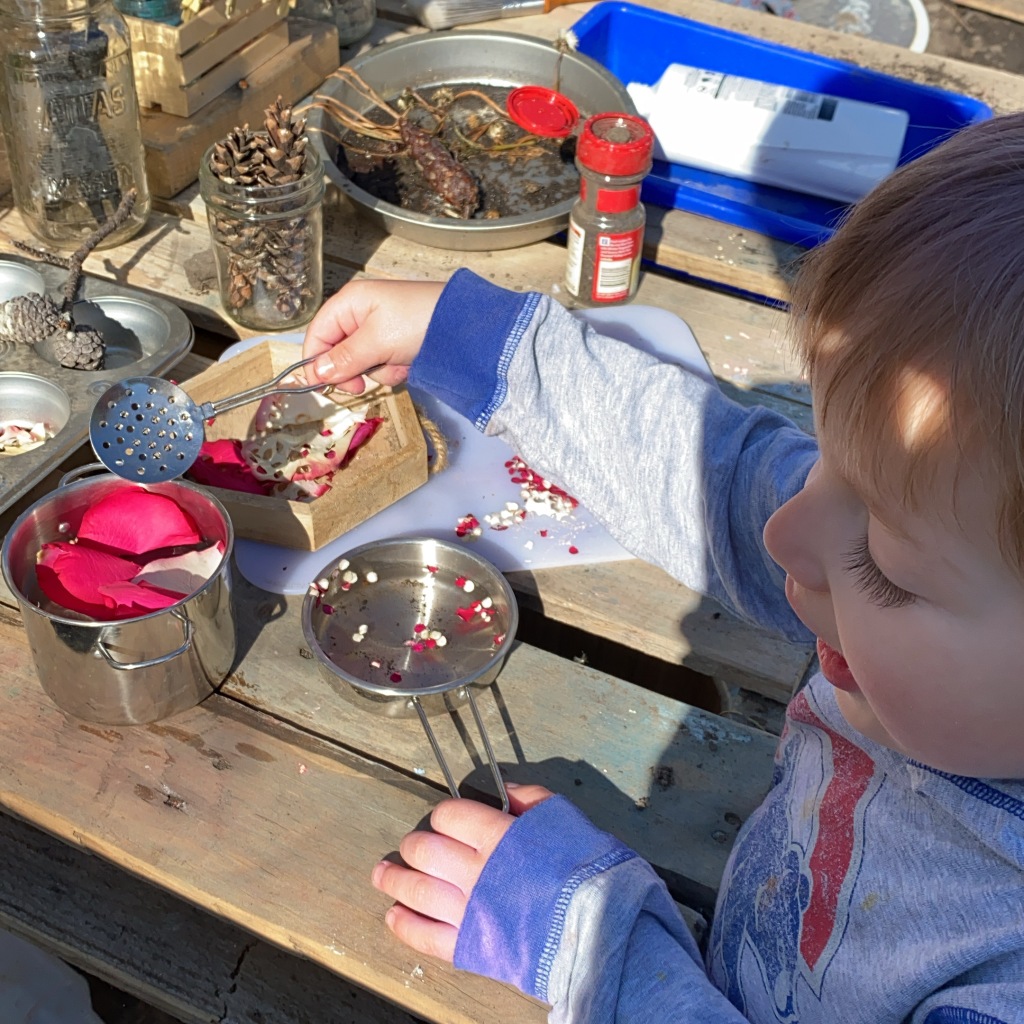
Don’t throw away those flowers just yet! Grab a hole punch and strengthen those little fine motor skills while making confetti – what you do with it is up to you! We took ours out to the mud kitchen and made potions that not only looked beautiful but smelled good too!Β 

What you need:

  • Flowers
  • Hole Punch

What to do:

  1. Gently remove petals from stem.
  2. Use hole puncher to create confetti.
  3. Save in a jar, use for an art project, or take outside to play with!
Standard
Preschool Activities, Uncategorized

Flower Dissection

Have a dying bouquet of flowers? Don’t throw it away just yet! Have your kids cut, dissect, and identify the different parts! In this activity you will be counting, sorting, fine motor strengthening, sharing ideas, and working together… learning through play is the best!Β 

What you need:

  1. Flowers
  2. Scissors
  3. Bowls
  4. Marker/Paper

What to do:

  1. Label the bowls: Stems, Leaves, and Petals
  2. Using the scissors have your child cut the flowers apart and sort the pieces.
  3. Ask open ended questions: Do all flowers have the same parts? How do the different parts feel? What senses are we using? How do you think flowers grow? Why do you think these flowers are dying?

Standard
Preschool Activities, Uncategorized

Dandelion Drawings

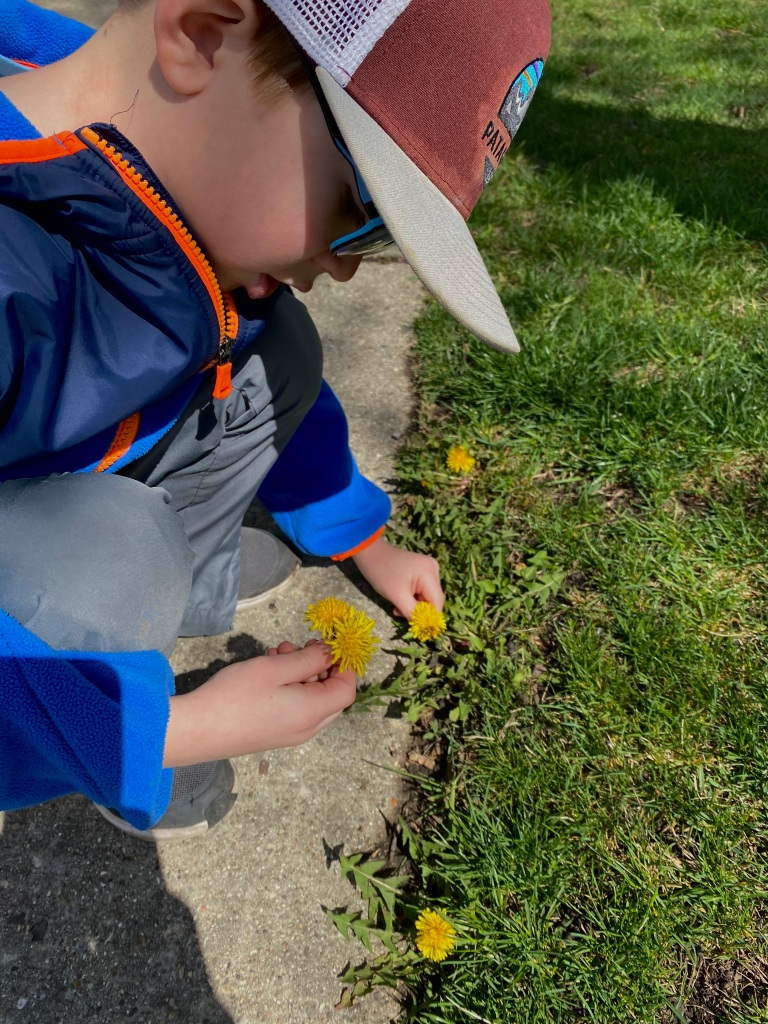
While walking yesterday the boys noticed the abundance of dandelions that had popped up the past few days – while picking them I was reminded of my childhood and rubbing them all over my cheeks and hands trying to turn myself yellow. However, rather than rubbing them on our skin, I offered a white piece of paper and using the dandelions we wrote letters, filled in shapes, and drew a little yellow house.Β 

What you need:

  • Dandelions
  • White Paper

What to do:

  1. Go outside and pick some dandelions.
  2. Place a piece of paper on the ground or table and “write” with the dandelions by rubbing on the paper.

Standard
Preschool Activities, Uncategorized

Dino Dig

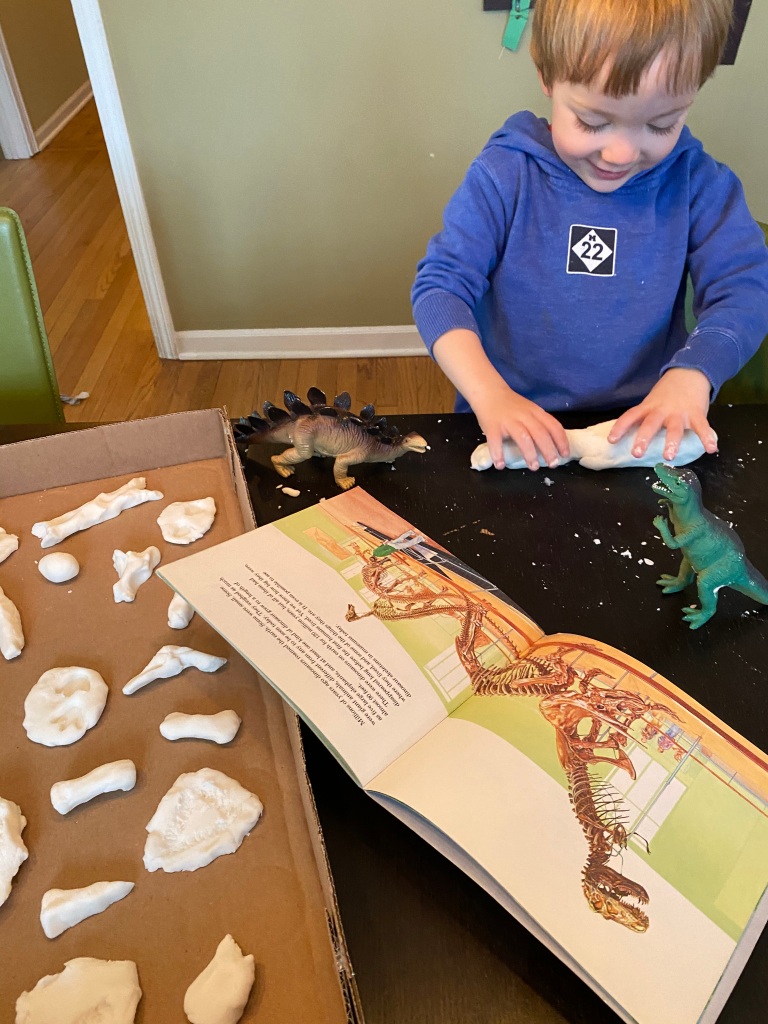
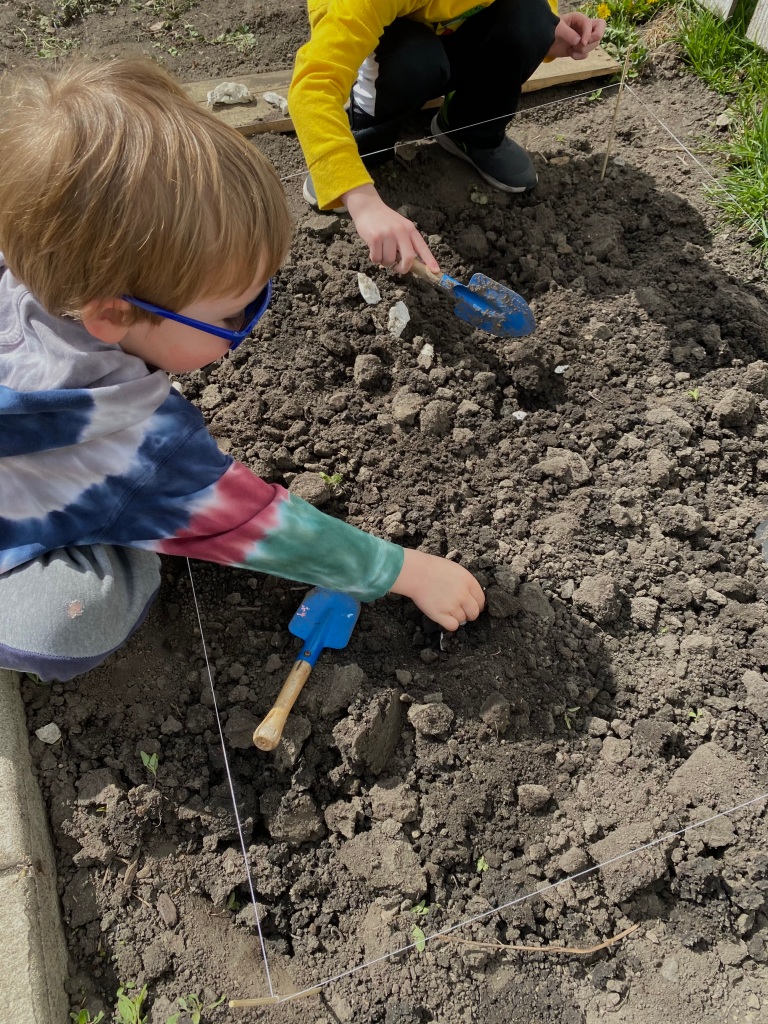
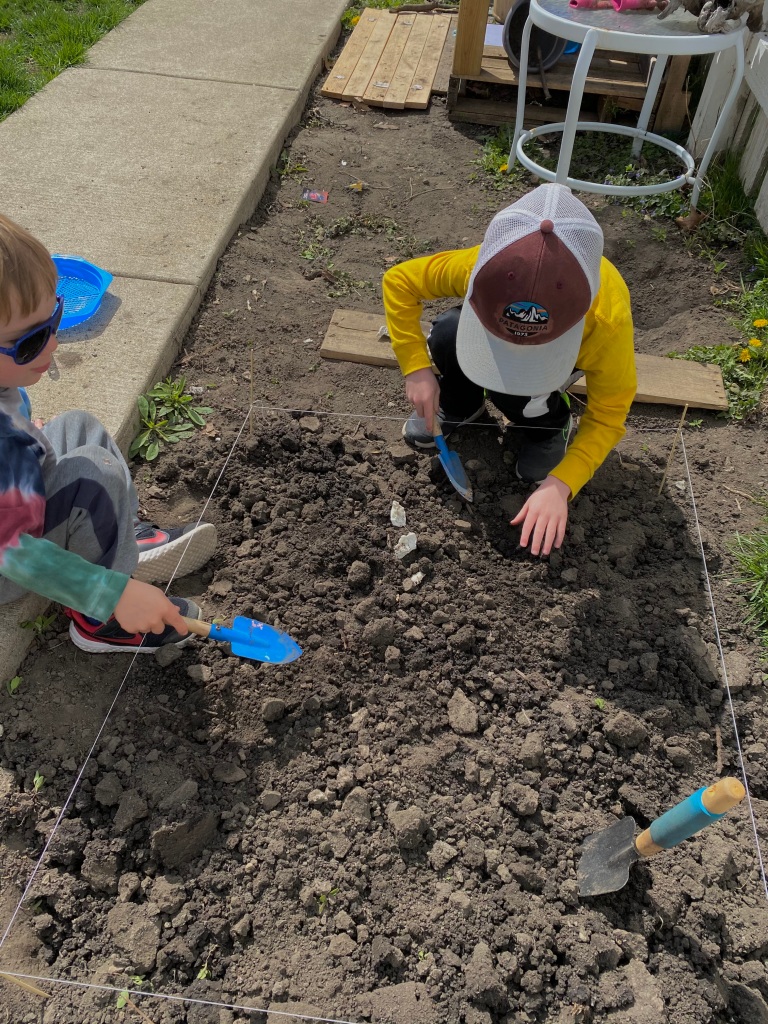
This was a two part activity- both were so much fun! First we made our own dinosaur bones and fossils out of homemade clay, then I buried them in our garden for the boys to dig up. They used shovels and sifters to find the bones and then cleaned them with paintbrushes. I honestly have no idea if they found them all… I’m hoping we discover a few more that were left behind when we plant our vegetables in a few weeks!Β 

What you need:

  • Baking Soda
  • Cornstarch
  • Water
  • Measuring Cup
  • Pot
  • Shovels & Sifters
  • Skewers
  • String

What to do:

For the clay:

  1. Mix 2 cups baking soda and 1 cup cornstarch.
  2. Stir in 1 1/2 cups water.
  3. Place over medium heat, continuously stirring until it thickens and becomes dough like (about 10 min).
  4. Let cool and knead – adding cornstarch or (baking soda) as needed to reduce stickiness.
  5. Use immediately or wrap in plastic wrap and store in refrigerator.Β 
  6. To make bones we just used our hands and molded until they looked like bones. For the fossil prints we used toy dinosaurs to make footprints and also pressed different parts of their bodies (teeth, tail, etc.) into the clay.

For the dig:

  1. Find a good plot of dirt and dig to loosen the soil if necessary.
  2. Use 4 skewers and string to rope off the prepared area.
  3. Bury your bones and fossils – not too deep!
  4. Invite your child to be paleontologists and dig for the dinosaur bones.

Standard
Preschool Activities, Uncategorized

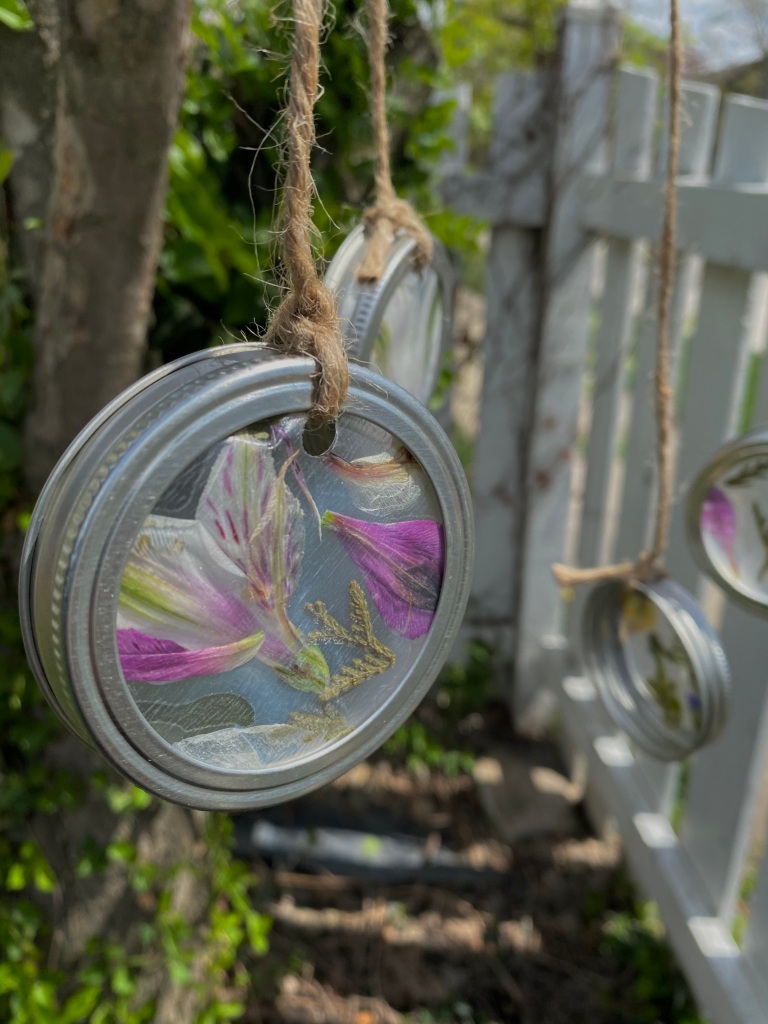
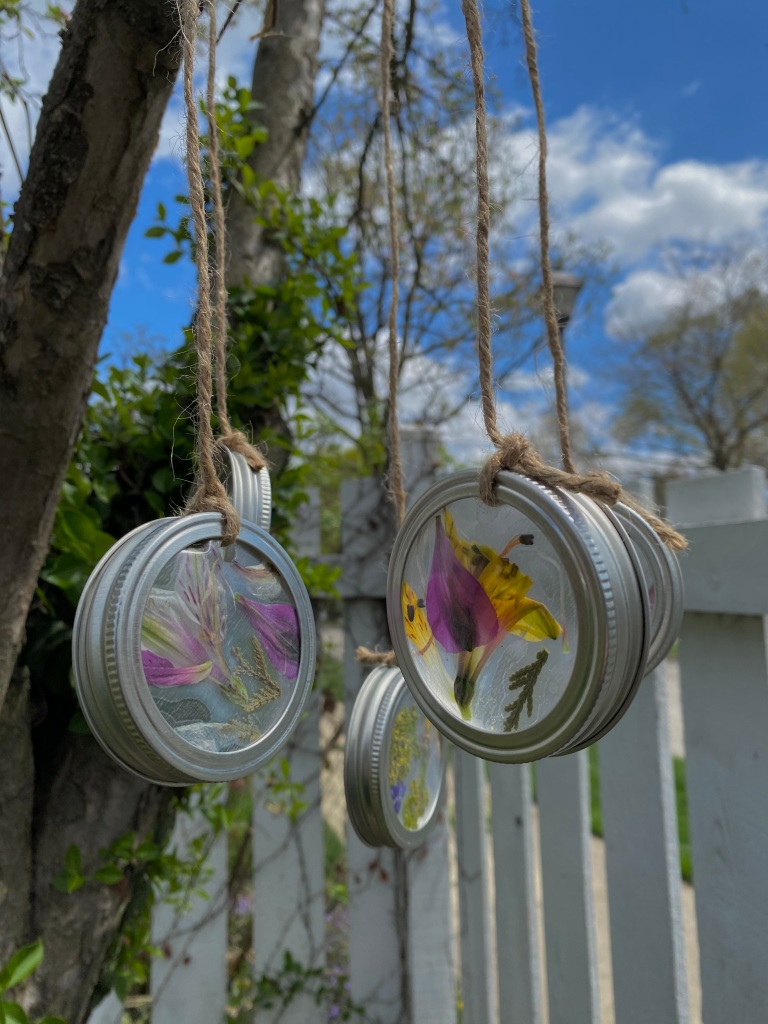
Wind Chime

We have seen and felt the wind this week so now it was time to take a moment to stop and listen. Its funny how long it took to capture only the sounds of our chimes… we kept getting interrupted by cars, dogs, neighbors and airplanes. It can be so noisy in the bustle of the day but when you do find that moment of peace and can hear only nature – it’s music to your ears.

Unfortunately this platform does not support video but if you would like to see our wind chimes in action check out my Instagram @preschoolforyou Β πŸ™‚

What you need:

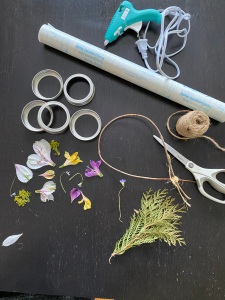
  • Mason jar lids (without the middle circle part)
  • Contact paper
  • Flowers
  • Twine
  • Bendy stick
  • Scissors
  • Hole Puncher
  • Glue

What to do:

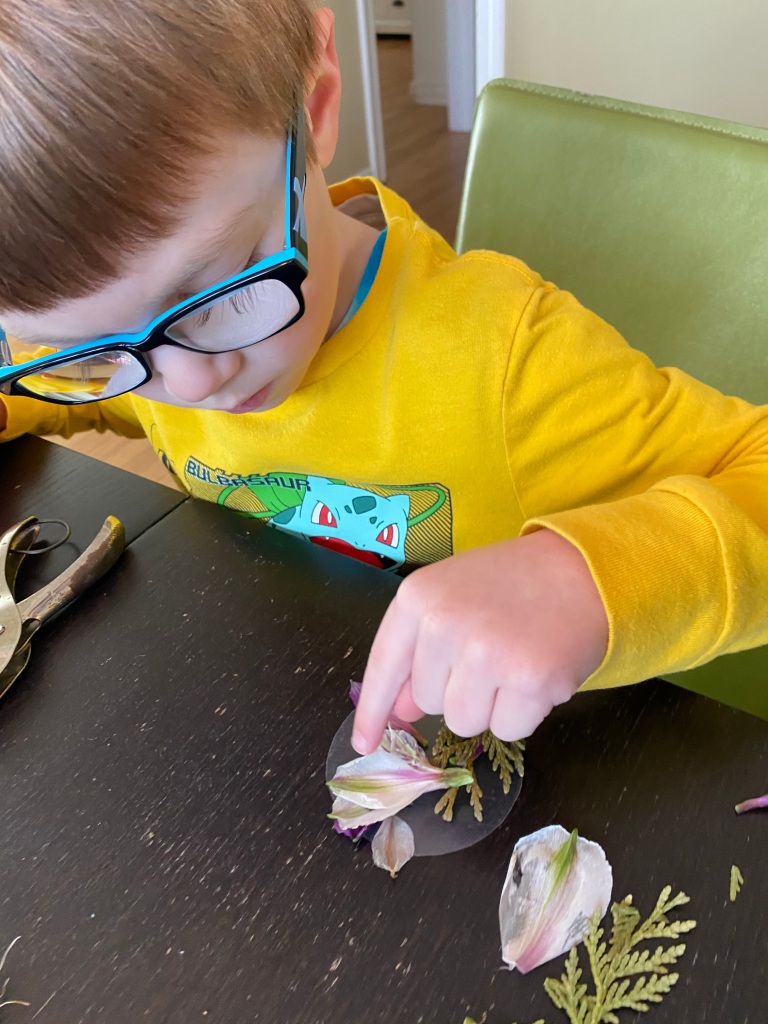
  1. Cut circles out of the parchment paper the same size as the middle of your mason jar lid. You will need two circles for each lid.
  2. Fill the circles with flowers and/or items from nature. *Helpful tip: The night before you plan to do this project, press your flowers to help them lay flat on the parchment paper.
  3. Place another parchment paper circle on top of the one with flowers to seal.
  4. Punch a hole in the top of the circle.
  5. Glue the circle inside of the mason jar lid.
  6. Tie a piece of twine to the lid.
  7. *Repeat steps 2-6 for as many “chimes” as you want.
  8. Take your bendy stick and tie it in a circle.
  9. Tie the lids onto the stick. *When I first did this project I wasn’t happy with the amount of sound it made so I added some hollow mason jar lids in the center and it made it much better! You could also add other metal objects such as old silverware or nails, screws, etc.
  10. Once all your chimes are tied into place hang outside and wait for the wind to blow!
Standard